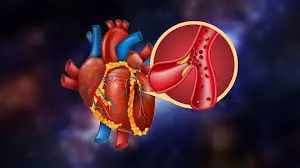
Looking After Your Heart? These Nutrient-Rich Foods Deserve a Place on Your Plate
❤️ These Everyday Foods Can Help Support Healthy Arteries — Here’s What to Add to Your Meals
Health 01/08/2026 19:07
❤️ These Everyday Foods Can Help Support Healthy Arteries — Here’s What to Add to Your Meals

⚠️🍌 Do You Eat Bananas Before Sleeping? Here’s What Health Experts Say… See More 👇

🤔 What Does Wearing a Ring on the Right Hand Really Mean? The Answer May Surprise You… 👇

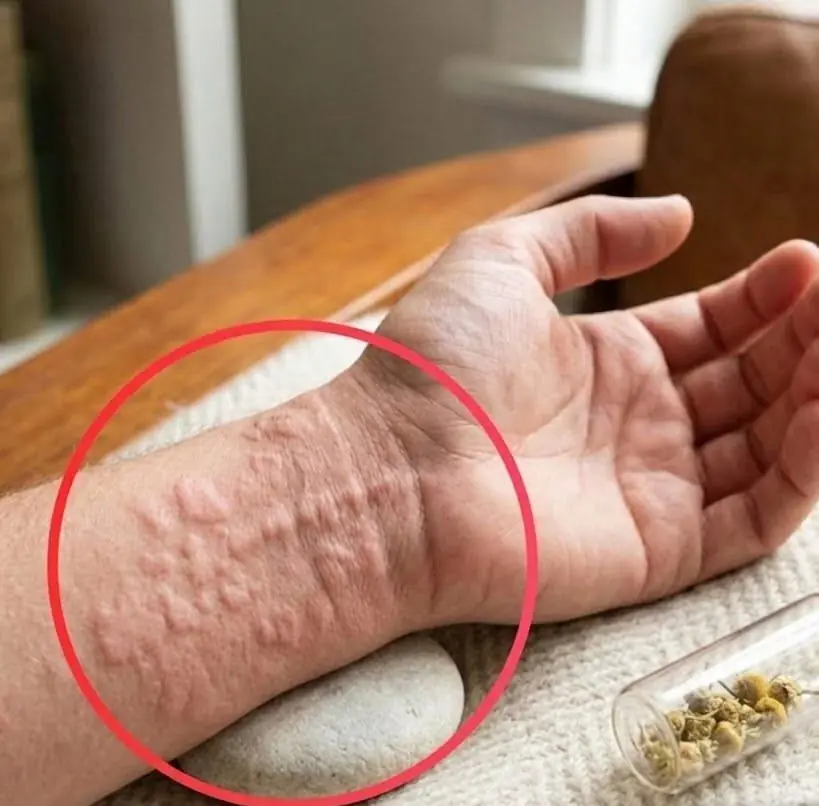
😰 If You Notice These Changes in Your Hands, It May Be Time to Pay Attention to Your Health
Doctors Warn This “Bitter Vegetable” May Be More Toxic Than Arsenic If Eaten Incorrectly
Think Twice Before Serving Tilapia to Your Family. The Reason Behind It Is Shocking

A 56-Year-Old Man Suffered a Stroke at Midnight—Doctors Point to These 4 Drinks
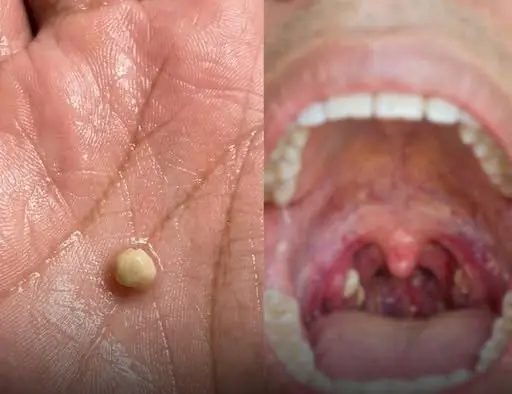
Suddenly Felt Like Something Was Stuck in My Throat… Swallowing Didn’t Help. Then a Strange Lump Came Out. What Was It

Couple Gets Liver C.anc.er Together. Doctor Finds the Cause Inside Their Fridg

One warning sign. Age 25. Stage 3 colon c.ance.r. Don't ignore what your body is telling you.

How to check if honey is real or fake

Think your kettle is safe? Number 2 shocks everyone
These are the consequences of sleeping with a... See more


7 Common Morning Symptoms That May Signal an Underlying Health Issue


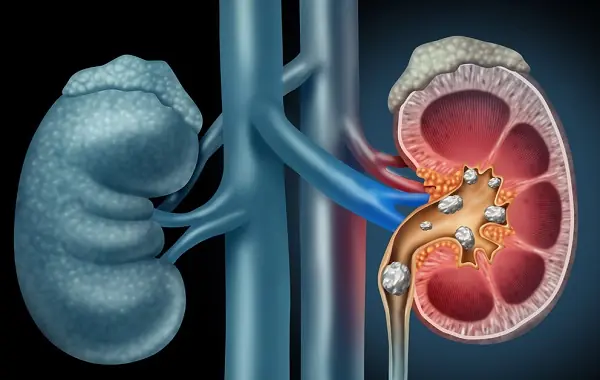
Are Your Kidneys Healthy? What Research Says About Early Warning Signs