Why This Matters More Than You Think
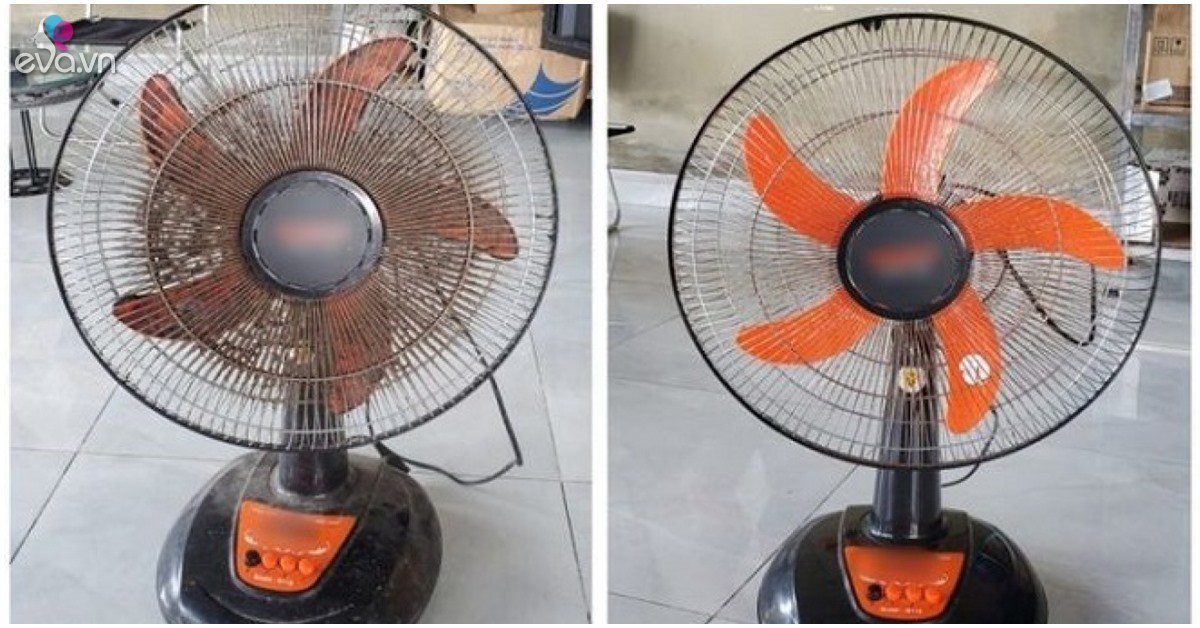
Fans collect dust fast—especially on the blades. Over time, that buildup doesn’t just look bad; it can:
- Reduce airflow efficiency
- Spread dust around the room
- Trigger allergies or breathing discomfort
Most people avoid cleaning because they think they need to take the fan apart. Good news: you don’t. There’s a simple, low-effort method that works without disassembly.
What You’ll Need
Keep it basic—no special tools required:
- A pillowcase (or large cloth bag)
- A microfiber cloth
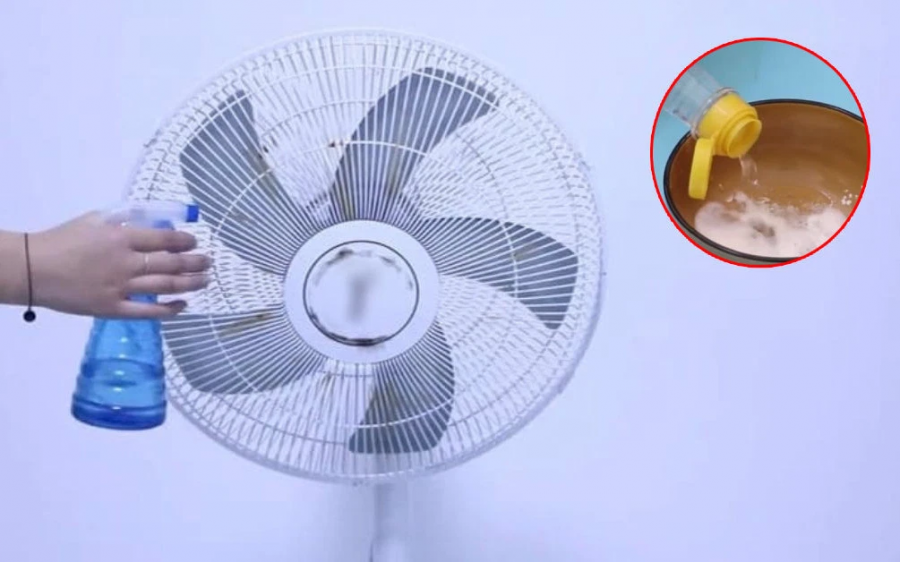
- Mild cleaning solution (water + a little soap or vinegar)
- A spray bottle (optional)
- A dry towel
The “Pillowcase Method” (The Easiest Way)
This is the go-to trick—clean, contained, and effective.
Step 1: Turn off and unplug the fan
Safety first. Never clean while it’s running or connected to power.
Step 2: Lightly dampen the inside of the pillowcase
You don’t want it dripping—just slightly moist so it can grab dust.
Step 3: Slide the pillowcase over one blade
Cover the entire blade inside the case.
Step 4: Gently press and pull back
As you pull the pillowcase off, it wipes both sides of the blade and traps dust inside.
Step 5: Repeat for all blades
Rotate the fan manually and clean each blade the same way.
Result:
Dust stays inside the pillowcase instead of falling all over your room.
Alternative Method: Cloth + Spray (For Stubborn Dirt)
If your fan hasn’t been cleaned in a while, you might need a bit more.
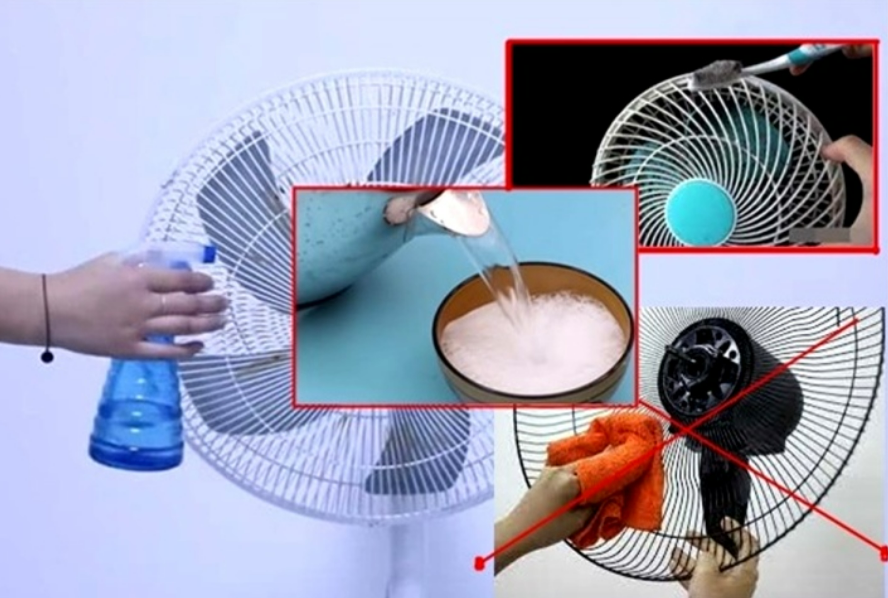
Step 1: Spray a small amount of cleaning solution onto a microfiber cloth (not directly onto the fan)
Step 2: Reach through the grille and wipe each blade carefully
Step 3: Use a dry cloth afterward to remove moisture
This helps remove sticky dust or grease buildup.
Pro Tips to Make It Even Easier
- Clean regularly (every 2–4 weeks) to prevent heavy buildup
- Use a step stool for ceiling fans—don’t overstretch
- Wear a mask if you’re sensitive to dust
- Place a sheet or newspaper underneath just in case
Common Mistakes to Avoid
- Spraying water directly onto the fan → can damage electrical parts
- Using a soaking wet cloth → leaves moisture behind
- Cleaning while plugged in → safety risk
- Ignoring the back side of blades → dust builds up there the most
Why This Method Works So Well
The key is containment + gentle pressure:
- The pillowcase traps dust instead of spreading it
- Light moisture helps dust stick instead of flying off
- No need to remove screws or deal with complicated parts
It’s fast, clean, and beginner-friendly.
When You Might Need Deep Cleaning
If your fan has:
- Thick, greasy buildup
- Mold or unusual odor
- Dust inside the motor area
Then a deeper clean (or professional help) might be needed. But for regular maintenance, this simple method is more than enough.
The Bigger Picture
This isn’t just about cleaning a fan.
It’s about:
- Improving indoor air quality
- Reducing allergens
- Keeping your space fresh with minimal effort
And the best part? It takes just a few minutes.
Final Thoughts
Cleaning fan blades doesn’t have to be complicated. With a simple pillowcase and a few minutes, you can remove dust effectively - without taking anything apart.
Sometimes, the smartest solutions aren’t the most complex - they’re the ones that make everyday tasks easier.
Clean smarter, not harder.