A dusty fan can make a clean room feel surprisingly dirty. Over time, dust settles on the blades, grille, motor housing, and other surfaces. When the fan is turned on, some of that buildup can be disturbed and blown back into the room.
The good news is that you don't always need to take the fan apart to give it a good basic cleaning. With a few simple household tools and the right technique, you can remove a significant amount of loose dust while keeping the process quick and relatively mess-free.
The key is to avoid simply moving the dust from the fan onto your furniture or floor. Instead, loosen the buildup carefully, capture it as you work, and finish with a gentle wipe.
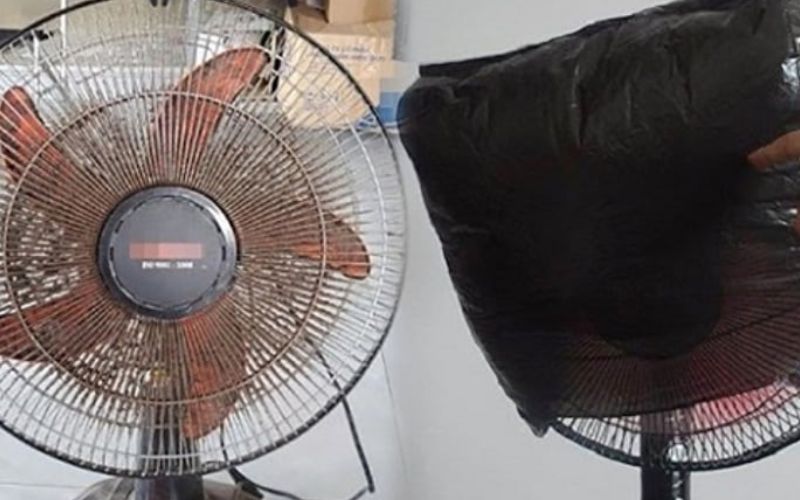
Why Should You Clean Your Fan Regularly?
Fans constantly move air, so their grilles and blades naturally collect airborne particles.
Depending on your home and how frequently the fan is used, you may notice:
-
A gray layer on the blades
-
Dust caught between grille openings
-
Fuzzy buildup around the motor housing
-
Dust around the base and controls
-
Small particles falling from the fan when it starts
A dirty fan may also become less pleasant to use.
Heavy dust accumulation can interfere with airflow and may contribute to unusual odors when the fan operates. Regular cleaning helps keep the appliance looking better and can support normal airflow.
You don't need to wait until the blades are visibly covered.
A quick cleaning every so often is much easier than trying to remove months of accumulated dust.
What You'll Need
You don't need an expensive cleaning kit.
A basic setup can include:
-
A microfiber cloth
-
A soft brush
-
A vacuum cleaner with a brush attachment
-
A spray bottle containing a small amount of water
-
A dry towel or old sheet
-
A soft, clean duster
For particularly dusty fans, wearing a face mask while cleaning can help reduce the amount of dust you inhale.
The most important tool, however, is your technique.
Step 1: Turn Off and Unplug the Fan
Before doing anything else, turn the fan off and unplug it from the electrical outlet.
This step should never be skipped.
A fan contains electrical components, and cleaning it while it's connected to power creates an unnecessary safety risk.
Allow the blades to stop completely before beginning.
If you've recently used the fan for a long period and the motor housing feels warm, give it time to cool.
Step 2: Move the Fan to an Easy-to-Clean Area
If possible, move the fan to an area where loose dust won't create another cleaning job.
For a portable fan, an open area such as a balcony, garage, or easy-to-clean floor can work well, provided the environment is dry and safe for the appliance.
If you can't move it, place an old towel, sheet, or newspaper underneath it.
This simple step can catch a surprising amount of falling dust.
Don't place the fan somewhere damp or expose the motor to rain or moisture.
Step 3: Remove Loose Dust With a Vacuum
A vacuum cleaner with a soft brush attachment can be one of the easiest ways to remove loose dust without taking the fan apart.
Start with the grille.
Move the brush attachment slowly across the front grille, allowing the vacuum to capture dust as it becomes loose.
Don't press aggressively against the grille.
A gentle approach is enough for most loose buildup.
If your fan has a rear grille, clean that area as well.
Pay attention to corners and edges where dust tends to accumulate.
Step 4: Use a Soft Brush for Stubborn Dust
Some dust becomes tangled around the grille and blades.
A soft paintbrush or dedicated cleaning brush can help loosen it.
Hold the vacuum nozzle nearby while brushing.
This creates a simple two-step process:
Brush → loosen the dust
Vacuum → capture the dust
It's much cleaner than brushing everything into the air.
Work slowly around the grille rather than making fast sweeping movements.
If the dust is thick, clean a small section at a time.
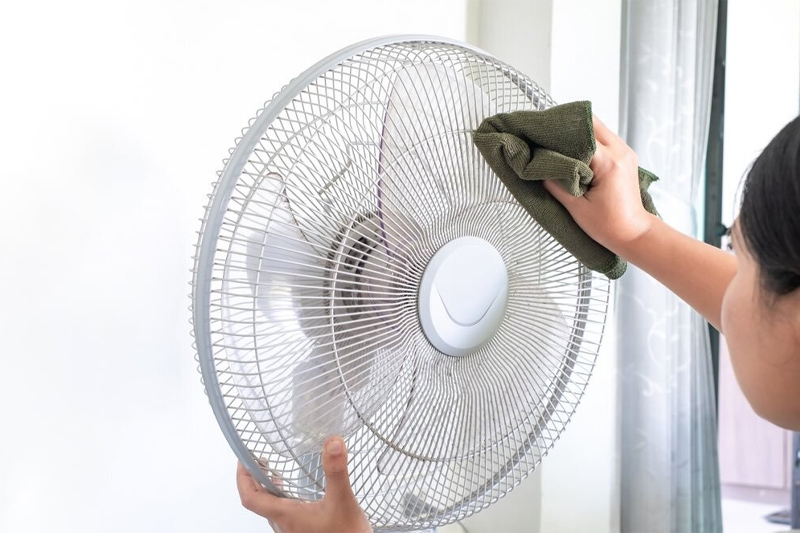
Step 5: Clean the Fan Blades Through the Grille
This is where patience helps.
Depending on the design of your fan, you may be able to reach portions of the blades through the grille.
Turn the blade only by gentle manual movement when the fan is unplugged, if the design allows it and you can do so without forcing anything.
Use a dry microfiber cloth to wipe accessible sections of the blades.
You can also use a soft brush to loosen dust while keeping the vacuum nearby.
Avoid forcing your fingers or tools deep into narrow openings.
If a blade is difficult to reach safely, don't try to bend the grille or force the blade into position.
The Pillowcase Trick
One popular household method involves placing a pillowcase over an accessible fan blade and gently wiping the blade inside the fabric.
The idea is simple: instead of allowing dust to fall onto the floor, the pillowcase helps contain the dust as it is wiped away.
If you use this method, make sure the fan is completely unplugged.
Don't use excessive force, and don't attempt to manipulate the blade in a way that could damage the fan.
This technique is most practical for fans where the blade can be accessed safely through the grille.
Step 6: Wipe the Grille
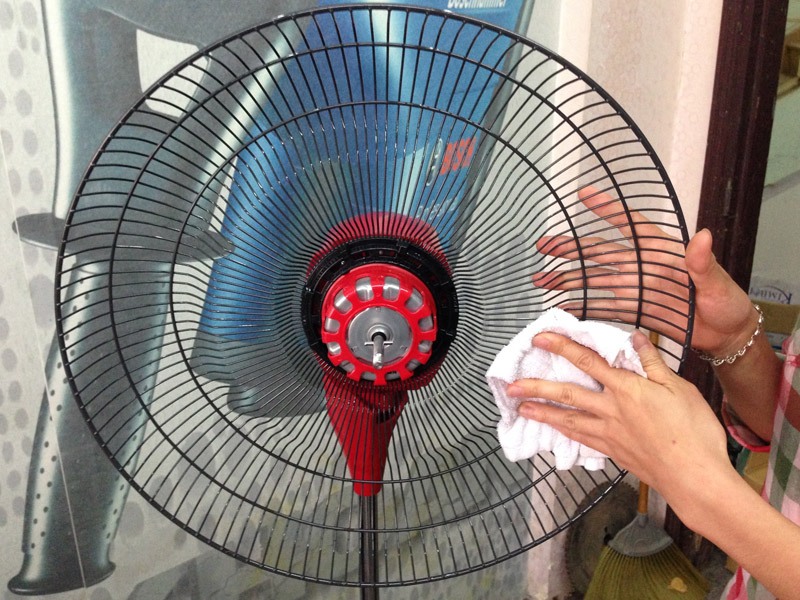
Once most of the loose dust has been removed, use a slightly damp microfiber cloth to wipe the accessible grille surfaces.
The cloth should be damp, not soaking wet.
You don't want water dripping into the motor housing or electrical components.
Work around the grille systematically.
If there are stubborn dusty areas, wipe them several times rather than soaking the surface.
A dry microfiber cloth can then be used to remove remaining moisture.
Step 7: Clean the Base and Exterior
Don't forget the parts you can easily see.
Dust often settles around:
-
The base
-
Control buttons
-
Oscillation controls
-
The back of the motor housing
-
Power cord
-
Stand
-
Adjustable joints
Use a dry or slightly damp cloth depending on the surface.
For buttons and seams, a soft brush can help remove fine particles.
Again, avoid allowing moisture to enter the controls or motor.
What You Should NOT Do
Trying to save time can sometimes create a bigger problem.
Don't spray cleaner directly onto the fan
Spraying liquid onto an electrical appliance can allow moisture to reach internal components.
Instead, apply a small amount of suitable cleaner to a cloth if the manufacturer permits it.
Don't pour water over the grille
A fan isn't designed to be washed like a household container.
Don't clean while plugged in
Always disconnect the power first.
Don't use excessive force
The grille and blades can be damaged if you bend or twist them.
Don't use a hard brush
A stiff brush can scratch plastic surfaces or damage delicate grille sections.
Don't immediately turn the fan on if it is still damp
Allow all cleaned surfaces to dry completely before reconnecting the appliance.
How Often Should You Clean a Fan?
There's no universal schedule because every home is different.
A fan used daily in a dusty environment may need attention much more frequently than a fan used occasionally in a relatively clean room.
As a general habit, inspect the fan regularly.
If you can see a noticeable layer of dust on the grille or blades, it's probably time for a cleaning.
A quick dusting every couple of weeks can be easier than waiting several months and dealing with thick buildup.
Homes with pets may also require more frequent cleaning because hair and dander can accumulate alongside ordinary household dust.
Why Microfiber Works So Well
Microfiber cloths are particularly useful for household dust because their fine fibers can capture particles rather than simply pushing them across the surface.
For fan maintenance, this makes them useful for:
-
Blades
-
Grilles
-
Stands
-
Exterior housing
-
Control areas
Use a dry microfiber cloth for loose dust.
For more stubborn residue, a slightly damp cloth may work better.
Keep separate cloths for dusty cleaning jobs and other household tasks to avoid spreading grime around your home.
A Simple 10-Minute Fan Cleaning Routine
If your fan isn't heavily soiled, you can keep the process simple.
Minute 1–2: Prepare
Unplug the fan and place a towel underneath it.
Minute 3–4: Vacuum
Use a soft brush attachment to remove loose dust from the grille.
Minute 5–6: Brush
Use a soft brush to loosen stubborn particles while vacuuming.
Minute 7–8: Wipe
Use a microfiber cloth on accessible blades and exterior surfaces.
Minute 9: Clean the base
Wipe the stand, controls, and cord.
Minute 10: Inspect
Make sure there is no moisture remaining and that nothing has been damaged or left inside the grille.
For a lightly dusty fan, that's often enough to make a noticeable difference.
What If the Fan Is Extremely Dirty?
Sometimes a fan has been neglected for so long that cleaning through the grille simply isn't enough.
If there is thick, sticky buildup, extensive dust inside the housing, or debris that you cannot safely reach, check the manufacturer's cleaning instructions.
Some fans are specifically designed to allow the grille or blades to be removed for deeper cleaning.
Others aren't.
Don't force a component off simply because you've seen someone online disassemble a similar-looking model.
Fan designs vary, and damaging the housing can create both safety and performance problems.
If the motor or internal electrical components are heavily contaminated, professional servicing may be the safer option.
A Cleaner Fan Starts With a Cleaner Room
Fan dust doesn't come from nowhere.
The amount that accumulates depends partly on the environment around the appliance.
Regularly vacuuming or sweeping floors, cleaning surfaces, managing pet hair, and keeping windows and vents reasonably clean can reduce the amount of airborne material available to settle on the fan.
This doesn't mean you need a perfectly dust-free home.
It simply means that general household cleaning and fan maintenance work together.
The Bottom Line
You don't necessarily need to disassemble your fan every time you want to remove dust.
A vacuum with a soft brush attachment, a microfiber cloth, and a soft cleaning brush can handle much of the routine buildup.
The most important steps are simple:
Unplug the fan first.
Capture dust instead of blowing it around.
Use gentle tools.
Keep moisture away from electrical components.
Let everything dry completely before reconnecting the fan.
And if your fan is heavily soiled or the manufacturer's instructions require disassembly for deeper cleaning, follow the specific guidance for your model.
A few minutes of regular maintenance can keep your fan looking cleaner, help maintain unobstructed airflow, and save you from dealing with a much bigger cleaning job later.