Mopping the floor seems like one of those household chores that should be impossible to get wrong.
Fill a bucket with water, grab a mop, run it across the floor, and you're finished.
But if you've ever cleaned a floor with plain water only to notice footprints, sticky patches, greasy areas, or a dull film appearing again soon afterward, you may have wondered whether you're actually removing the dirt—or simply moving it around.
The good news is that you don't necessarily need an expensive cleaning product or a complicated routine.
One simple upgrade can make a noticeable difference:
Use a small amount of an appropriate floor-cleaning solution instead of relying on plain water alone.
The important word is appropriate. More cleaner doesn't mean a cleaner floor, and using the wrong household ingredient can actually damage certain surfaces.
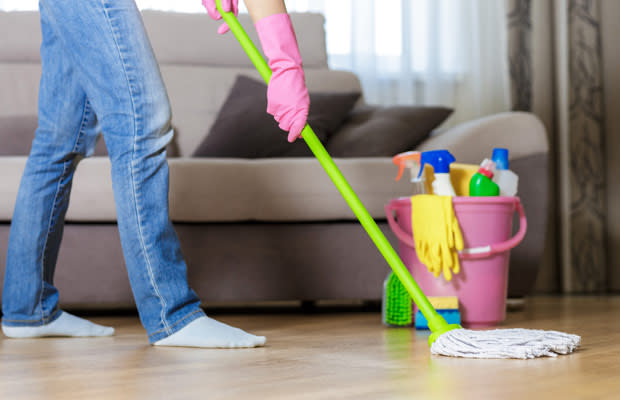
Why Plain Water Doesn't Always Remove Everything
Water is excellent at dissolving and carrying away many water-soluble substances.
But household floors collect much more than water-soluble dirt.
Think about everything that ends up on a floor during a normal day:
-
Dust
-
Food particles
-
Body oils
-
Grease
-
Soap residue
-
Spilled drinks
-
Dirt tracked in from outdoors
-
Pet residue
-
Sticky substances
-
Fine particles from shoes
Some of these substances don't dissolve easily in plain water.
Grease and oily residue are particularly difficult.
When you mop with water alone, the mop can pick up some loose dirt, but oily material may remain attached to the surface. Dirty water can also be redistributed across the floor if the mop isn't rinsed frequently.
That's one reason a floor can look clean immediately after mopping but feel slightly sticky once it dries.
The Simple Upgrade: Use the Right Cleaner
For most sealed household floors, the easiest improvement is to add a small amount of a manufacturer-approved or appropriately labeled floor cleaner to the cleaning water.
A properly formulated floor cleaner can help loosen soil and oily residue so that the mop can remove it more effectively.
But don't make the mistake of thinking that a stronger concentration is better.
In cleaning, more product can sometimes mean more residue.
Too much cleaner may leave behind a film that attracts dust and makes the floor feel sticky.
Always follow the dilution instructions on the product label.
The Mop Water Isn't the Whole Story
There's another important factor that many people overlook:
the mop itself.
A dirty mop cannot effectively clean a floor.
Imagine washing a dirty plate with a greasy sponge without rinsing the sponge.
You might spread some of the grease around rather than removing it.
The same principle applies to mopping.
If your mop becomes visibly dirty, rinse it thoroughly or change the cleaning solution.
For larger floors, changing dirty water partway through the job can also make a significant difference.
Otherwise, you may be taking dirt from one section of the room and depositing some of it onto another.
Try the Two-Bucket Method
If your floors get particularly dirty, consider using two buckets.
One bucket contains your properly diluted cleaning solution.
The second contains clean water for rinsing the mop.
The basic process is simple:
1. Dip the mop into the cleaning solution.
2. Wring it out thoroughly.
3. Clean a small section of floor.
4. Rinse the mop in the clean-water bucket.
5. Wring it out again.
6. Return to the cleaning solution.
This separates much of the dirty rinse water from your cleaning solution.
You don't necessarily need two buckets for a small, lightly soiled room, but the method can be useful for larger or heavily trafficked areas.
Don't Soak the Floor
One of the biggest mistakes people make when mopping is using too much water.
A soaking-wet floor isn't necessarily a cleaner floor.
Excess moisture can create problems, particularly with materials that are sensitive to water.
Depending on the flooring, too much water can contribute to:
-
Swelling
-
Warping
-
Damage to seams
-
Discoloration
-
Adhesive problems
-
Longer drying times
-
Slippery surfaces
This is particularly important with laminate, engineered wood, hardwood, and some types of vinyl flooring.
Always follow the flooring manufacturer's care instructions.
For many floors, the ideal mop is damp rather than dripping wet.
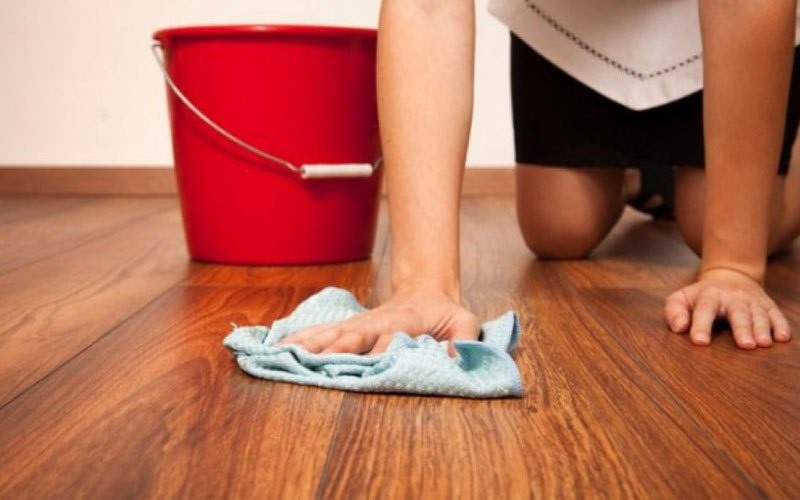
What About Vinegar?
This is where popular cleaning advice can become misleading.
Vinegar is frequently recommended online as a universal floor cleaner.
But vinegar isn't appropriate for every floor.
Its acidity may damage or dull certain stone surfaces, including some types of marble, limestone, and travertine.
It can also be unsuitable for certain finishes or materials.
If you're considering vinegar, first check what your flooring manufacturer recommends.
And never assume that because something is “natural,” it is automatically safe for every surface.
What About Baking Soda?
Baking soda is another popular household cleaning ingredient.
It can be useful for certain cleaning tasks because of its mild abrasive properties and ability to help neutralize some odors.
But using it as a routine floor cleaner isn't necessarily appropriate for every surface.
On delicate or glossy finishes, abrasive materials can potentially affect the appearance over time.
For routine floor cleaning, a product specifically designed for your flooring type is generally the safer choice.
Never Mix Random Cleaning Products
This is one household rule worth remembering:
Don't mix cleaning chemicals unless the product instructions specifically say the combination is safe.
In particular, bleach should never be mixed with acids such as vinegar or with ammonia-containing products.
Certain combinations can produce dangerous gases.
You don't need a complicated chemistry experiment to clean your floor.
Use one appropriate product according to its label, provide adequate ventilation when recommended, and keep cleaning chemicals away from children and pets.
The Right Technique Matters More Than You Think
Even the best cleaning solution won't work well if the technique is inefficient.
Instead of randomly pushing the mop back and forth, work systematically.
Start at the farthest part of the room and work toward the exit.
This prevents you from walking repeatedly across areas you've just cleaned.
For larger rooms, divide the floor into manageable sections.
Clean one section thoroughly before moving to the next.
This makes it easier to notice areas that need extra attention.
Deal With Sticky Spots Separately
Mopping isn't always the best first step for stubborn spills.
If someone drops juice, cooking oil, sauce, or another sticky substance on the floor, wipe it up as soon as practical.
The longer it sits, the more difficult it may become to remove.
For dried-on residue, use a cleaning method compatible with the flooring material rather than repeatedly soaking the entire floor.
A small amount of targeted cleaning can be much more effective than repeatedly mopping the whole room.
Clean From Cleaner Areas Toward Dirtier Areas
There's a simple principle professional cleaners often follow:
Don't spread the dirtiest material into the cleanest areas.
For example, if you're cleaning a home with a relatively clean bedroom and a heavily trafficked entryway, you might clean the less dirty areas first and save the dirtiest areas for last.
Likewise, bathrooms and kitchen floors may require more frequent mop-water changes than lightly used rooms.
This reduces the chance of transferring grime around the house.
Don't Forget the Edges
A mop does a decent job in the middle of a room.
But dirt often accumulates where the floor meets:
-
Baseboards
-
Cabinets
-
Walls
-
Furniture
-
Door frames
These areas can be easy to miss.
Every so often, clean the edges manually with an appropriate cloth or cleaning tool.
You don't have to do this every time you mop, but periodically addressing these neglected areas can make the entire floor look noticeably cleaner.
Your Shoes May Be Undoing Your Cleaning
There's another simple way to keep floors cleaner for longer:
Reduce the amount of dirt that gets onto them in the first place.
Shoes can carry outdoor dirt, dust, oils, and other particles into the house.
A doormat near the entrance can help capture some of that material.
You can also establish a habit of removing outdoor shoes near the entrance if that fits your household.
This doesn't eliminate the need for cleaning, but it can reduce how quickly floors become dirty again.
How Often Should You Mop?
There isn't one perfect schedule for every home.
It depends on:
-
Number of people
-
Pets
-
Children
-
Foot traffic
-
Flooring type
-
Cooking habits
-
Outdoor environment
-
Whether shoes are worn indoors
High-traffic areas may need more frequent cleaning than bedrooms or rarely used rooms.
Rather than following an arbitrary schedule, pay attention to how your floors actually look and feel.
Visible dirt, sticky areas, footprints, and accumulated grime are obvious signals that cleaning is needed.
Different Floors Need Different Care
This is perhaps the most important caveat.
There is no universal mopping solution that's perfect for every floor.
Hardwood
Use products specifically designed for finished hardwood and avoid excessive water.
Laminate
Use minimal moisture and follow the manufacturer's recommendations carefully.
Tile
Tile generally tolerates more moisture, but grout can accumulate dirt and may require separate cleaning.
Natural Stone
Be especially careful with acidic cleaners. Some stones are sensitive to acids and harsh chemicals.
Vinyl
Many vinyl floors are relatively easy to maintain, but the specific manufacturer's instructions still matter.
Before trying a viral cleaning hack, find out what your floor is actually made of.
That five-minute check could save you from an expensive repair.
A Simple Mopping Routine That Works
For many households, a practical routine looks like this:
Step 1: Remove loose dirt
Sweep or vacuum first.
There's little point in pushing loose dust and crumbs around with a wet mop.
Step 2: Prepare the cleaner
Use a suitable floor-cleaning product at the recommended dilution.
Don't guess the concentration.
Step 3: Wring out the mop
Use enough moisture to clean effectively without flooding the floor.
Step 4: Work in sections
Move systematically toward the exit.
Step 5: Rinse the mop regularly
Don't continue using a visibly dirty mop without rinsing it.
Step 6: Change dirty water
If the water becomes visibly cloudy or dirty, replace it.
Step 7: Allow the floor to dry
Good airflow can help speed drying.
Step 8: Put everything away safely
Rinse and dry the mop according to its care instructions, and store cleaning products securely.
The Real Secret Isn't a “Magic” Ingredient
The internet is full of claims about adding unusual ingredients to mop water.
Salt.
Dish soap.
Essential oils.
Fabric softener.
Vinegar.
Baking soda.
Various homemade mixtures.
Some may have legitimate uses in particular situations, but more ingredients don't automatically produce a cleaner floor.
In fact, some can leave residue, damage finishes, create slippery surfaces, or produce dangerous chemical reactions.
The most reliable approach is much less exciting:
Use the correct product for the surface, use the correct amount, use a reasonably clean mop, and don't flood the floor.
Good cleaning is usually about technique and consistency rather than a secret formula.
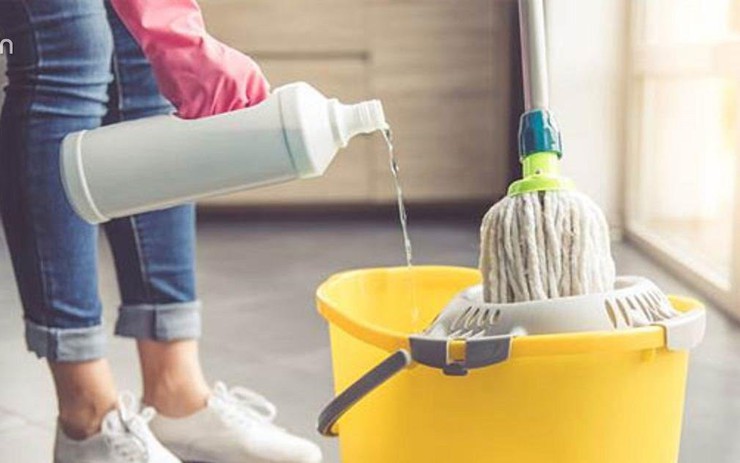
Final Thoughts
If you've been mopping your floors with plain water, you're not necessarily doing anything wrong.
Water can remove loose dirt and many everyday residues.
But when you're dealing with grease, sticky spills, tracked-in grime, or heavier soil, an appropriate floor-cleaning solution may help loosen and remove residue more effectively.
The trick isn't to make your cleaning water stronger.
It's to make your cleaning routine smarter.
Sweep or vacuum first. Use the right cleaner for your flooring. Follow the dilution instructions. Rinse the mop frequently. Change dirty water. Use minimal moisture on water-sensitive floors.
And be skeptical of viral cleaning hacks that promise extraordinary results from a single household ingredient.
Sometimes the best “upgrade” isn't a secret ingredient at all.
It's using the right cleaner, in the right amount, with the right technique.