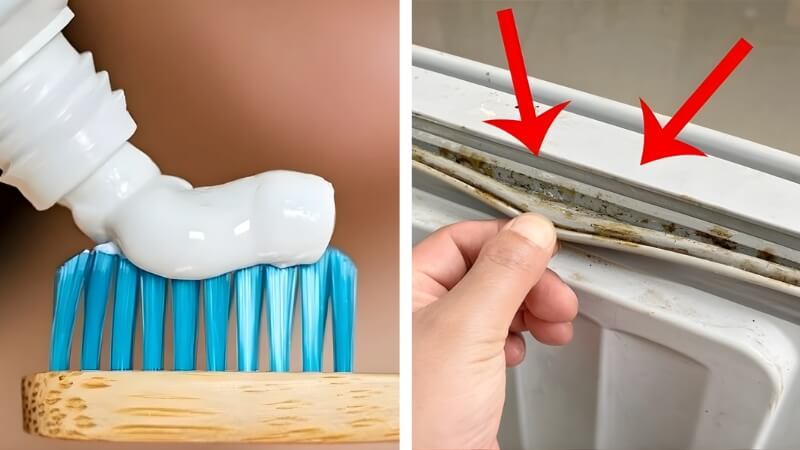
Refrigerator door seals - also called gaskets are easy to overlook, but they play a crucial role in keeping your fridge efficient and hygienic. These flexible rubber strips create an airtight seal that helps maintain a consistent internal temperature. Over time, however, they can collect crumbs, moisture, and even mold, especially in the folds.
The good news? You don’t need special equipment or harsh chemicals to clean them. With a few simple steps and common household items, you can keep your fridge seals clean, fresh, and working properly.

Why Cleaning Fridge Seals Matters
Before jumping into the method, it helps to understand why this small task is worth your attention.
✔ Prevents mold and odors
The folds in rubber gaskets can trap moisture, creating an ideal environment for mold and bacteria. Regular cleaning helps keep unpleasant smells away.
✔ Improves energy efficiency
Dirty or damaged seals may not close properly, allowing cold air to escape. This forces your fridge to work harder, using more energy.
✔ Extends the lifespan of your appliance
Well-maintained seals reduce strain on the refrigerator, helping it function more effectively over time.
What You’ll Need
Most of the items are already in your kitchen:
- Warm water
- Mild dish soap or white vinegar
- Baking soda (optional)
- A soft cloth or sponge
- An old toothbrush or small brush
- Dry towel
Step-by-Step Cleaning Method
1. Open the Fridge and Inspect the Seals
Start by opening the refrigerator door and gently pulling back the folds of the gasket. Check for dirt, sticky residue, or dark spots.
2. Prepare a Gentle Cleaning Solution
Mix warm water with a small amount of dish soap.
Alternatively, you can use a diluted vinegar solution for extra deodorizing power.
3. Clean the Surface
Dip a cloth or sponge into the solution and wipe along the gasket. Be sure to clean both the outer surface and inside the folds.
4. Use a Brush for Tight Areas
For corners and grooves, use a soft toothbrush to gently scrub away buildup. This helps remove dirt without damaging the rubber.
5. Rinse and Wipe Again
Use a clean, damp cloth to remove any leftover soap or residue.
6. Dry Thoroughly
Dry the gasket completely with a towel. This step is important to prevent moisture from returning and causing new mold growth.
Extra Tips for Better Results
🔹 Clean regularly
A quick wipe once a week can prevent buildup and make deep cleaning easier.
🔹 Avoid harsh chemicals
Strong cleaners like bleach can damage rubber over time. Stick to mild solutions.
🔹 Check for damage
While cleaning, look for cracks or loosened areas. Damaged seals may need replacement to maintain efficiency.
🔹 Keep the door area dry
Spills and condensation around the door can lead to faster buildup - wipe them up promptly.
When to Pay More Attention
If you notice:
- Persistent dark spots
- Strong odors
- The fridge not sealing properly
It may be time for a more thorough cleaning or to consider replacing the gasket.

Final Thoughts
Cleaning your refrigerator seals doesn’t take much time, but it can make a noticeable difference in both hygiene and performance. By incorporating this simple habit into your routine, you’ll help keep your fridge running efficiently and your food stored safely.
Sometimes, it’s the small details - like a clean gasket that make the biggest impact in your home.