Quick way to fix
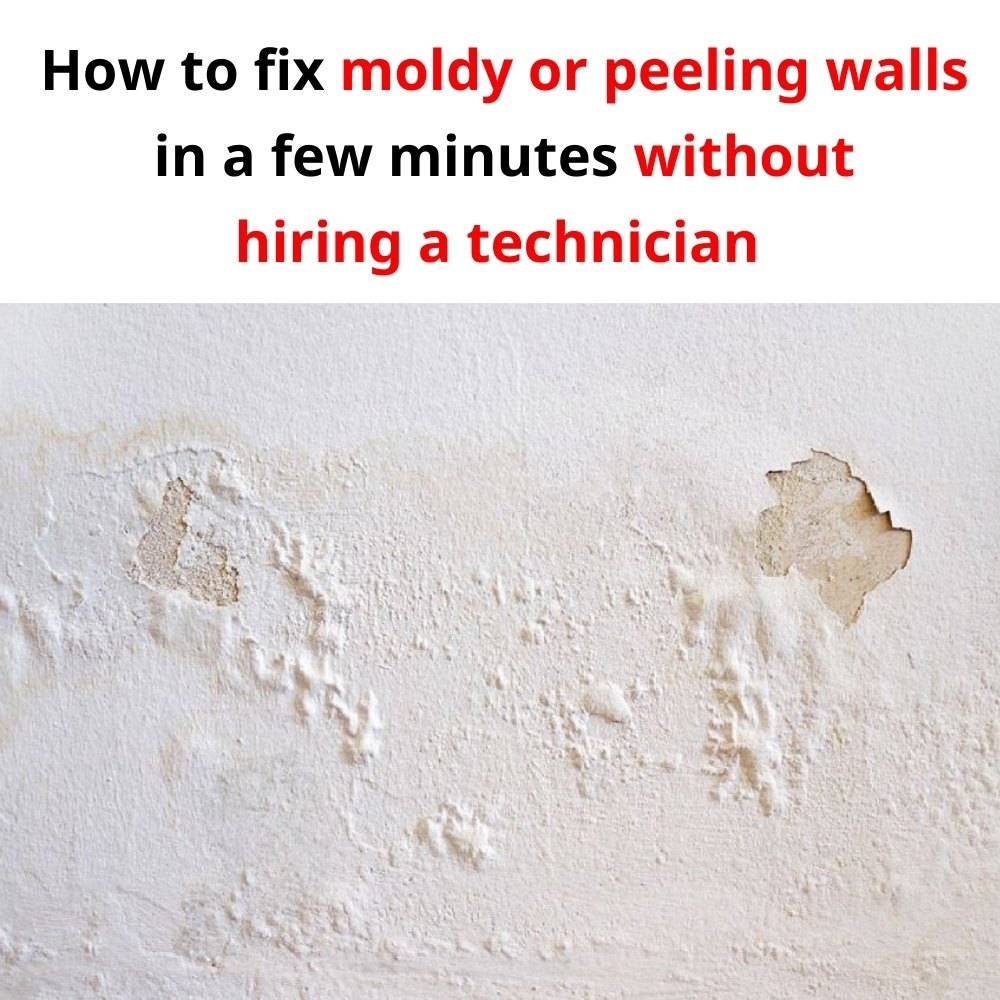
Over time, your home's walls may develop mold, blister, or peel, especially during the rainy season when the problem tends to worsen. Moldy walls not only diminish the aesthetic appeal of your home but also pose health risks to your family. While many people turn to professionals for help, you can easily address these issues yourself using the following methods. This approach saves you money and keeps your walls looking clean and fresh.
1. Mold TreatmentStep 1: Start by removing visible mold. Use a dry toothbrush to scrub off the mold spots gently. Then, take a soft cloth soaked in alcohol and wipe the wall to dry it out and prevent further mold growth.
Step 2: Mix bleach and water in a 1:99 ratio. Pour the solution into a spray bottle and spray it on the moldy areas. This helps eliminate mold effectively. During humid weather, you can use a stronger mixture of bleach and water in a 1:20 ratio for better results.
Once the wall has dried, use sandpaper to smooth the surface. Apply a layer of waterproof primer before repainting to prevent future mold caused by moisture.
2. Blistering WallsBlistered walls are common and often result from issues like poor wall preparation or moisture. Here's how to fix them:
Step 1: Remove any blistered or peeling paint. If the problem stems from poor-quality wall filler, scrape it off and replace it with a high-quality filler.
Step 2: For small, localized blisters, scrape off the affected area, smooth the edges, and then apply primer and repaint. For larger blisters, remove the entire affected section, let the wall dry completely, and reapply plaster.
Step 3: During home decoration, ensure proper waterproofing and repair any cracks to prevent blistering.
Step 4: Avoid painting during the rainy season and use matching primer and paint products from the same brand to achieve the best results.
3. Peeling WallsPeeling walls not only look unattractive but also create dust and sanitation issues. Here's how to address peeling effectively:
Step 1: Scrape off the peeling areas and remove old filler. Smooth the edges with sandpaper, then apply primer before repainting.
Step 2: For severe peeling, remove the damaged wall layer entirely and treat the surface with primer before repainting.
Step 3: For heavily peeling areas, spray water to dampen the section and use a scraper to remove the peeling paint. If no dust falls off during scraping, the original filler quality is good. Sand the area to smooth it, then apply primer and paint as needed.
By following these simple steps, you can maintain your home's walls in excellent condition without relying on professional services.

