Grimy grout can instantly make a clean bathroom look old and neglected. Over time, mold, mildew, and soap scum build up in the tiny spaces between tiles, turning once-bright lines into unsightly dark stains. But the good news? You don’t need harsh chemicals or hours of scrubbing to get your bathroom looking brand new again.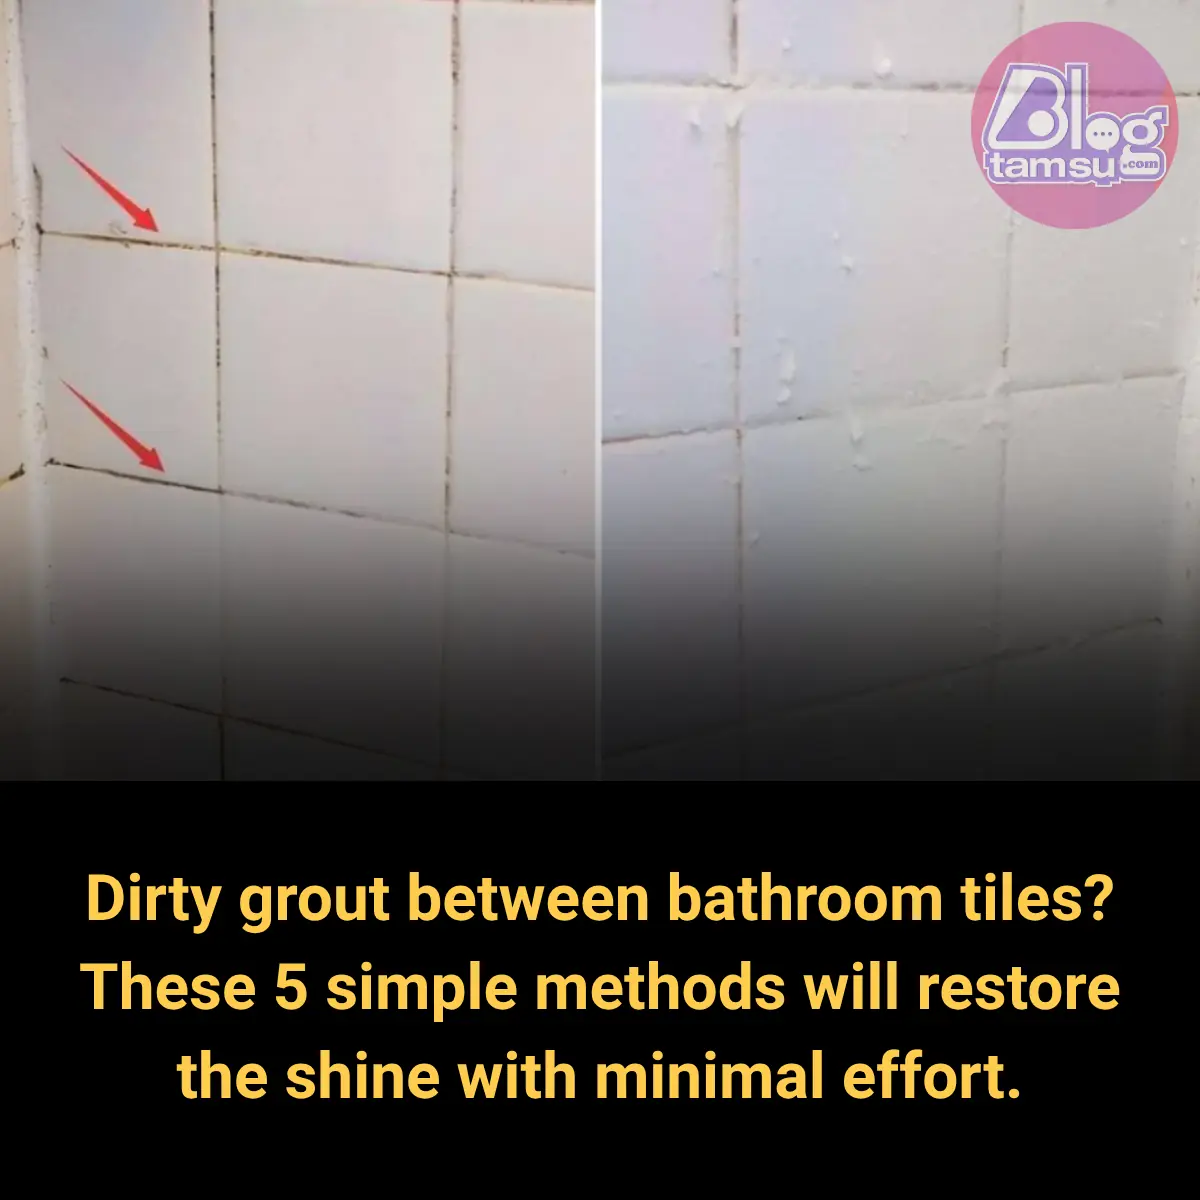
Here are 5 simple and effective methods to clean dirty grout and bring back the shine — all with minimal effort.
1. Baking Soda + Vinegar Combo
One of the most powerful natural cleaners you already have in your kitchen.
-
How to use:
Mix baking soda with water to form a paste. Apply it to the grout lines. Then spray white vinegar over the paste. Let it fizz and sit for 5–10 minutes. Scrub gently with a toothbrush, rinse with warm water, and enjoy the sparkle. -
Why it works:
Baking soda lifts stains while vinegar kills bacteria and dissolves grime.
2. Hydrogen Peroxide Solution
Perfect for tough stains and deep cleaning.
-
How to use:
Mix equal parts hydrogen peroxide and water in a spray bottle. Spray it directly onto dirty grout. Let it sit for 10–15 minutes, then scrub and rinse. -
Pro tip:
For stubborn areas, mix hydrogen peroxide with baking soda instead of water.
3. Lemon Juice Magic
Great for light stains and everyday shine.
-
How to use:
Squeeze fresh lemon juice directly onto grout. Let it sit for 5 minutes, scrub lightly, and rinse. Lemon acts as a natural bleach and leaves a fresh scent.
4. Toothpaste Trick
Yes, the same stuff you use on your teeth!
-
How to use:
Apply white (non-gel) toothpaste to the grout lines. Scrub with an old toothbrush and rinse clean. -
Why it works:
The mild abrasives in toothpaste polish the grout without damaging it.
5. Steam Cleaning
If you have a steam cleaner, this is a game changer.
-
How to use:
Use a steam cleaner with a narrow nozzle to blast away dirt and bacteria from grout lines. No chemicals required! -
Bonus:
It also sanitizes your bathroom surfaces at the same time.
Final Tip: Seal the Grout
Once your grout is clean, consider applying a grout sealer to protect it from future stains and buildup. It’s a simple step that will make your next cleaning job much easier.