 4 hours • Intermediate • 75 What You’ll Need Joint compound Set of trowels 120-grit sandpaper 150-grit sandpaper Sanding block What You’ll Need Joint compound Set of trowels 120-grit sandpaper 150-grit sandpaper Sanding block
Joint compound is used for many kinds of construction and repairs. Its prime applications are applying and holding drywall tape, finishing drywall panel joints, corner beads, and trim, and filling the recesses from nail and screw heads before applying a skim coat. You can also fix minor damage or imperfections with drywall joint compounds, including cracks, holes, bumps, and tears. You’ll even find joint compounds used to fill in depressions, smooth patches, and create flat surfaces.
In standard drywall installation, you nail or screw the drywall in place and then use joint compound to set the tape over the seam, along with filling the nail/screw head and other indentations to bring the surface perfectly flat even with the application of the skim coat. Drywall is usually painted, but if the joint compound isn’t even with the surface of the drywall, the finished product will look rough and sloppy, leaving the finished areas very noticeable.
The information below will show how to properly sand joint compounds so that you will never have to worry about unsightly finished drywall surfaces again.
Applying Joint Compound
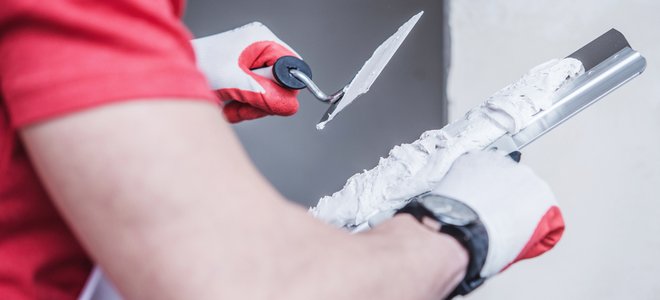
The first step in sanding the joint compound is making sure it is put on the drywall correctly. The biggest mistake that you can make is using too much. When you apply the joint compound, limit the application area to a manageable size. Use several trowels, beginning with a three to four-inch trowel to cover the closely affected areas first, before shifting to wider trowels as you keep building up the compound material to a flat overall surface.
The compound needs to be applied in several coats, up to five in the case of a perfect final skimming job, each coat applied very thin and blending into the drywall at the edges. Each of the coatings should then be left to dry completely before applying the subsequent one.

Drying Time and Tips
When you set out to sand down the joint compound, you need to dry it first. You can easily tell and feel when the compound is dry enough as it becomes very apparent as it takes on a lighter grey shade, starting at the edges and moving toward the center where the coat is thicker. You can also feel the moisture inside the compound to the touch.
The drying time will greatly vary depending on the humidity of your environment. For instance, new construction that is not heated and completely sealed-in can take hours during rainy days. The point is that the natural force of hygroscopic affinity of the air that sucks the moisture from the drywall is proportional to the difference of moisture content between the air and the surface, so using heaters to dry the air will speed up the drying process as will the use of fans that will circulate dryer air over the drywall.
If you try to apply a coat before the drying time is complete, the previous coat will tend to “roll” under the movement of the trowel and ruin the previous application. If you try to sand it prematurely, the damp compound will gum up your sandpaper rendering it useless.
Another solution is to choose a joint compound that changes color. As the compound dries, it will turn blue, signifying that it is ready to be sanded.

Sanding the Joint Compound
The joint compound should never require a lot of sanding. Some sanding may be required between coats, but there should not be a lot if you did it right. Before you apply subsequent coatings, you should be able to tell where you have high spots when the 10-inch trowel tends to “rock” on the bump, and unless it is minimal, sand it flat right away, and remain careful not to create build-ups.
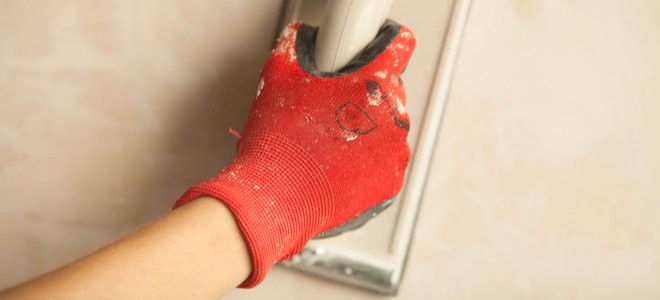
Use the sanding block at a slight angle and use even pressure as you sand with the length of the sanding block across the seams. This will prevent the sanding block from “digging” in the joint where the compound is thicker, creating dips into the softer area. While sanding along the seam to finish up, make sure that your sanding blocks’ extremities are over the flat surfaces.
A sandpaper or drywall screen at 120 grit should be coarse enough to sand the larger amounts of the compound, but coarser grades are also available. Whatever grade is used should be followed by sanding with gradually finer grits to remove deeper scratches until you finish with 150 grit paper. This will ensure that deep scratches or lines or swirls don’t become visible through the paint afterward.
To elaborate a step further, you can achieve the very best result with a skim-coating technique, but it is not done by many to keep costs down. This technique applies thin layers of gypsum-based joint compound over the entire surface after the plastering is sanded evenly and perfectly flat. Most of the sanding is completed before the application of the skim coats.
More From Doityourself What Is the Difference Between Spackle and Joint Compound? Where to Buy Drywall
Source link : https://www.doityourself.com/stry/how-to-sand-joint-compound


