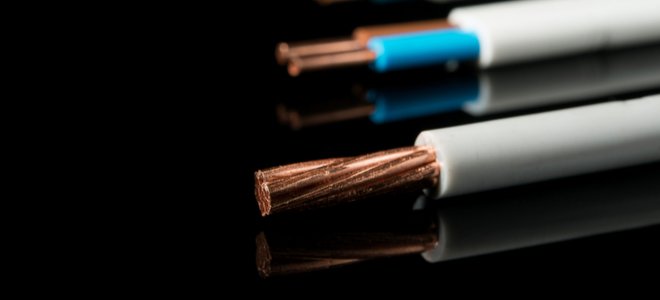
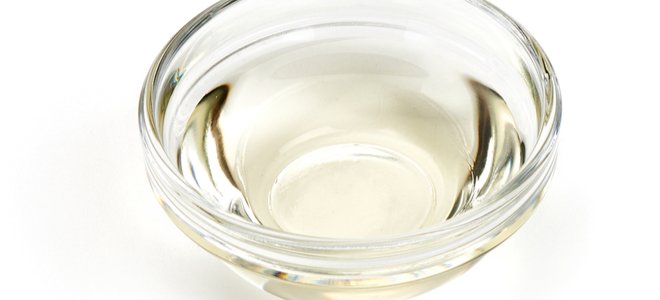
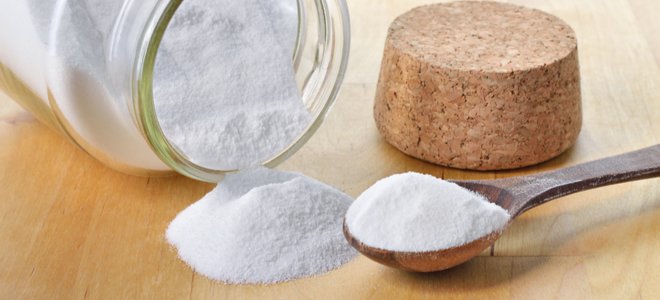
 1 hours • Beginner • 10 What You’ll Need Vinegar Salt Baking soda Water Wire stripper What You’ll Need Vinegar Salt Baking soda Water Wire stripper
Copper is a soft metal that facilitates the flow of electrical current with minimal resistance especially when secured with clean connections and appropriate gauges and lengths. The fact that copper contains little to no iron makes it rust-proof, a trait it shares with brass and bronze.
The conductivity of copper, however, can be greatly reduced if it starts building up a coating of oxidation. The resistance this causes can cut off the current flow and possibly cause connections to heat up. This effect is frequently seen on car battery terminals, which can suffer extensive build-ups of white ashy substance if they’re not maintained.
Copper, bronze and brass tend to come with a shiny finish when purchased, but they can lose their shine after just a few months of regular use. Expensive brass hardware can acquire a dull dark color if they’re not regularly serviced with a special cleaner such as Brasso. These changes are also noticeable in public monuments and plaques, which take on a dull dark green appearance after a short time outside.
Step 1 – Understanding the Problem
This type of corrosion is caused by a chemical reaction that happens naturally when the material is exposed to oxygen, which is why it’s called oxidation. Oxidation is different from rust, which causes actual physical degradation. In fact, the green patina can actually protect the underlying metal from further corroding. The same effect that causes this insulation, though, causes resistance against the current flow, so it needs to be cleaned off.
Oxidation isn’t always limited to what you can see—it can creep up inside wiring insulation, and if you don’t remove all of it, it will simply grow over the rest of the wire again. So before you begin cleaning the copper wire, it’s best to strip the insulation far enough back to make sure you are getting all of the corrosion off in one sweep.
 While you’re doing this, you might come across some stranded copper wires that are more of a silvery color. That type of wire is intentionally coated or “tinned” during the manufacturing process to protect it from any corrosion and create the best possible connections.
Tinning the wires is actually a process anyone can do with a soldering iron, flux, and solder. The process consists of twisting together all the strands making up the wire, coat the exposed wire with flux which is designed to make the thin flow through the strands adhering to them, and then heating up the exposed fluxed wire with the soldering iron until it gets hot enough to melt the solder and absorb it. The process will also keep all the strands together as one.

Step 2 – Preparing the Oxide Cleaner
The best chemical to clean copper wiring would be acetic acid, and the best news is that it is readily available in every household, better known as vinegar. Any type of vinegar is good to do this, from white, or balsamic, or rice vinegar and combined with salt, another common ingredient. When you dip the exposed wire into such a solution, the acid from the vinegar strips the patina from the copper while the salt provides the abrasion necessary to remove the grime.Along with those products, you will need at least two containers made of plastic, glass, or paper such as paper cups, one container to be put aside for the next chemical solution.
Begin with putting one tablespoon of salt in the first container and fill the rest with the vinegar while stirring the solution together. while stirring, you should then add as much salt to the container as the solution will dissolve.

Step 3 – Preparing the Neutralizer
The other solution needed is Sodium Bicarbonate, another very common household product known as baking soda mixed with water. This second solution besides further cleaning the wires will be used to neutralize the corrosive properties of the vinegar solution and to further clean the wires. Without neutralizing the effects of the vinegar solution, the wires would soon oxidize again.Put one tablespoon of Sodium Bicarbonate in the second container then finish filling with water while stirring together. You can then add more baking soda to the mix while stirring as the mixture becomes more cloudy and alkaline as it is needed to cancel the acidic reaction of the vinegar solution.
Step 4 – Cleaning the Wire
Dip the end of the wire or wires in the vinegar solution, making sure the stripped exposed copper is completely submerged into the solution while stirring the solution with the wire to speed up the process. Only the portion of the wires under the solution will be cleaned.The wire will become very shiny after a couple of minutes in the solution as the oxides are removed by the acidic solution and exposing the bare copper. You might need to keep stirring the wire in the solution longer until it becomes uniformly shiny.
Step 5 – Neutralizing the Acid
After the wire becomes uniformly shiny inside the container, you can pull it out of that container and submerge the copper completely inside the neutralizing solution. Stir in that solution for 10 or 15 seconds for the neutralizing action of the baking soda to take effect against the acid’s corrosive properties and you’re done! Your wire is now shiny again and ready for use.
More From Doityourself Wood Door Repair: Fixing Scratches How to Make an Amplified HDTV Antenna How to Install an Electronic Water Timer
Source link : https://www.doityourself.com/stry/how-to-remove-corrosion-from-copper-wiring


