
How to Remove Scratches from Glasses and Make Them Look Like New
You Don’t Need New Lenses—Just This 1 Kitchen Ingredient!
Tips 19/04/2026 23:57
Don’t toss out that pan the moment its factory non-stick finish starts to fail. With a few simple tools and a little heat, you can rebuild a slick, food-releasing surface in minutes—so you can keep frying pancakes, eggs, stir-fries and more without buying new cookware. Below is a straightforward method for creating your own “seasoned” non-stick surface, whether you’re working with cast iron, carbon steel or a bare-metal aluminum pan.
Restore food release: A well-built seasoning layer bonds polymerized oil to the metal, filling microscopic pores and preventing sticking.
Prolong pan life: Instead of discarding a worn-out Teflon or ceramic pan, you give new life to metal cookware you already own.
Save money & resources: One good pan can last decades if you maintain its seasoning.
Cast iron & carbon steel: Excellent candidates—these metals naturally bond with oil under heat.
Bare aluminum: Thicker, heavy-gauge aluminum pans can take a seasoning coat, though it may wear faster than iron.
Old non-stick pans: If a Teflon or ceramic coating is flaking, you cannot recoat the factory layer—but you can strip off the remnants and season the exposed metal beneath to get some non-stick performance back.
Coarse salt or baking soda (for initial scrubbing)
Mild dish soap (to remove residual grease)
High-smoke-point oil (flaxseed, grapeseed, canola or peanut oil)
Clean, lint-free cloths or paper towels
Aluminum foil (to catch drips in the oven)
Oven or stovetop
Scrub with salt or baking soda
Sprinkle a generous layer of coarse salt or baking soda onto the cold pan.
Add a splash of water to form a paste and scour vigorously with a scouring pad. This removes loose coating, rust and burnt-on food.
Wash thoroughly
Rinse under hot water with a few drops of dish soap to remove all residue.
Dry immediately and completely—moisture will cause new rust spots.
Preheat your oven to 400 °F (200 °C).
Coat the pan
Pour about 1 Tbsp of your chosen oil into the pan.
Use a cloth or paper towel to rub it evenly over every surface—inside and out—until there’s just a whisper of oil. No puddles.
Bake upside-down
Line the lower rack of your oven with foil. Set the oiled pan upside-down on the rack so excess oil drips off.
Bake for 1 hour. This heat causes the oil’s fatty acids to polymerize, forming a hard, slick layer.
Cool in the oven
Turn off the heat and let the pan cool inside the oven to room temperature.
Repeat the oil-rub-bake cycle 2–3 more times. Each additional coat deepens the seasoning, improving durability and non-stick performance.
Clean gently: Skip the dishwasher. After use, wipe out food bits with a paper towel, rinse with warm water, and—if needed—scrub lightly with salt.
Dry and oil: Always dry completely; then rub a thin film of oil onto the interior while it’s still warm.
Avoid acidic foods: Tomato, lemon and vinegar can attack the seasoning. If you do cook acidic dishes, plan to re-season once afterward.
Re-season proactively: If food begins to stick or the surface looks dull, do a quick single-coat re-season in the oven.
Sticky or gummy surface: You applied too much oil. Strip it off by scrubbing with salt and start again, using less oil.
Flaking seasoning: Season at a higher temperature (up to 450 °F/230 °C) for the final coat to harden the layer.
Rust spots: Dry thoroughly after washing. If rust appears, scrub it off and re-season that area immediately.
Heavy warping or cracks: Structural damage can’t be fixed by seasoning.
Thick, peeling Teflon: If large flakes of non-stick coating remain, chemical exposure may pose a health risk. Better to recycle the pan and invest in new cookware.
Restoring your pan’s non-stick properties doesn’t require expensive kits or replacing the entire cookware. By stripping off old residues and building up a polymerized oil seasoning through repeated heat treatments, you create a durable, slick surface perfect for frying eggs, sautéing vegetables or searing meat. With minimal supplies—salt, oil and an oven—you’ll have a pan that performs like new and lasts for years to come. So before you discard that scratched-up skillet, give it one more chance: season, bake, and enjoy effortless cooking all over again.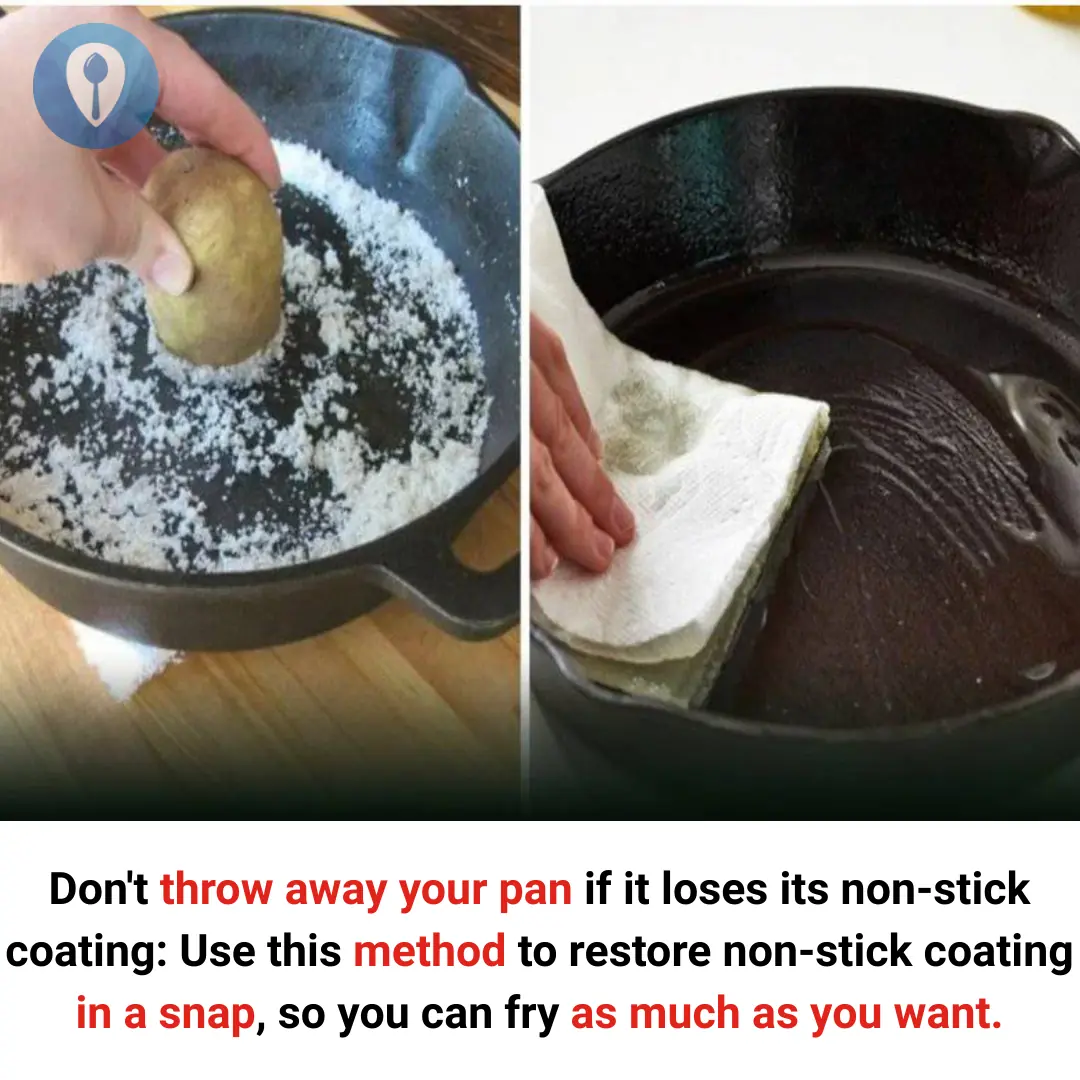
You Don’t Need New Lenses—Just This 1 Kitchen Ingredient!

You’re Wasting Money Every Day—Just Because You Don’t Unplug This
Rice water has incredible effects that many people overlook
Buying garlic? Stay away from these 4 types, even if they seem like a bargain

An easy way to clean your fan blades without removing the frame
You’ll be surprised how many uses garlic skins have beyond cooking

Every bite matters: foods that could be harming your smile

What you need to do immediately when bitten by a snake?

A beer bottle in the drain? It sounds strange, but it can solve an important household problem

Should You Close the Door When Using Air Conditioning? Here’s What to Know

This Mixture Could Boost Your Health Naturally
A Bowl of Hot Water Can Change Everything

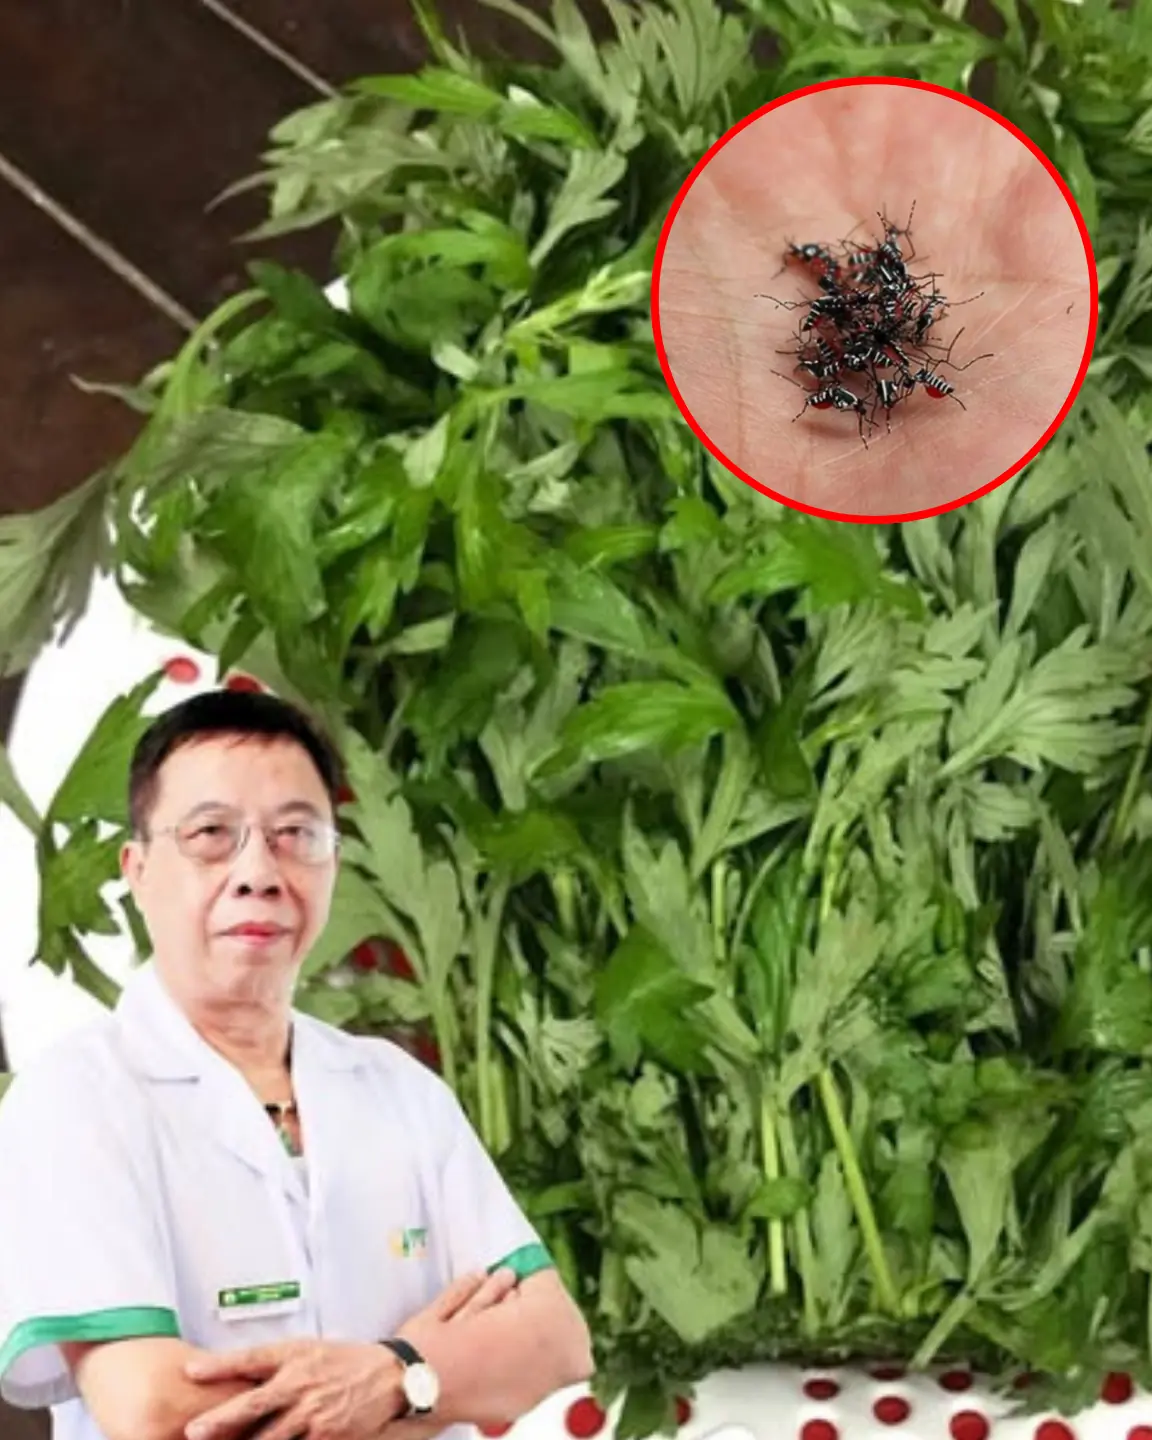
This Tiny Creature Might Be Sending You a Powerful Message
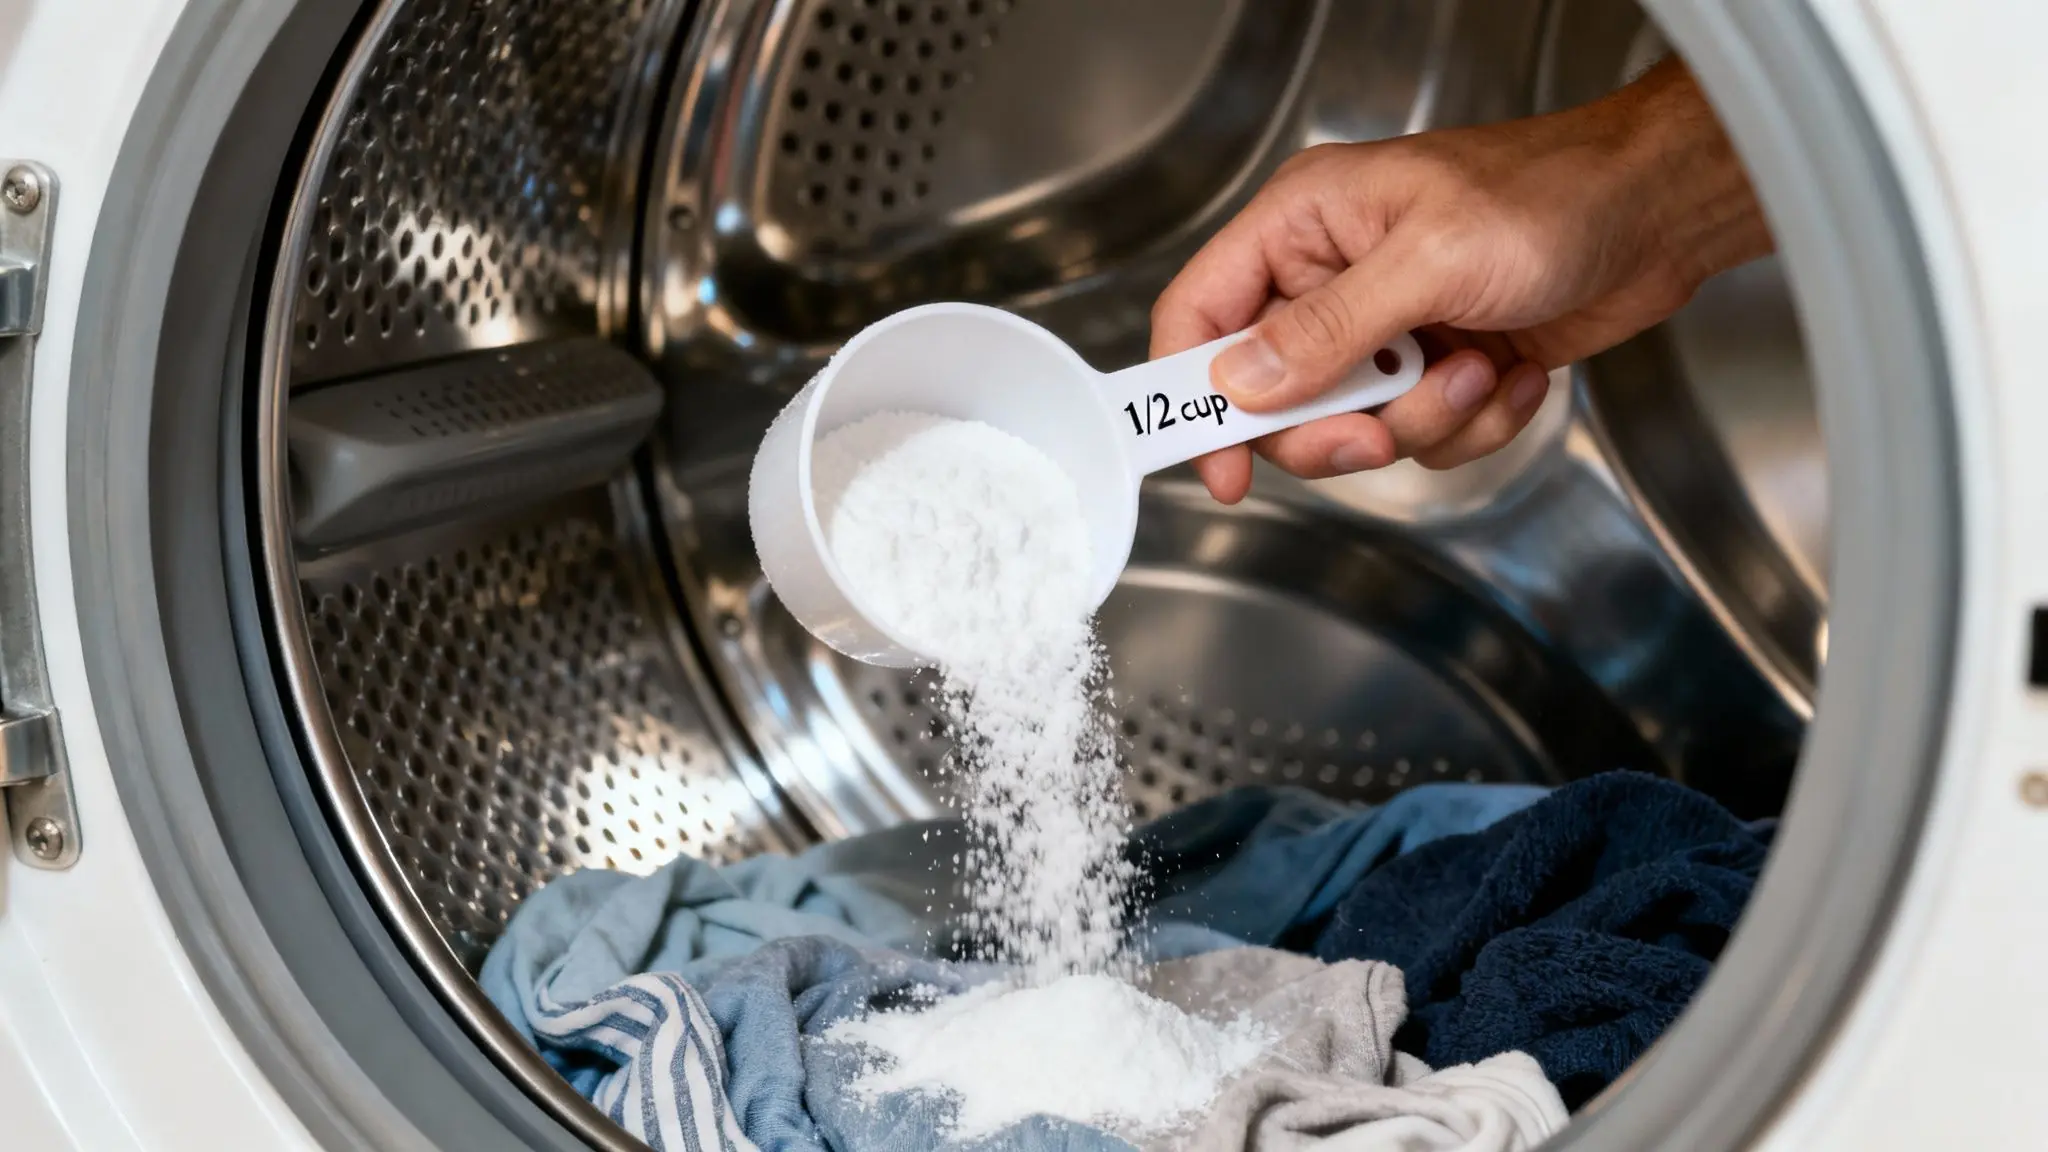
This Laundry Trick Works… But Only If You Do It Right
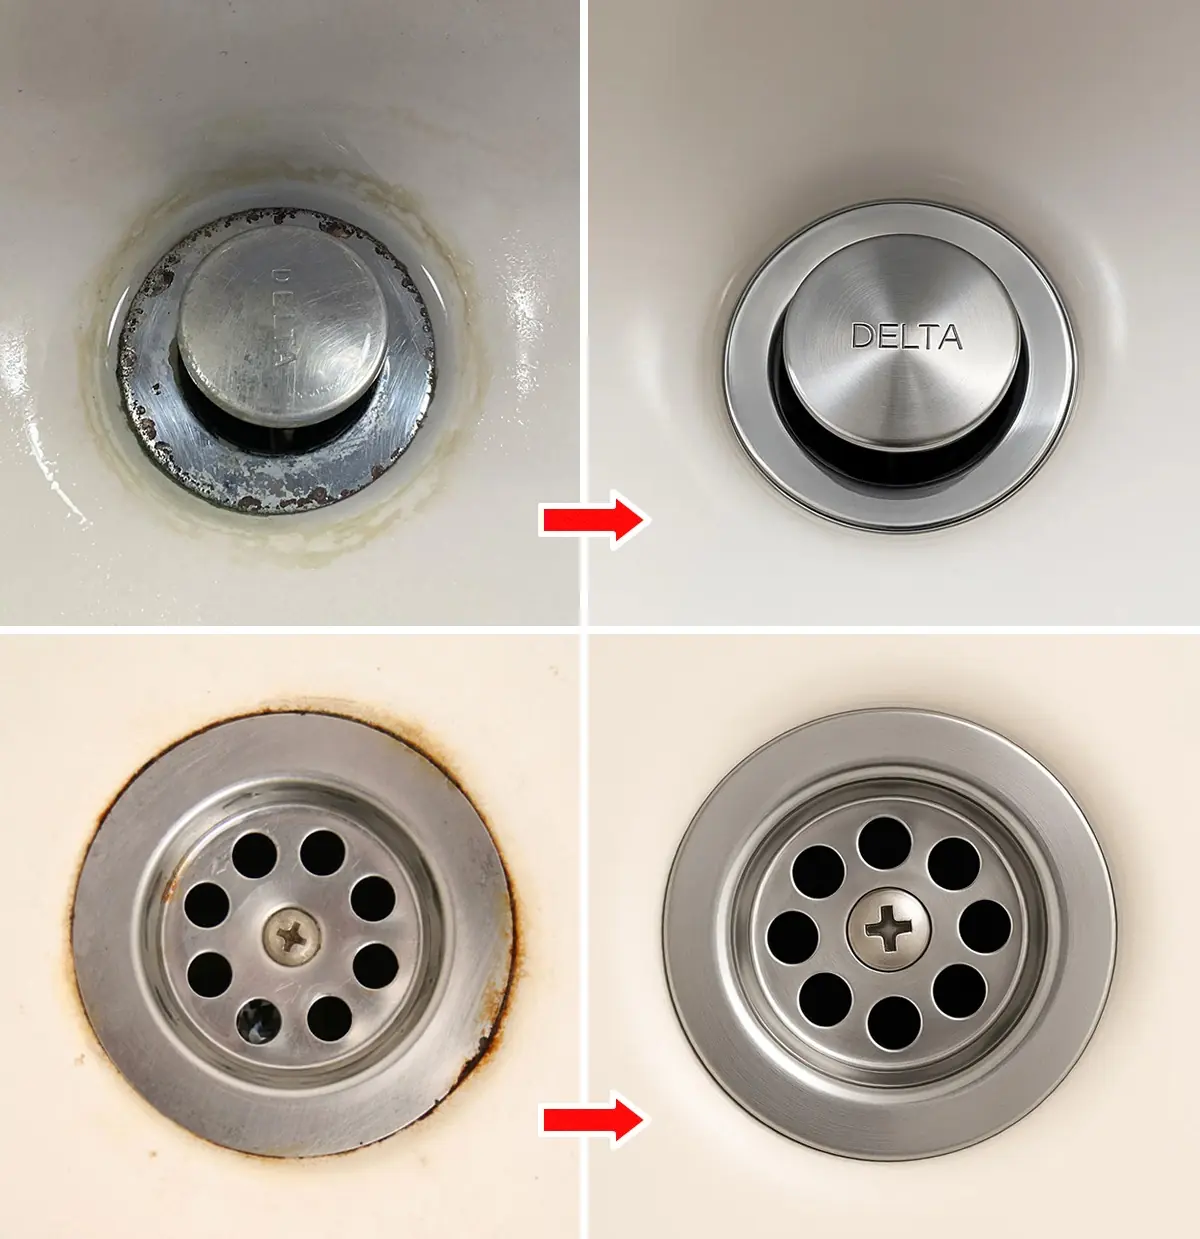
You Don’t Need Harsh Chemicals to Clean This
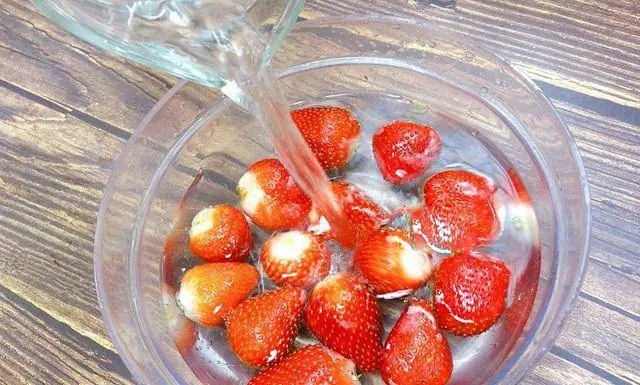
This Simple Kitchen Hack Might Change How You Eat Berries
A handful of these leaves can keep your home fresh and pest-free
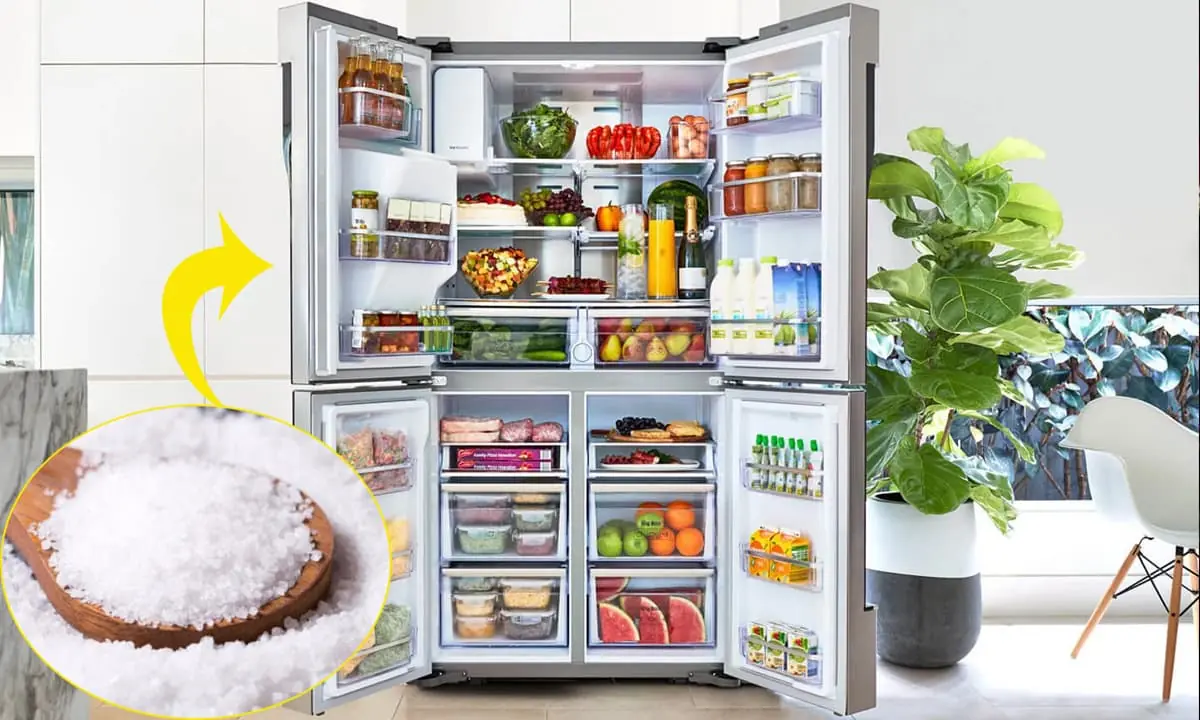
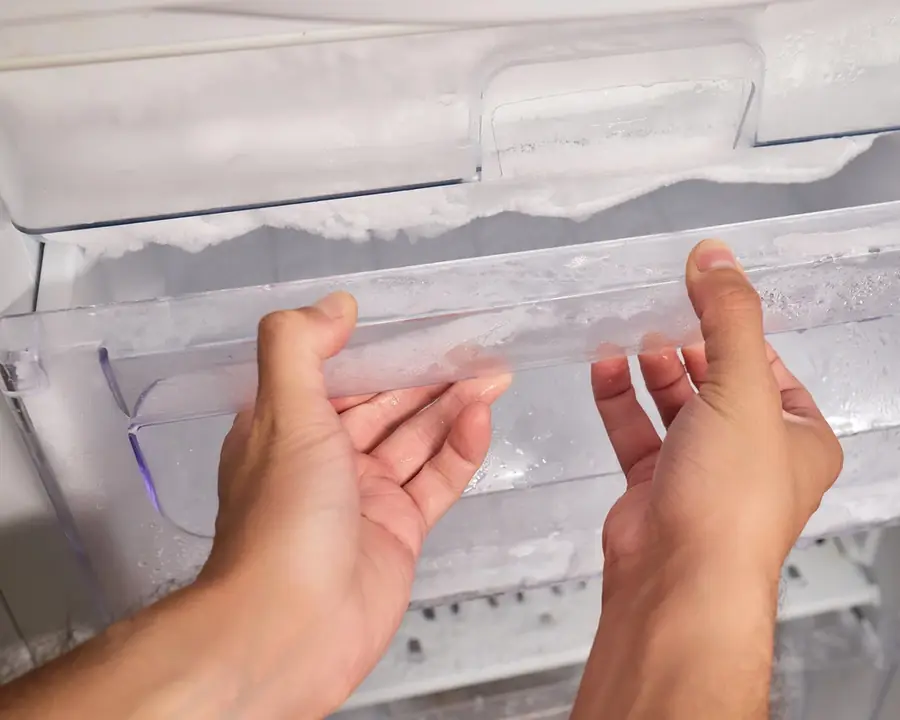
Why Adding Salt to Your Refrigerator Might Be More Useful Than You Think?
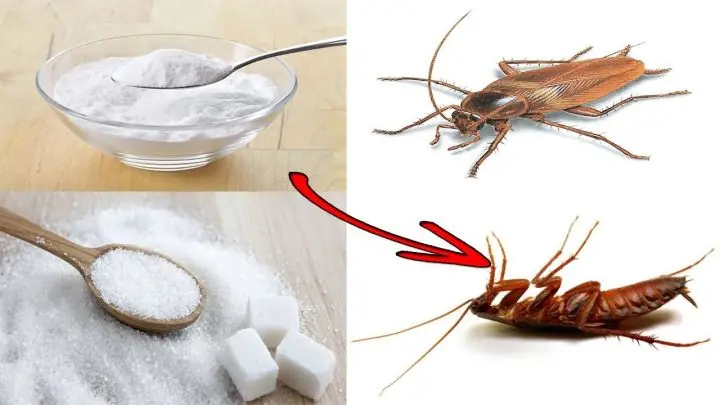
A Simple Sugar Trick Using One Ingredient to Deal with Cockroaches
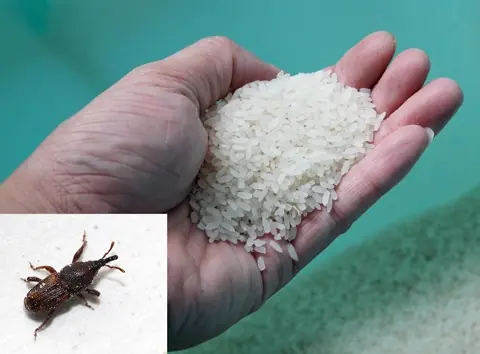
Simple Methods to Store Rice Safely and Avoid Pests and Mold
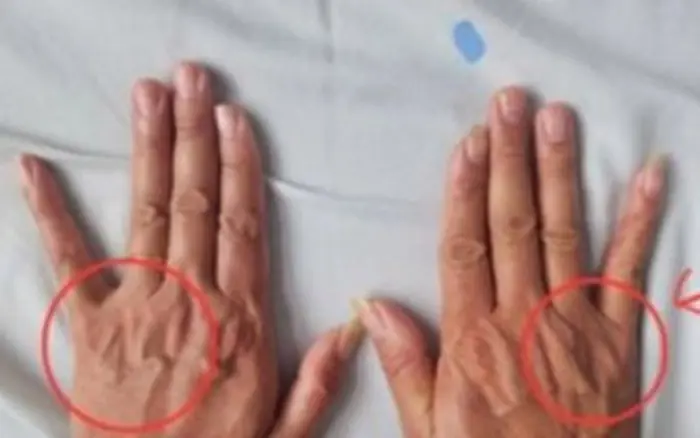
Clearly visible veins can be indicative of...
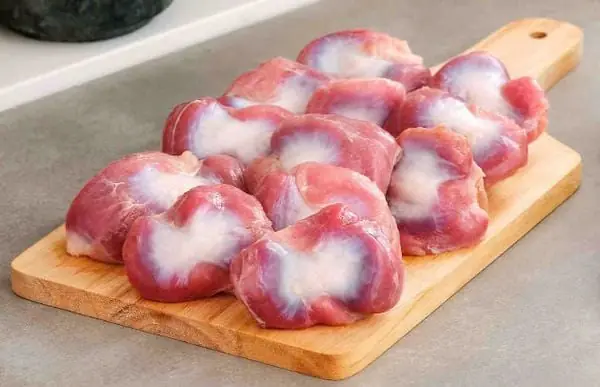
Chicken gizzards: the food that could replace

Do You See the Pattern Behind the Numbers?

Would You Stop? This Chilling Story Is Warning Everyone

6 signs your body may give one month before a heart attack
You Don’t Need New Lenses—Just This 1 Kitchen Ingredient!
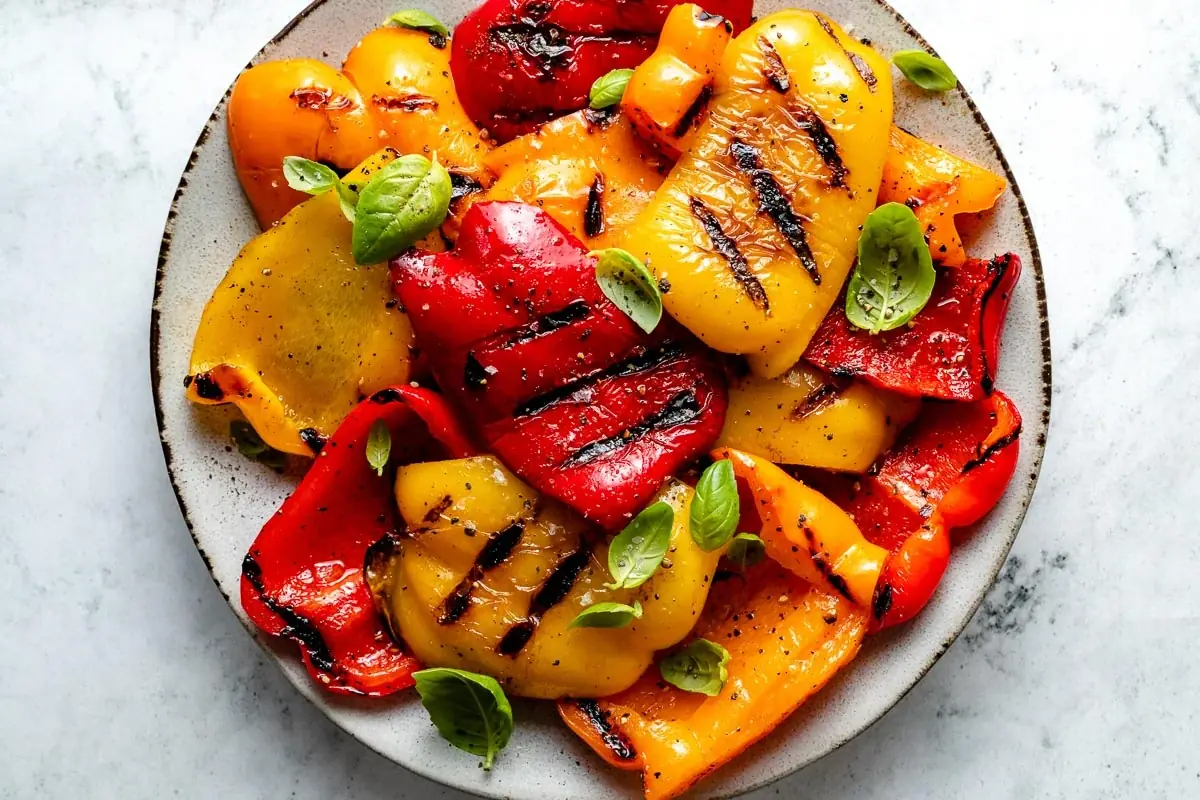
You Eat Bell Peppers Often? Read This Before Your Next Meal!

You Eat These Every Day… But They Could Be Damaging Your Liver!
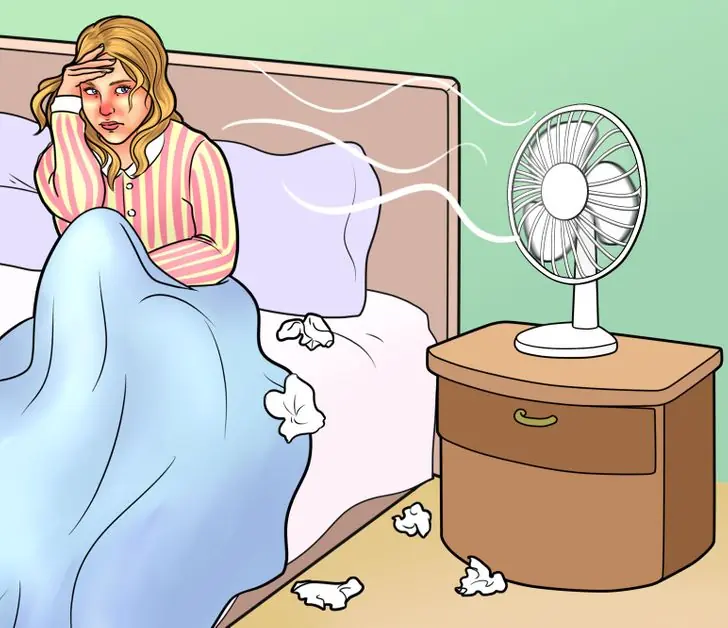
You thought your fan helps you sleep… but it might be doing THIS
Don’t ignore these 5 unusual symptoms - they could point to diabetes

Doctors say THIS simple sleep habit could change your health overnight 😳
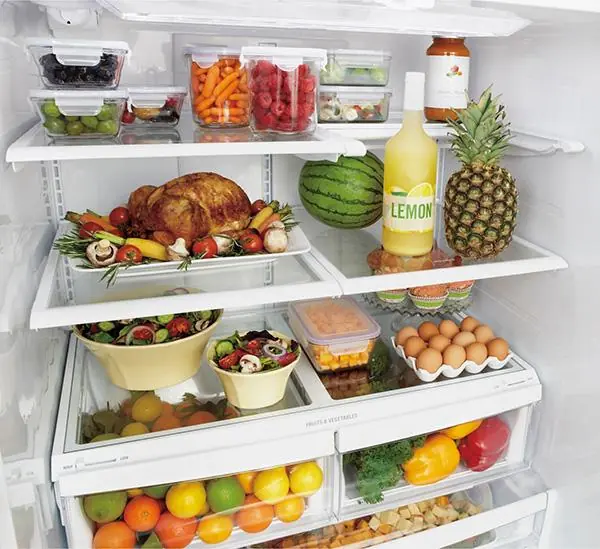
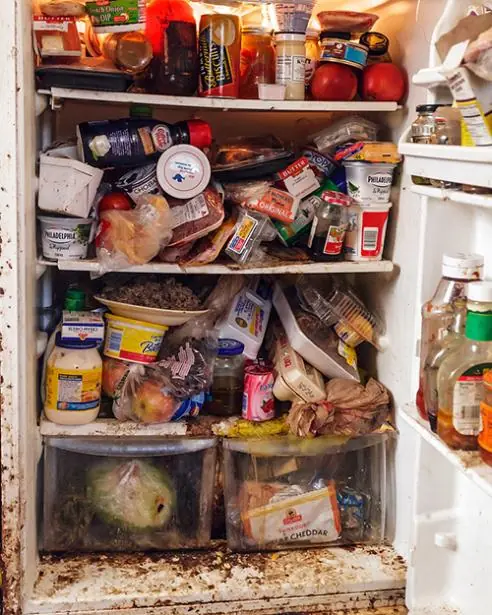
Your fridge habits matter—learn what to store and what to avoid.
Some leftovers can be risky—learn which foods to avoid overnight.

Some foods may carry parasites—learn 4 common risks and stay safe.

Struggling with swelling? Try these 6 easy ways to reduce water retention.

Dry mouth at night? Discover 8 causes and simple ways to fix it.

You Eat This Every Day—But It Might Affect Your Thyroid

She Was Only 36—Doctors Say These Everyday Foods Played a Role
You’re Wasting Money Every Day—Just Because You Don’t Unplug This
Hidden Danger in Your Daily Meals—Are You Making This Mistake?