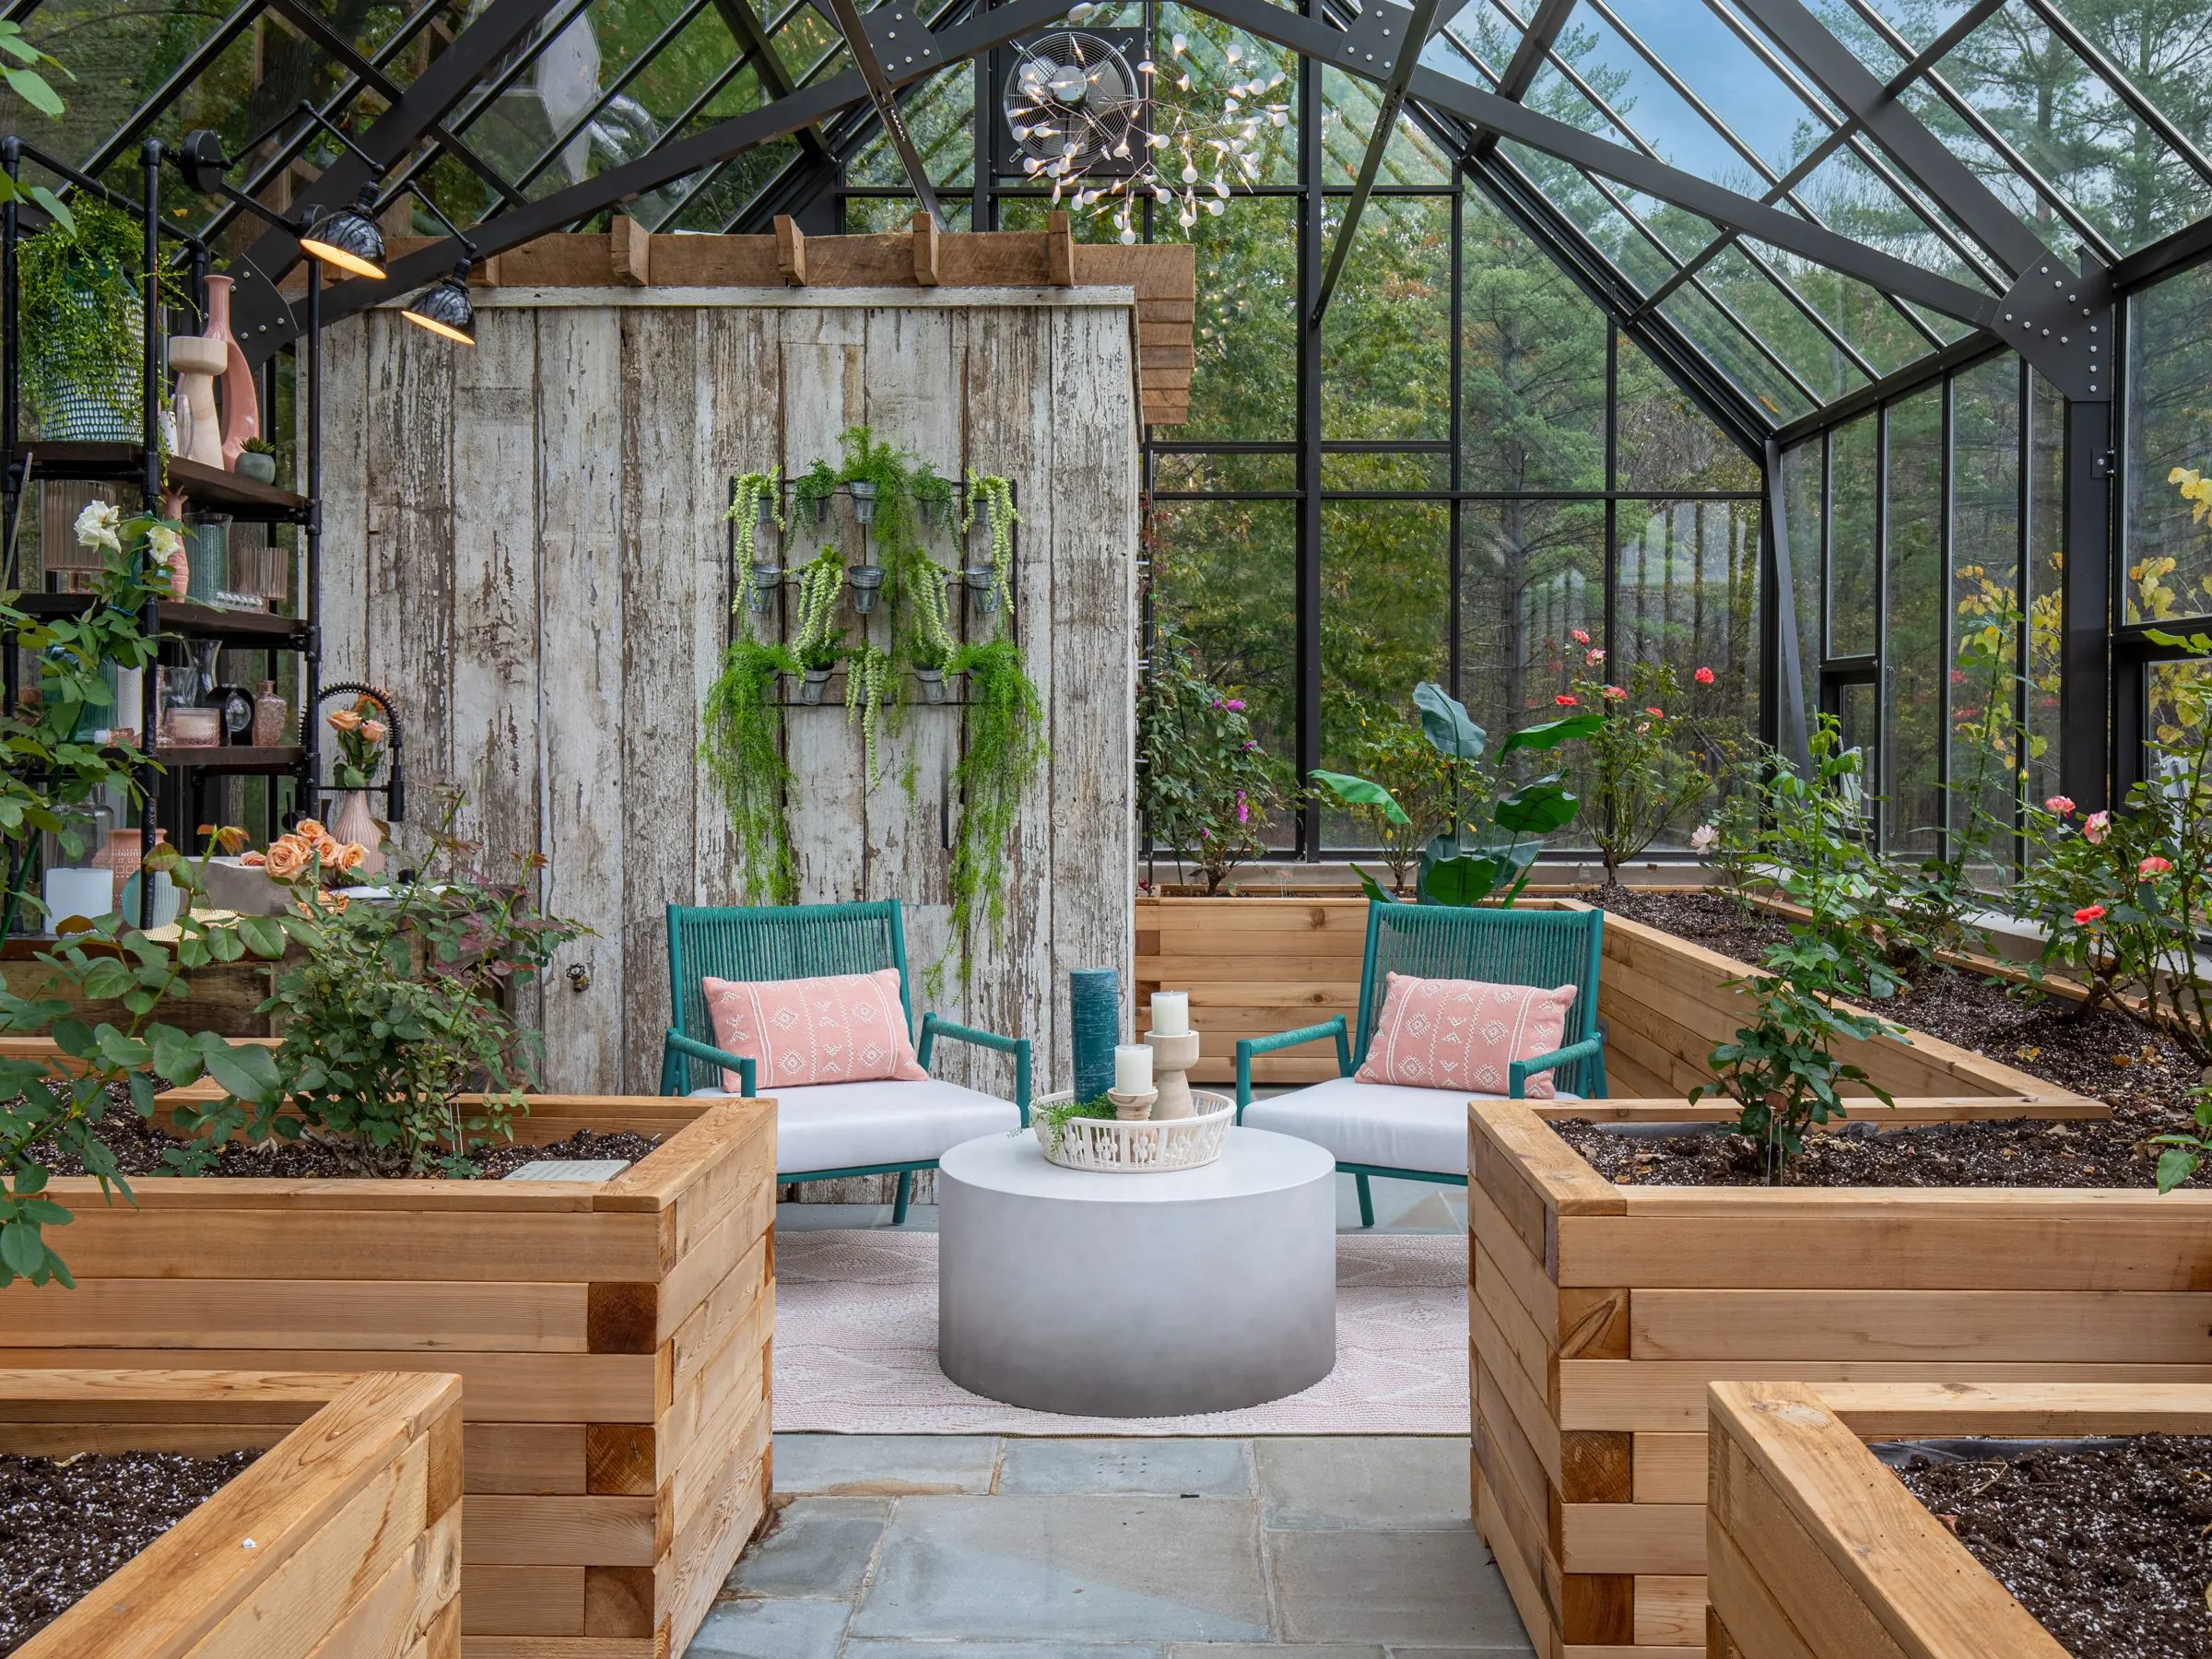
10 raised garden bed ideas for easy veggie growing even in small spaces
Story 19/05/2025 16:40
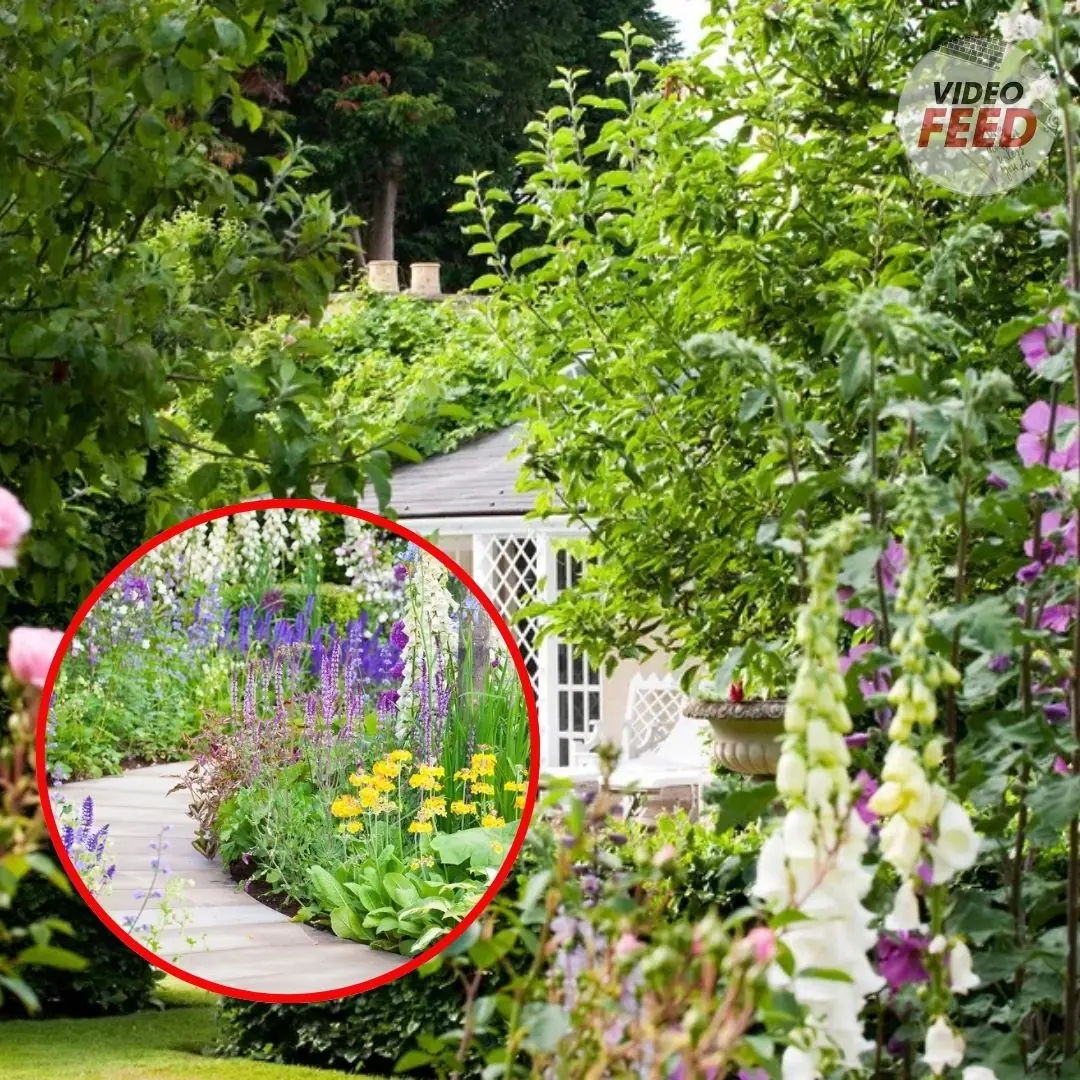
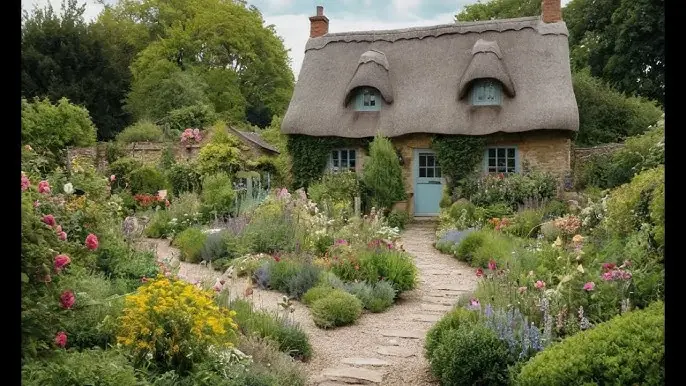
Add color and curb appeal to your landscape by learning how to make a flower bed filled with eye-catching colors and textures. Starting a new flower bed is not difficult, but it does take some planning and preparation to ensure long-term success. Follow the steps below to make a flower bed that will be the envy of the neighborhood.
Before you start choosing and selecting your flowering plants, you need to decide where you will put your bed. Choose a spot in your yard that has good drainage. A Soggy conditions will dramatically limit your choices of flowering plants.
For light exposure, there are tons of flowering plants that will grow easily in full sun or sun for part of the day. If your yard is shady, there are many plants that prefer the shade and will put on a colorful season-long show.
You can locate your bed in front of your house, alongside a porch or patio, at the edge of a woodland, around a mailbox or lamp post, or it can be a “free-standing” bed—an island in the yard that can be viewed from all sides.
Before you do any digging, be sure to check with your local utility companies to determine where their lines are located. If you have underground irrigation, check on those lines too.
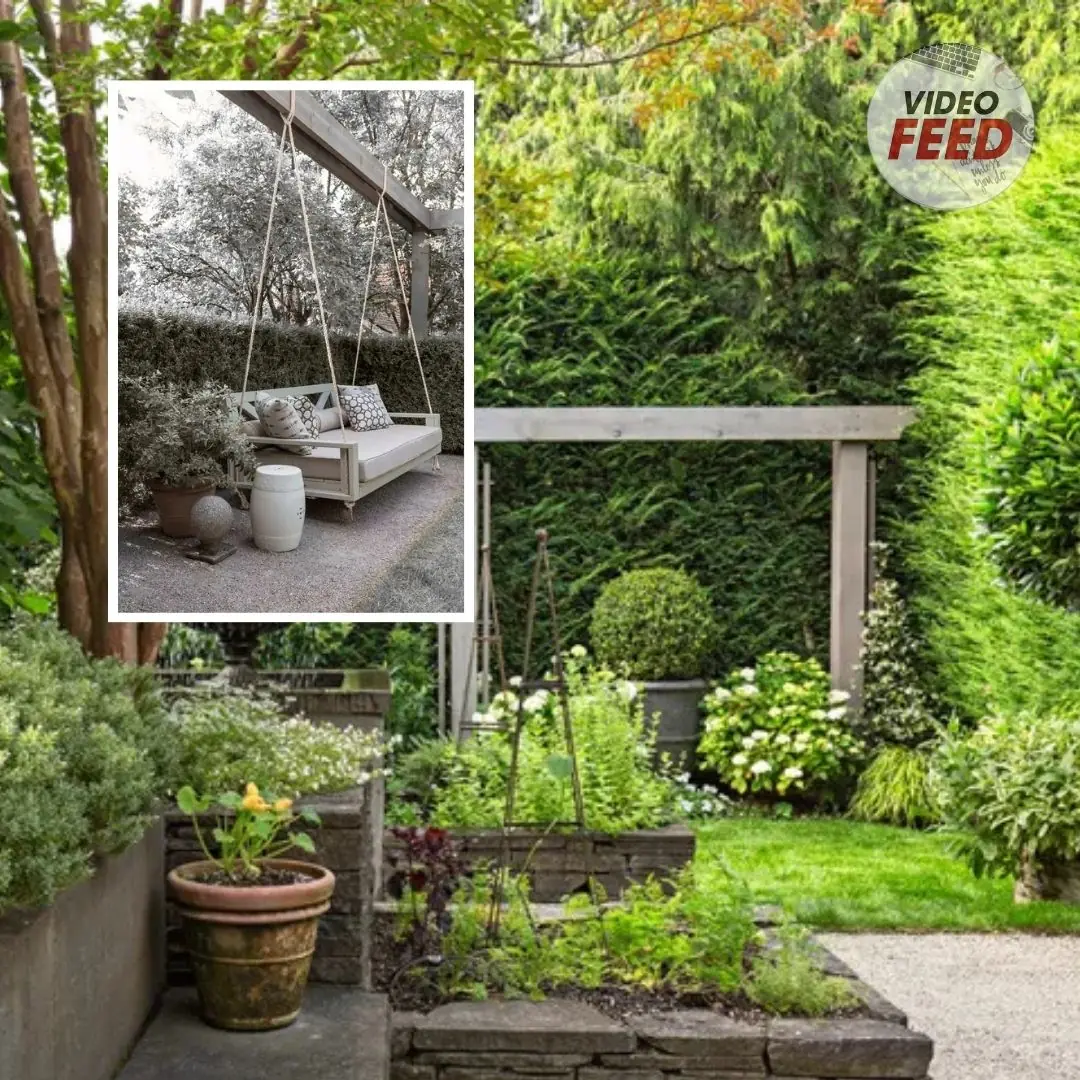
When considering the design of your bed, think about the style of your house and the existing landscape—is it formal or more casual? Will you include a focal point such as a birdbath or some whimsical garden art? While it may be a dramatic new addition to your yard, the flower bed should harmonize with the style.
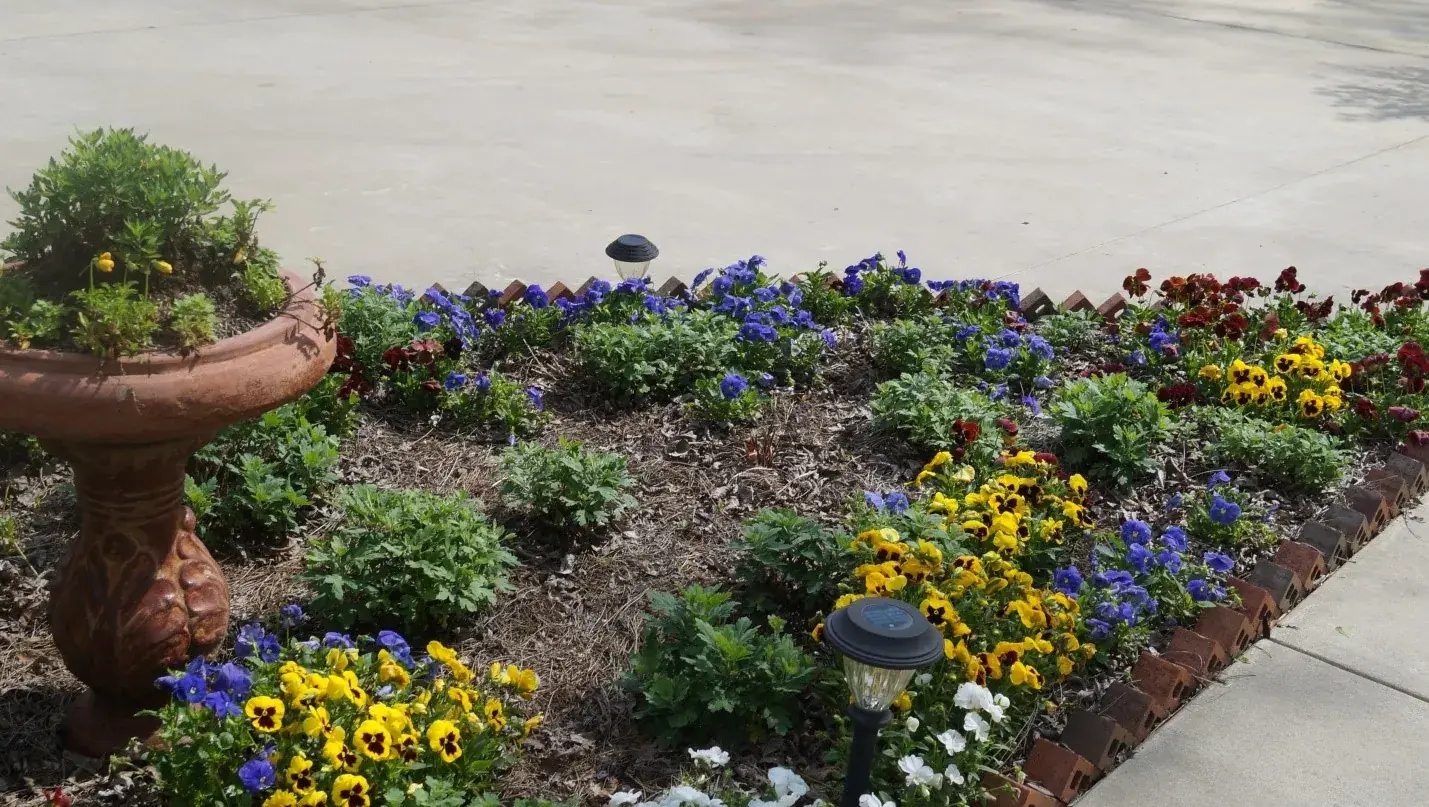
Then consider size and shape. Here’s where a garden hose comes in handy; use it to create the outline of your bed. The outer edge may be a straight line that follows a sidewalk or driveway, or a circle around a mailbox or gazebo. Depending on your house and garden style, you might consider a more organic shape—a curved outer edge in front of shrubs or at the edge of the woods or a kidney bean-shaped island bed, which give the bed a more informal look. Play with the outline until you are pleased with the shape and size.
These choices are yours to make, but you should consider the effort required to prepare and maintain a bed and how much you’re willing to spend on the material and plants you’ll need.
If you decide on a curved outline, make the curves gentle enough so they are easy to mow around.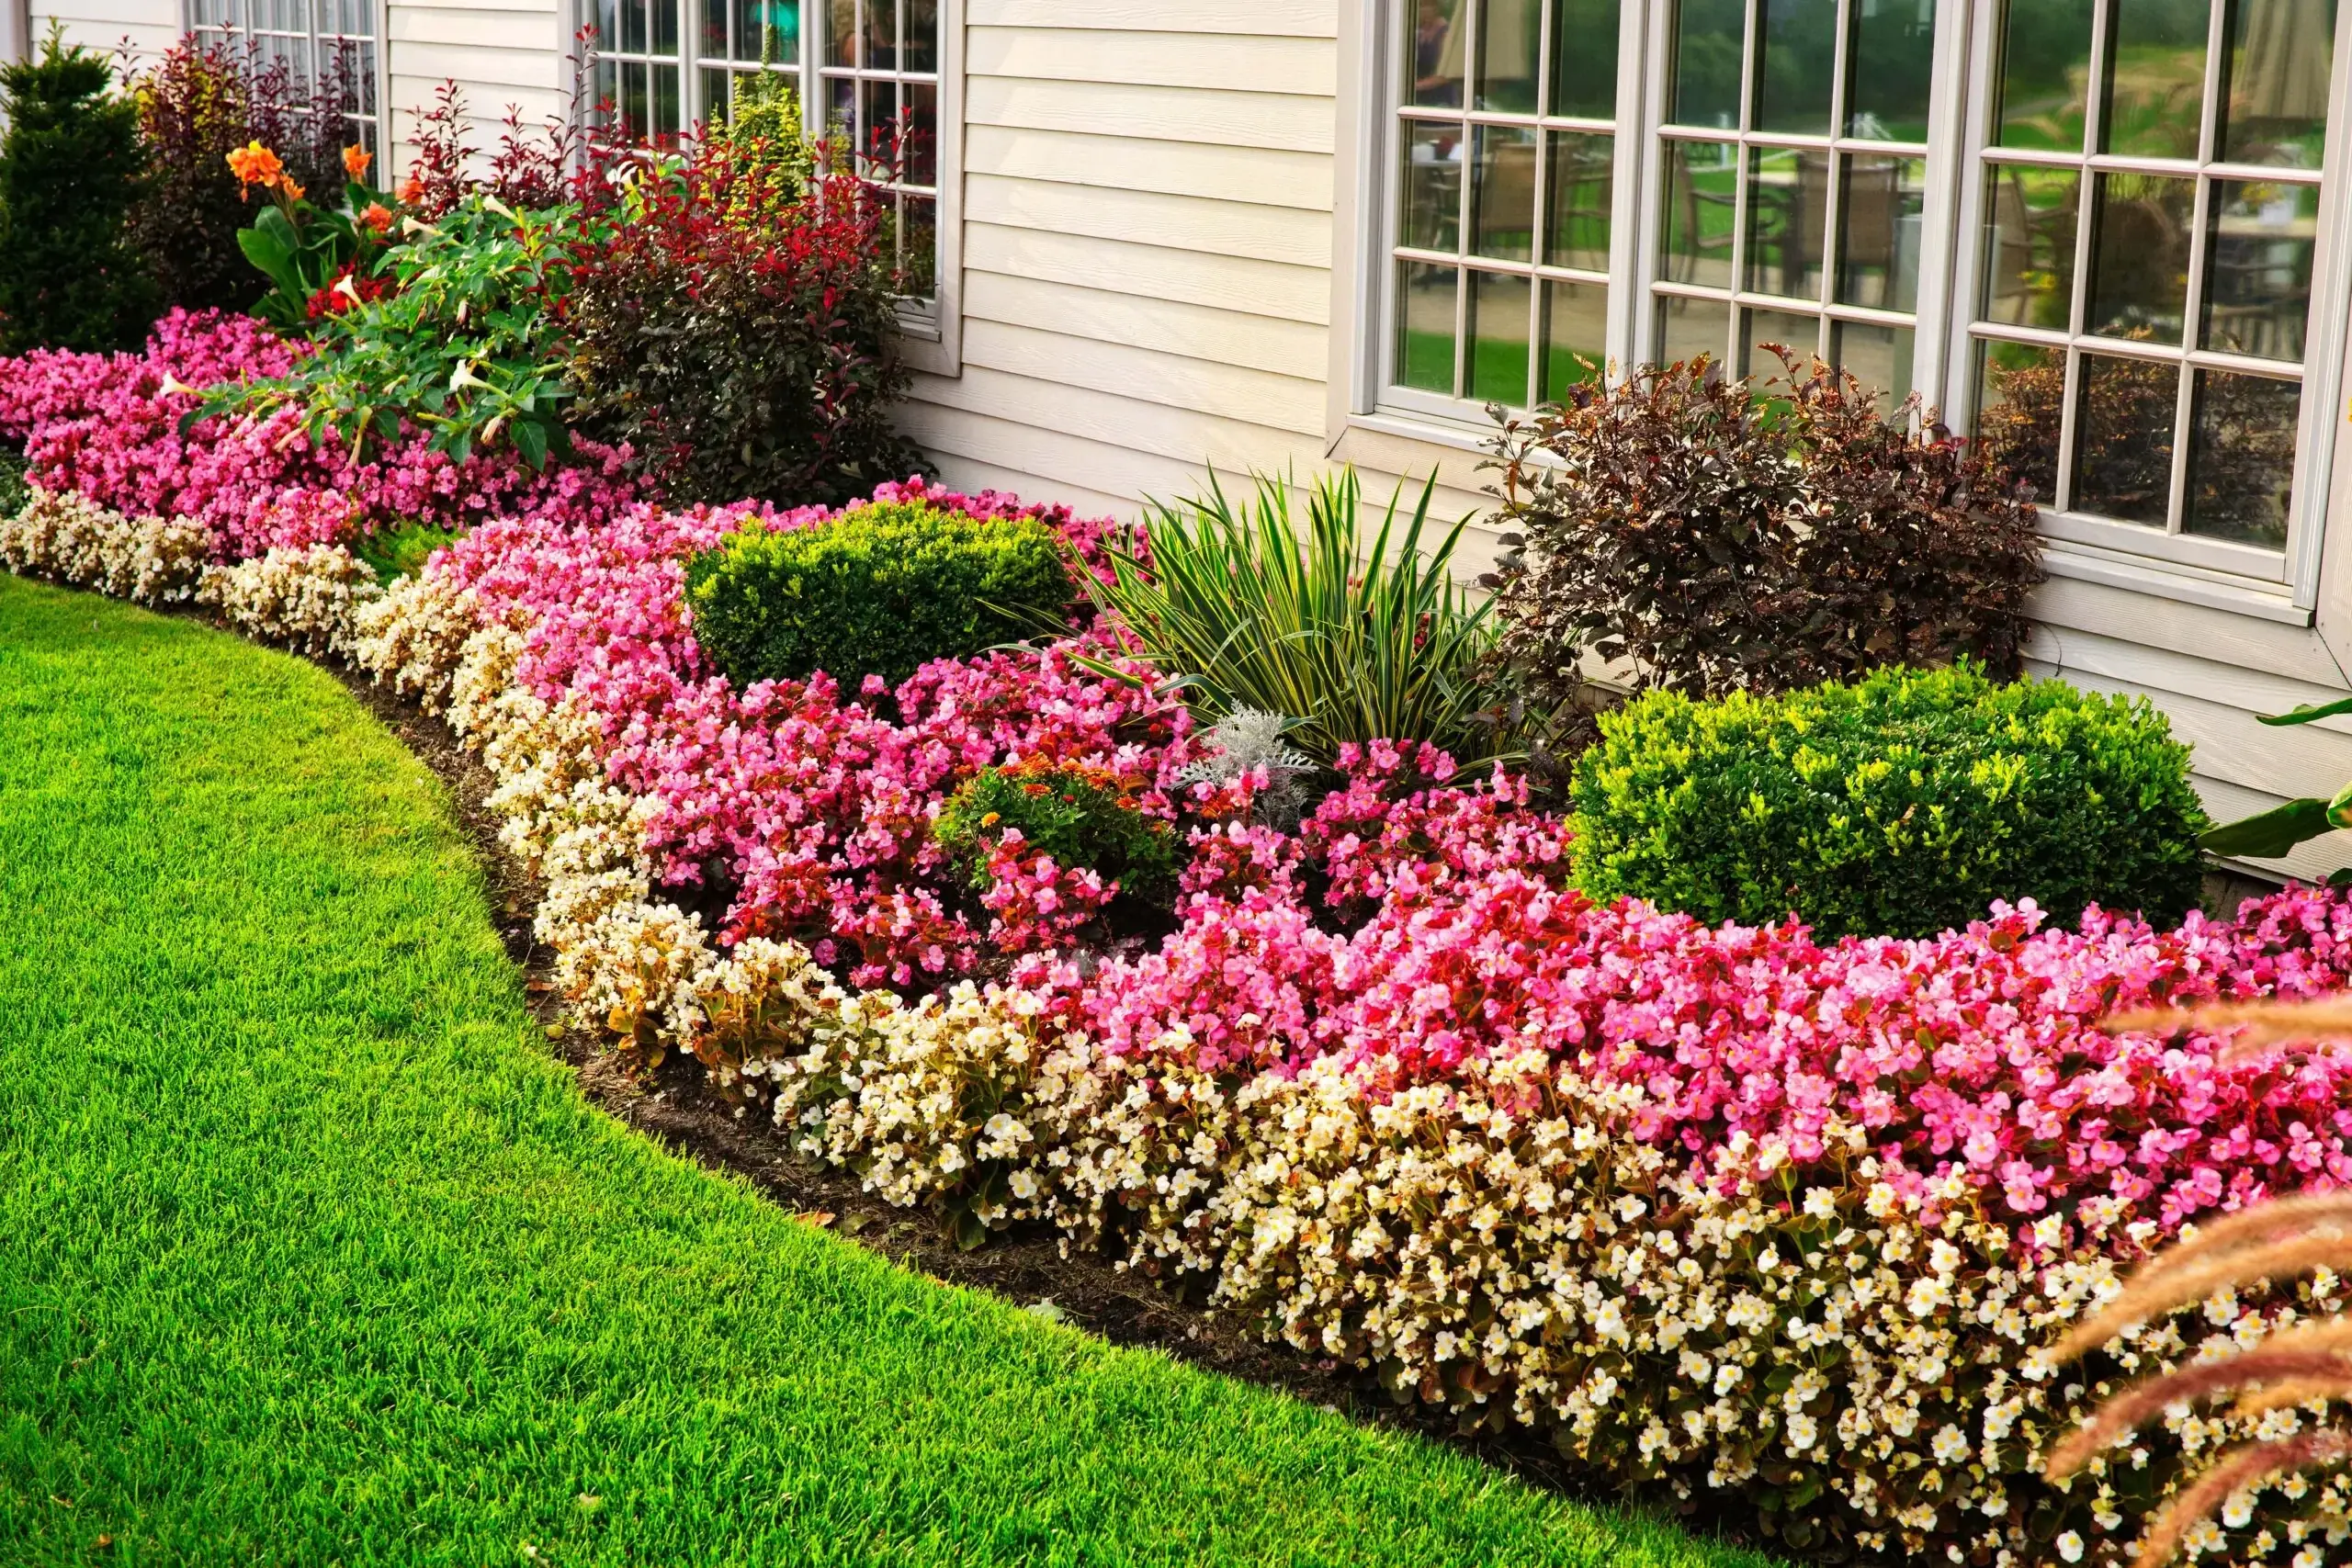
Getting rid of existing vegetation—often that means part of your lawn—can be the most physically demanding part of making a new flower bed. Digging up sod is hard work. As soon as the grass is gone from your bed, you can add amendments to the soil such as compost. There’s no waiting period.
If you plan ahead, you can smother the grass under a layer of cardboard or several sheets of newspaper, all covered with 3 to 4 inches of compost. Ideally, this "lasagna gardening" approach to site preparation is done in the fall prior to spring planting because it takes a few months for the grass to die and the paper to break down. Though it takes longer, this method is less physically taxing than digging sod.
Similarly, you can kill the vegetation through a process called solarization. Cut the grass very short, cover it with plastic sheeting, and seal the edges with bricks, stones, logs, or soil. Sunlight warms the soil to temperatures that will kill the grass beneath it. Depending on the time of year, this usually takes 4 to 8 weeks.
A final approach is to use an herbicide to kill the existing vegetation. However, you may need to wait several weeks before the grass and weeds die and it’s safe to replant the area. Be sure to follow label directions on your weed killer of choice.
As you prepare your site, take the time to have your soil tested to see if the pH is in the proper range (between 6.0 and 7.0 is best for most plants), and to be sure it’s not deficient in important nutrients. Testing can be done through your local Cooperative Extension Service or a private soil testing lab.
Once you’ve removed unwanted vegetation, work some compost into the soil (as well as any amendments suggested by your soil test). If your soil is a heavy clay, the compost will loosen it and improve drainage. If you have light sandy soil, adding compost helps water retention so the soil doesn’t dry out too quickly.
Start by focusing on plants that fit the light exposure your site offers. Plants that need full sun will not thrive, and often don’t flower well, in shady conditions; and shade-loving plants may burn up in full sun. Then consider if you want all one type of plant or a mix, the flower and foliage colors, and the mature height of the plants.
Decide if you want to plant annuals, perennials, or a combination. Annual flowers are usually less expensive than perennials, but they do need to be replanted every year. While perennials have the advantage of coming back—and increasing in size—every year, some of them take a season or two to really get established and flower well. And you will need to allow for their spread.
When choosing perennials, make sure they're hardy in your region and consider their season of bloom. Aim to have plants that bloom at different times from spring through fall so that you always have some flowers.
Make a list of the plants you like that are suited to your conditions, and note their spacing requirements. Then lay out your plan on paper so you’ll know how many plants you will need to buy when you go to your local nursery.
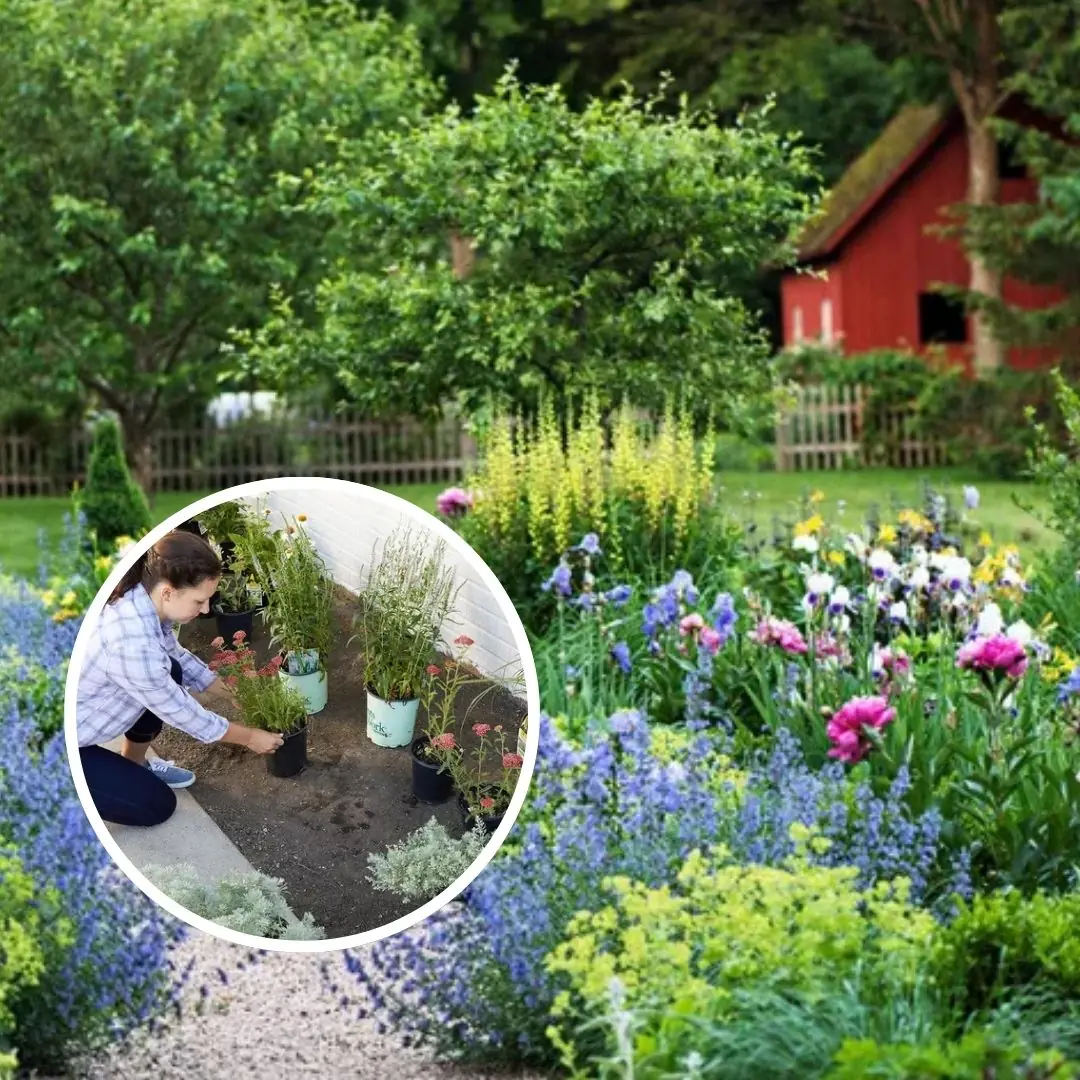
Arrange the plants you purchased in your bed according to your plan. Give each the appropriate amount of space; plant tags usually indicate both the height and spread of the plant. Dig holes the same depth as the root ball and about twice as wide. Gently knock the plant out of its container and tease the roots a bit so that they will spread when planted. Place each plant in its hole, tamp the soil around it firmly, and water well.
Don’t pull a plant out of its nursery pot by its stems or you may break off roots or even snap the stem. Instead, tap the pot's bottom against a hard surface and squeeze the outer edges of the pot to loosen the root ball. Then turn it upside down and slide the plant out into your hand.
To help retain water and inhibit weeds, apply a layer or organic mulch around the plants. Wood chips, pine needles, compost, and shredded leaves are all good options. A layer of mulch also helps the plants stand out and gives the bed a tidy, finished look.
Now step back and enjoy your new flower bed. With any luck, it will provide you with cheerful season-long color, texture, and maybe even fragrance.