If the larvae are inside a garbage bag, tie the bag securely and take it outside.
Avoid carrying an open or leaking bag through areas where food is prepared.
If the bag is damaged, place it inside another sturdy garbage bag before moving it.
Put the waste into an appropriate outdoor disposal container and make sure that container is closed.
Keep children and pets away from the affected area while cleaning.
If the infestation is particularly extensive, wear disposable gloves and avoid direct contact with the larvae or contaminated waste.
The objective is to remove the food source and prevent additional contamination.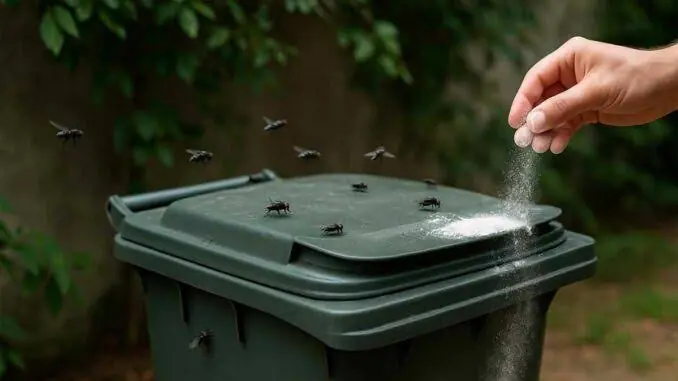
Step 2: Inspect the Entire Trash Can
After removing the garbage, examine the inside of the container carefully.
Do not assume that the problem is solved simply because the main bag has been taken away.
Look for:
-
Food particles stuck to the bottom
-
Liquid leaking from the previous garbage bag
-
Greasy residue along the sides
-
Larvae gathered around the rim
-
Organic material underneath the lid
-
Small pieces of food trapped in seams
If the bin has wheels or removable components, inspect those areas too.
It is also worth checking the floor underneath the trash can. Leaking garbage liquid may have spread beyond the container.
Remove visible debris before washing the bin.
Step 3: Wash the Bin With Detergent and Water
A thorough cleaning is one of the most important parts of removing a maggot infestation.
Use warm or hot water, ordinary household detergent, and a suitable cleaning brush.
Scrub the bottom, interior walls, rim, lid, and other areas where food residue may have accumulated.
Pay special attention to corners and seams, where organic material can be difficult to remove.
You do not need to use extremely harsh chemicals simply because maggots are present.
Removing the food residue and cleaning the surfaces are the essential steps.
If you choose to use a household disinfectant after cleaning, select one suitable for the bin's material and follow the product label carefully.
Never mix bleach with ammonia, acids, vinegar, or other incompatible cleaning products. Such combinations can release dangerous gases.
Keep the area ventilated while cleaning, and wear protective gloves when appropriate.
Step 4: Rinse Away Remaining Dirt and Cleaning Products
After scrubbing, rinse the container thoroughly with clean water.
Make sure that detergent, loosened food particles, and other residue are removed.
If the bin has a removable lid, wash both sides.
Handles, wheels, and exterior surfaces should also be cleaned if they have been touched during waste removal.
Remember that the outside of a garbage container can become contaminated through contact with leaking bags or dirty hands.
Once the washing is complete, inspect the container again.
If you can still see sticky residue or food particles, repeat the cleaning process in those areas.
Step 5: Allow the Trash Can to Dry Completely
Drying is a simple but important step.
After rinsing, allow the container to drain and air-dry thoroughly before placing a fresh garbage bag inside.
If possible, leave it somewhere with good airflow.
A dry container is less likely to retain unpleasant odors caused by trapped moisture and food residue.
Do not put a new bag into a bin that is still filled with dirty water.
If necessary, use disposable paper towels to remove excess water, then allow the remaining moisture to evaporate.
Step 6: Clean the Surrounding Area
The trash can is not always the only contaminated surface.
Wash the floor underneath and around the container, especially if liquid has leaked.
Clean nearby cabinet surfaces, handles, or walls if they have been splashed.
If larvae have crawled onto the floor, remove them and clean the affected surface with an appropriate household cleaner.
After handling contaminated garbage, wash your hands thoroughly with soap and water, even if you wore gloves.
Dispose of disposable gloves appropriately and clean any reusable equipment used during the process.
Step 7: Replace the Garbage Bag and Check the Bin Again
Once the container is clean and dry, insert a fresh garbage bag.
Choose a bag that fits properly and does not easily tear or slide down into the container.
Avoid overfilling it, since excessive weight can cause leaks when the bag is removed.
During the next few days, pay attention to whether flies continue gathering around the bin.
If the problem returns, investigate other possible sources rather than repeating the same cleaning process indefinitely.
A successful cleanup should address both the visible larvae and the organic material that attracted the flies.
CHAPTER 4: ARE MAGGOTS DANGEROUS, AND WHAT SHOULD YOU DO IF THEY KEEP COMING BACK?
Are Maggots in Household Garbage a Health Threat?
Seeing maggots in a trash can can make anyone uncomfortable.
However, finding fly larvae in household garbage does not automatically mean that your home is dangerous or that someone will become sick.
The larvae themselves are usually a sign that flies have found decomposing organic material.
The more important concern is the waste surrounding them.
Rotting food can support the growth of microorganisms, produce unpleasant odors, and attract additional insects.
Flies may also move between garbage, outdoor waste, animal waste, and food preparation surfaces.
This is why good hygiene matters.
Do not allow exposed garbage or contaminated containers to come into contact with food, dishes, or surfaces used for preparing meals.
Remove the waste, clean affected areas, and wash your hands thoroughly afterward.