Discover 5 Ways Watermelon Seeds Can Boost Your Health
5 Health Benefits of Eating Watermelon Seeds
Garden 31/03/2026 22:43
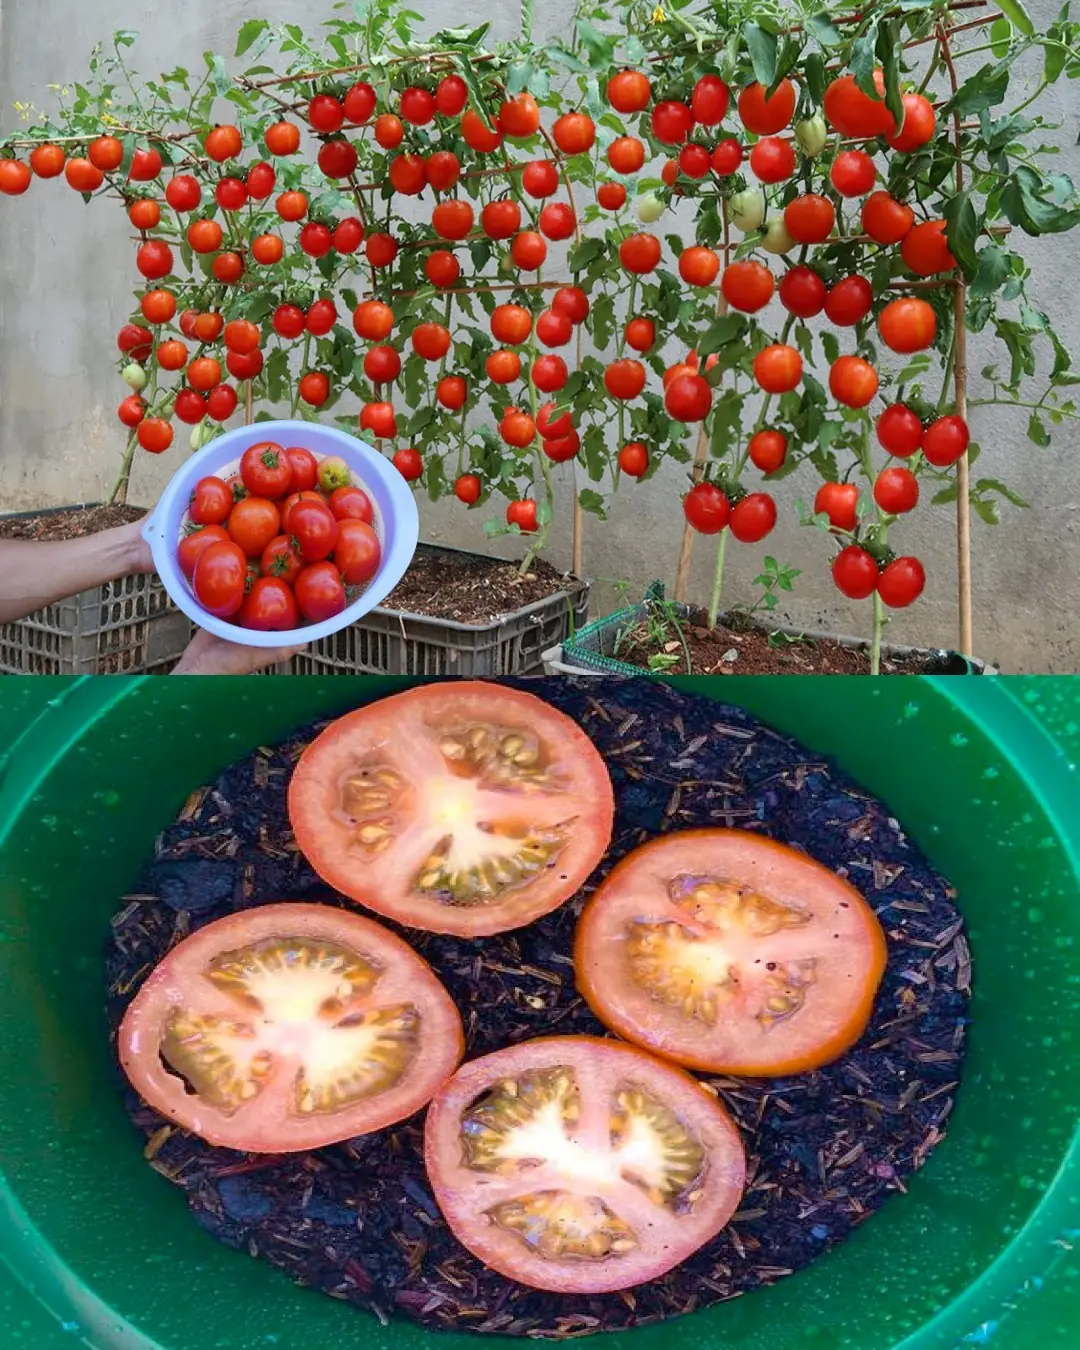
Tomatoes are one of the most popular and rewarding plants to grow at home. While most gardeners start from seeds or seedlings, did you know you can actually grow a tomato plant directly from a slice of tomato? This simple and fascinating method is not only fun but also a great way to understand plant growth from start to finish.
In this article, we’ll explore the step-by-step process of growing a tomato plant from a slice of tomato, highlighting what you can expect to see in a time-lapse journey from seed to sprout and beyond.
Using a tomato slice to grow plants is an easy and natural way to propagate tomatoes without buying seeds. Each slice contains seeds and pulp rich in nutrients, which provide the perfect environment for germination and early growth. This method is perfect for beginners, kids, or anyone interested in watching plants grow quickly and visually.
Select a fresh, ripe tomato with fully developed seeds. The better the tomato, the higher the chances of successful germination.
Cut a thin slice of tomato, about 1/4 inch thick, making sure the seeds are visible. The slice should include the seed gel around the seeds to aid germination.
Place the tomato slice on moist soil or a paper towel inside a shallow container. Ensure the soil is well-draining and kept consistently moist but not waterlogged.
Cover the container with a clear plastic lid or plastic wrap to maintain humidity. Place it in a warm, sunny spot or under a grow light to encourage sprouting.
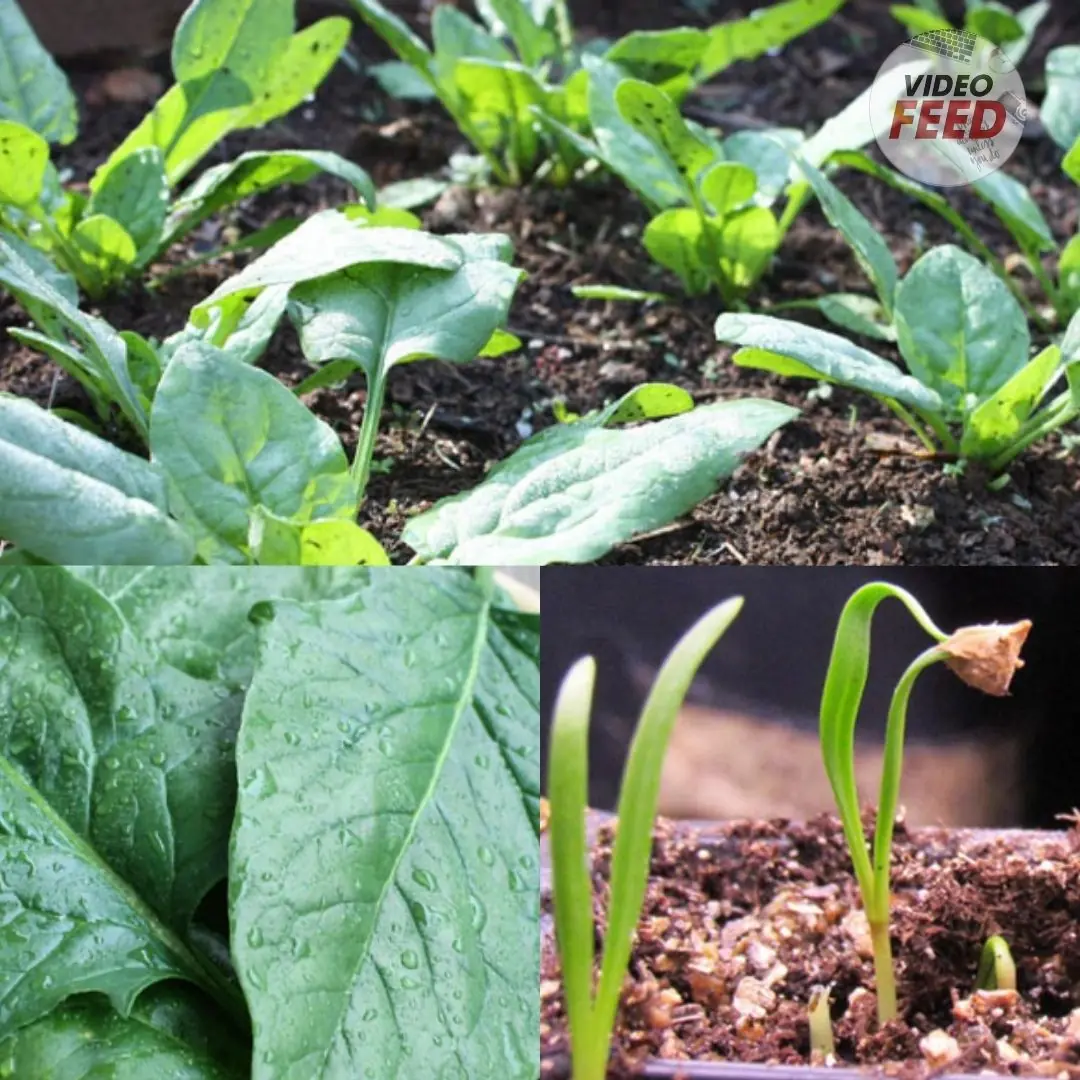
Over the next several days to weeks, you will observe seeds germinating, tiny roots developing, and shoots emerging from the tomato slice. A time-lapse video of this process beautifully captures the dynamic growth and transformation from slice to seedling.
Once the seedlings grow several true leaves and become sturdy enough, carefully transplant them into individual pots or your garden. Continue to provide water, sunlight, and nutrients for healthy growth.
Seed Germination: Seeds swell and crack open as roots begin to emerge.
Shoot Emergence: Tiny green shoots break through the soil surface.
Leaf Development: First leaves (cotyledons) appear, followed by true leaves.
Growth Acceleration: Stems grow taller, and more leaves develop, showing the plant’s vigor.
Watching this process in fast motion reveals the incredible life cycle of plants and is a wonderful educational tool.
Easy and Cost-effective: No need to buy seeds or seedlings.
Educational: Great for kids and beginners to learn about plant biology.
Sustainable: Recycles food scraps and reduces waste.
Rewarding: Experience the joy of growing plants from everyday kitchen scraps.
Keep the soil moist but avoid overwatering to prevent rot.
Provide plenty of light to support healthy growth.
Be patient - germination can take from a few days to a couple of weeks.
Once transplanted, care for your plants with regular watering and fertilization.
Growing tomato plants from a tomato slice is a fascinating and simple way to connect with nature and enjoy fresh, homegrown tomatoes. Whether you document the journey with time-lapse photography or simply watch them grow day by day, it’s an experience full of wonder and satisfaction.
Happy gardening!
5 Health Benefits of Eating Watermelon Seeds


Unsafe chicken consumption may lead to severe and life-threatening risks.
These Common Foods Could Be More Dangerous Than You Think

Eat Peanuts Daily and This Is What Happens to Your Body

Why Do Your Bre.asts Change Size? The Answer Might Surprise You

Your Face Is Trying to Tell You Something—Are You Listening?

Pancreatic Cancer: Why Early Detection Matters & Signs You Shouldn’t Ignore
Think They’re Harmless? These 6 Foods Quietly Steal Calcium From Your Bones

Kidney Atrophy Before 30? The Truth About “2 Dangerous Habits”

Frequent urination at night could be a clear indication of an underlying issue

Can Body Odor Really Signal Liver Problems? What You Need to Know
Check Your Nails: 3 Warning Signs You Should Never Ignore

Put 4 drops in your ear and you will hear like new again

Visible veins can reveal clues about circulation and overall health.

Why Does the Vagina Smell Sour? 4 Real Reasons Every Woman Should Know

Morning Warning Signs of Kidney Problems: What Your Body Might Be Telling You

Daily coffee habits may impact kidney health more than you think.
You might be eating these every day — and not know the dang:ers
Do These 3 Vegetables Really Increase Cancer Risk? What Science Actually Says
Who Should Avoid or Limit Ginger? 5 Health Conditions You Shouldn’t Ignore

What Causes Frequent Numbness in the Legs? Understanding the Warning Signs Your Body Sends