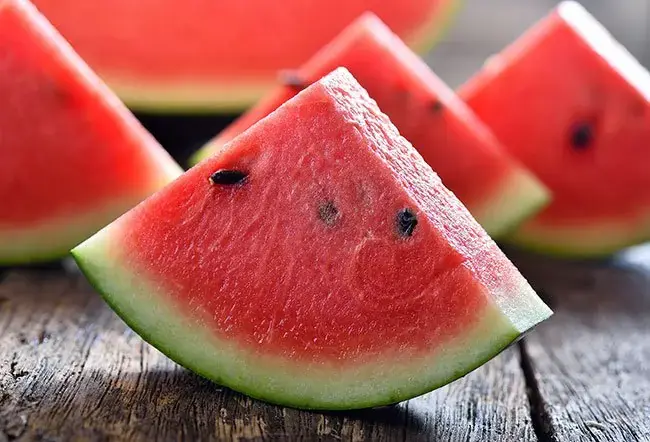
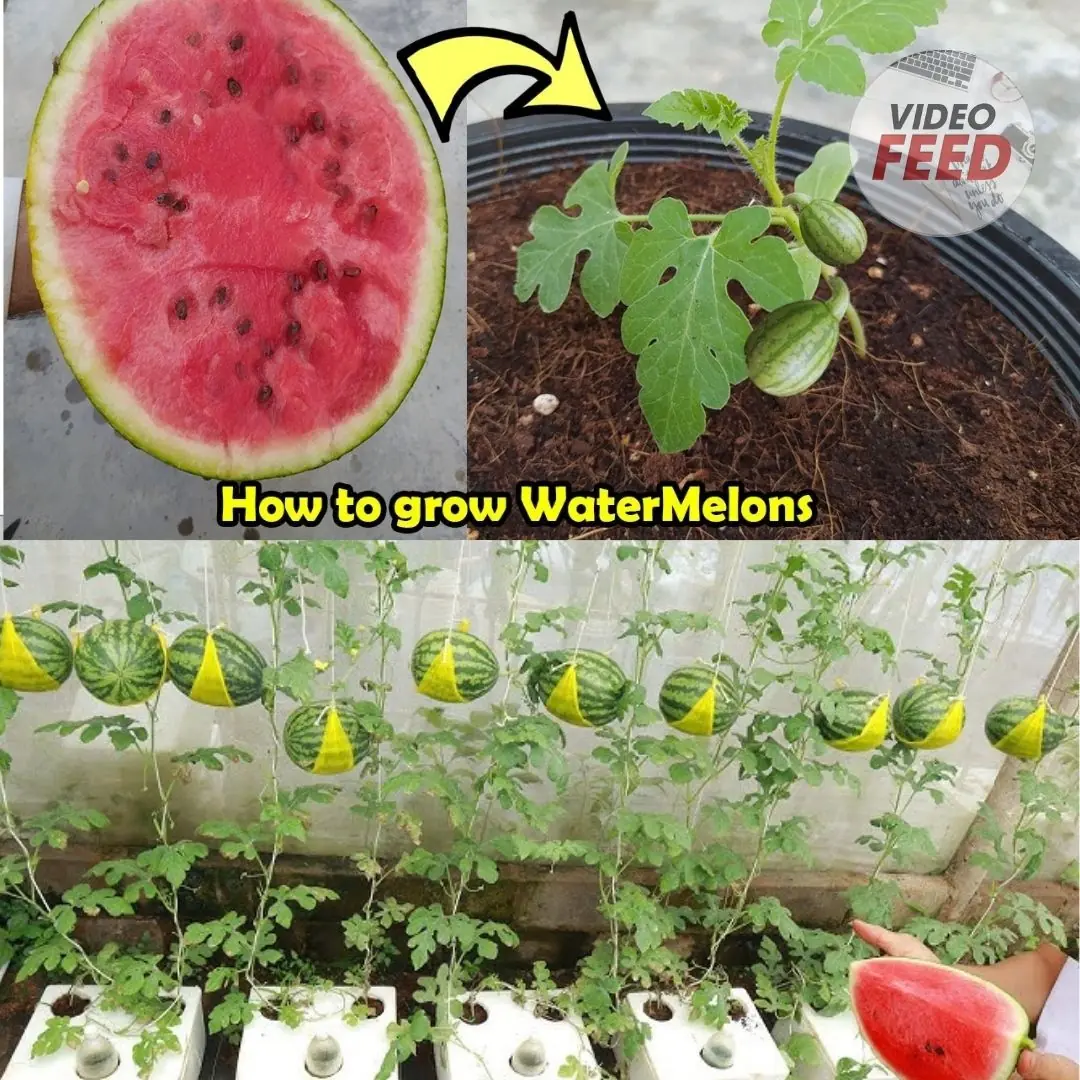
Discover 5 Ways Watermelon Seeds Can Boost Your Health
5 Health Benefits of Eating Watermelon Seeds
Garden 31/03/2026 22:43
Ginger is a versatile, flavorful root that adds a zesty kick to your meals and beverages. It’s widely used in cooking and traditional medicine, but did you know that you can grow your own fresh ginger right at home? It’s easier than you might think, and you don’t even need special seeds - just a piece of ginger from your local grocery store. This guide will show you how to plant store-bought ginger and cultivate your own endless supply.
Growing your own ginger can be both fun and rewarding. Aside from the obvious benefit of having a fresh supply of ginger whenever you need it, cultivating ginger at home allows you to control its growing conditions. Fresh ginger from the store often loses its potency and flavor over time, but when you grow it yourself, you can harvest it as needed, ensuring the best quality and taste.
Additionally, ginger is known for its medicinal properties, including anti-inflammatory and antioxidant benefits. Growing it at home ensures you have a fresh, organic source of this powerhouse root.
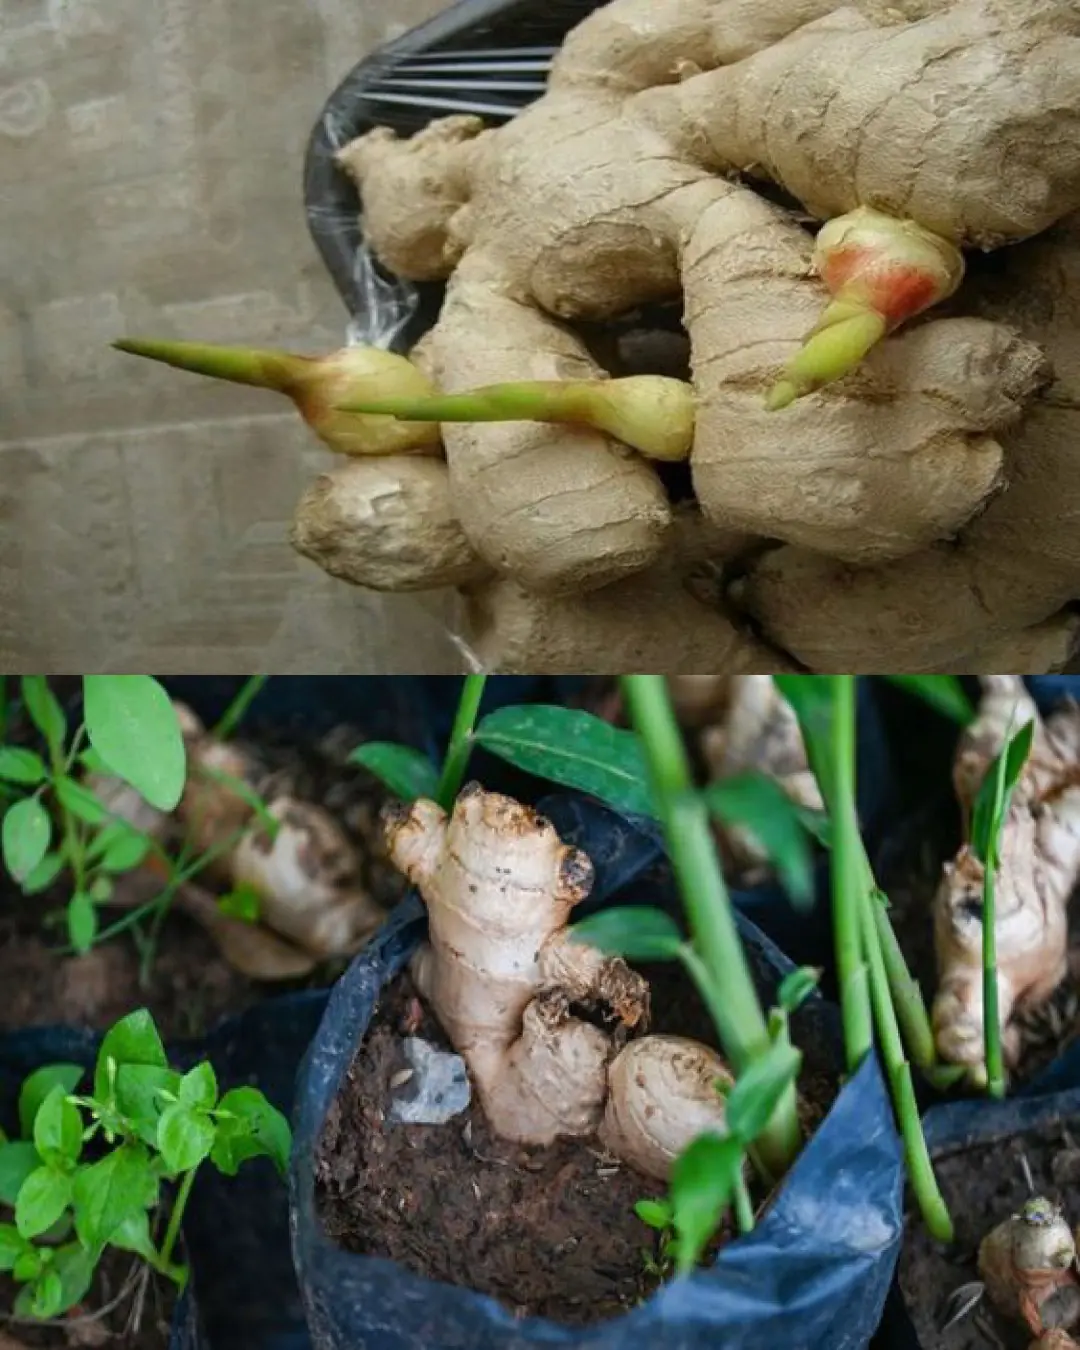
To start growing ginger, you’ll need to select a ginger root from the store. When purchasing ginger, look for a fresh, firm rhizome (the root part of the plant) that is plump and free of wrinkles or blemishes. Avoid buying ginger that looks dry or shriveled, as it will be less likely to sprout.
It’s important to note that while you can grow ginger from a store-bought root, the best time to plant is when the ginger root has visible “eyes” or buds - these are the small, knobby growth points where new shoots will emerge. You can find these eyes on the root’s surface, and they should look like small nubs or buds.
1. Soak the Root
Start by soaking your ginger root in water for about 12-24 hours before planting. This will help rehydrate the root and promote sprouting. If the ginger root is large, you can cut it into smaller sections, ensuring each section has at least one “eye” or bud. Make sure the pieces are at least 1-2 inches long.
2. Let the Root Dry
After soaking, let the ginger root pieces dry for a day or two to prevent rot. This drying process helps the cuts heal and reduces the risk of disease.
1. Pot Selection
Ginger grows well in large, wide containers. Choose a pot that is at least 12 inches deep and wide enough to allow for the spread of the ginger root. A plastic or ceramic pot with drainage holes is ideal, as ginger does not like to sit in stagnant water.
2. Soil Preparation
Ginger thrives in rich, loamy, and well-draining soil. You can buy a potting mix formulated for vegetables or herbs, or you can mix your own. A good mix would be 2 parts loamy soil, 1 part compost, and 1 part perlite or sand for drainage.
1. Plant the Root
Fill your pot with the prepared soil, leaving about 2 inches of space from the top. Place the ginger root pieces in the soil, with the buds or eyes facing upward. Gently cover the root with soil, ensuring that the buds are just below the surface.
2. Watering
After planting, water the soil lightly. Ginger needs a consistently moist environment to grow, but make sure not to overwater as this can cause the roots to rot. Keep the soil evenly moist, but not soggy.
1. Choose a Warm Location
Ginger loves warmth and humidity, so place the pot in a spot where it will receive indirect sunlight. A warm windowsill or greenhouse is ideal. If you live in a cooler climate, you can also grow ginger indoors.
2. Humidity
Ginger thrives in humid conditions, so if you’re growing it indoors, you may want to place the pot on a tray filled with water and pebbles to increase humidity. Alternatively, you can mist the plant occasionally to maintain moisture in the air.
3. Fertilizing
Ginger is a heavy feeder and benefits from regular feeding. Use a balanced liquid fertilizer (preferably organic) every 4-6 weeks during the growing season. Over-fertilizing can harm the plant, so use fertilizer sparingly.
4. Watering
Keep the soil consistently moist, especially when the ginger is actively growing. However, make sure the container has proper drainage to prevent waterlogging.
Ginger takes time to grow, typically requiring 8-10 months to fully mature. You will know your ginger is ready for harvest when the leaves start to yellow and die back. At this point, the ginger root will have reached a substantial size.
1. Harvesting the Root
To harvest your ginger, gently dig around the base of the plant with a trowel or your hands. You can pull up the entire root or simply break off a section, leaving the rest of the root in the soil to continue growing.
2. Storing Fresh Ginger
Once harvested, you can use fresh ginger immediately or store it in the refrigerator for a few weeks. If you have excess ginger, you can freeze it by cutting it into chunks and placing it in a freezer-safe bag.
Multiple Harvests
Ginger is a perennial plant, meaning it can keep growing year after year. As long as you leave a portion of the root in the soil after harvesting, you can continue to grow fresh ginger for an endless supply.
Grow Ginger Outdoors
If you live in a warmer climate, you can plant ginger directly in the garden. Just ensure that the soil is well-drained and that the plant receives adequate sunlight.
Growing your own ginger from store-bought roots is a simple and cost-effective way to have a fresh supply of this flavorful root on hand all year round. With just a little patience and care, you can harvest fresh ginger whenever you need it and enjoy its numerous culinary and health benefits. Happy gardening and enjoy the satisfaction of cultivating your own endless supply of ginger!
5 Health Benefits of Eating Watermelon Seeds


What causes eye floaters and what to do if you begin seeing them, according to experts?

Sapo: Persistent foamy urine may signal hidden kidney or health problems.
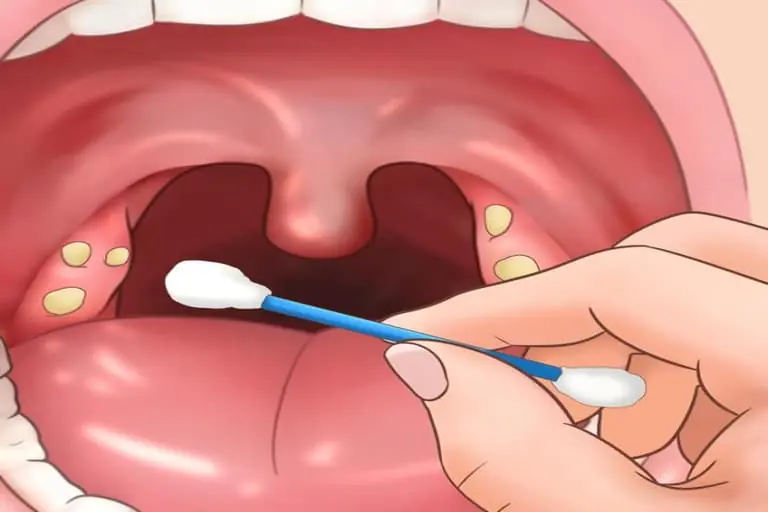
What are tonsil stones? Causes, symptoms, and ways to remove them effectively

Your body might send these 7 signals before a serious heart problem occurs
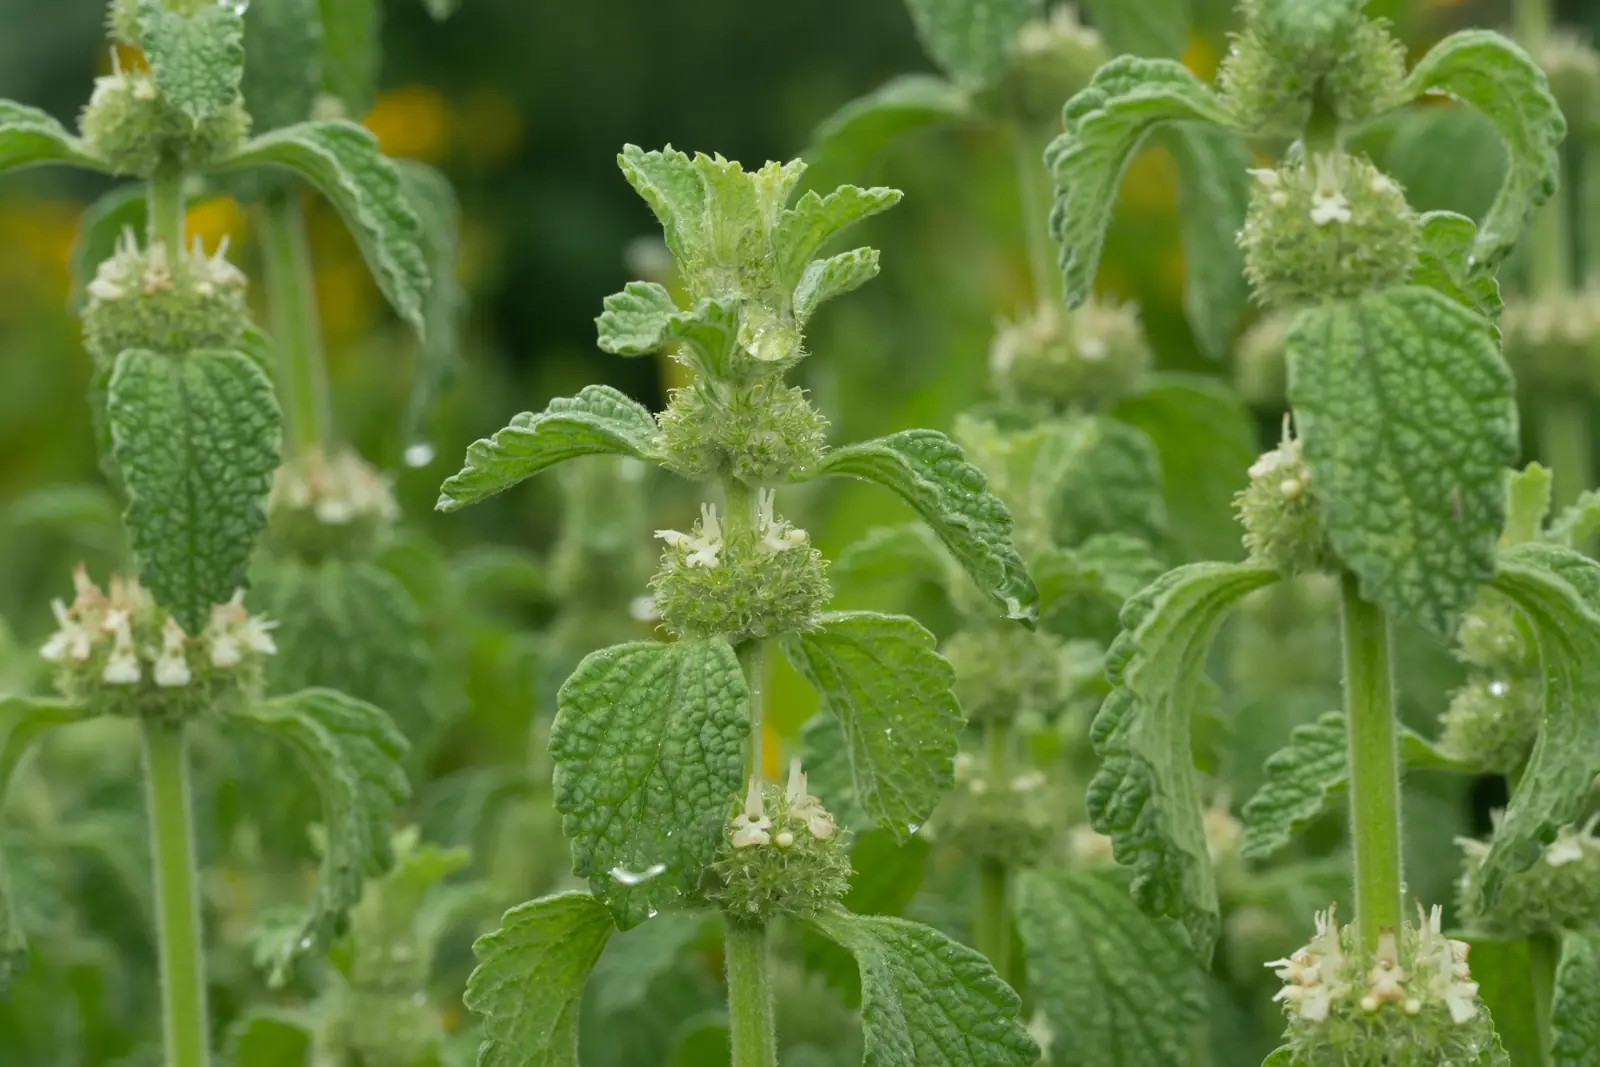
The Benefits and Uses of White Horehound (Marrubio) You Should Know

Enlarged neck veins may point to a condition that shouldn’t be overlooked

2 everyday vegetables that may help reduce joint discomfort and support collagen

Doctors Warn: Weak Legs May Be an Early Sign You Shouldn’t Ignore

A 6-year-old boy was diagnosed with advanced can.cer and doctors say a common drink may have played a role
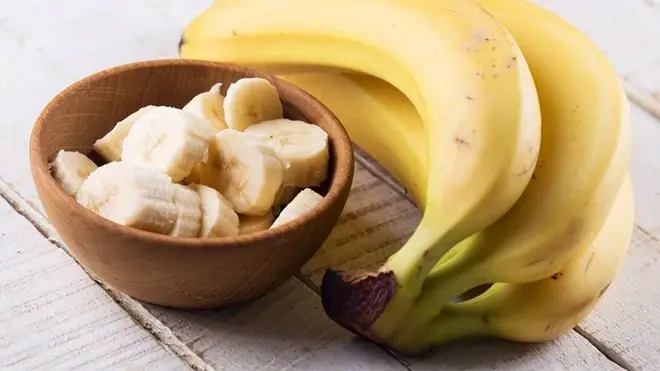
When should you eat bananas? 5 timing tips for digestion, skin, and balanced blood sugar
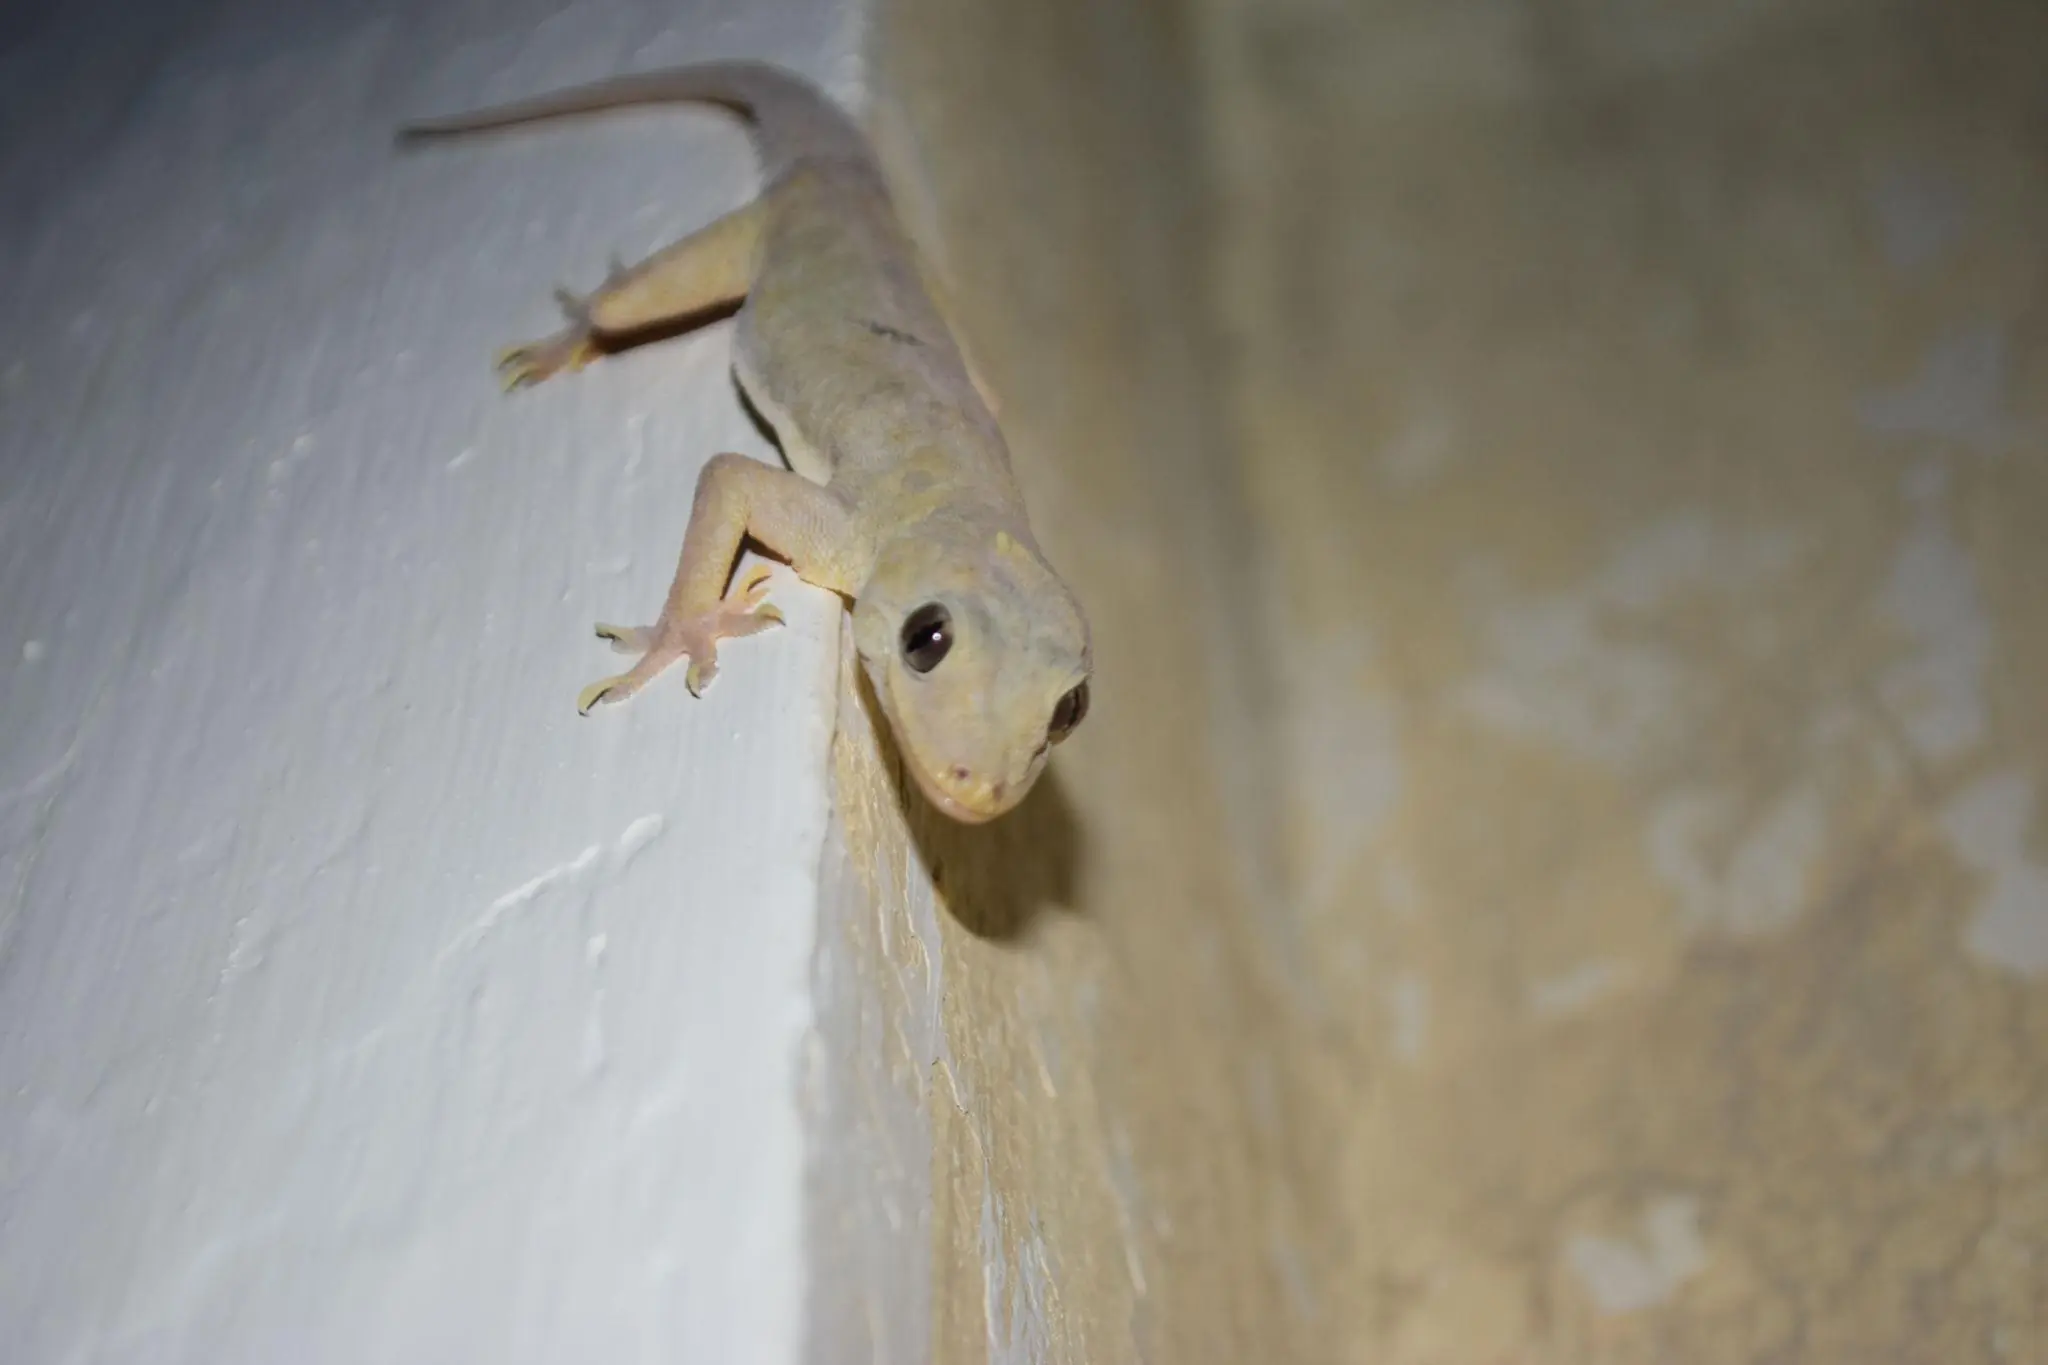
Don’t panic if you find a lizard in your home - the reason may surprise you

The real reasons dogs chase people - plus advice from veterinarians
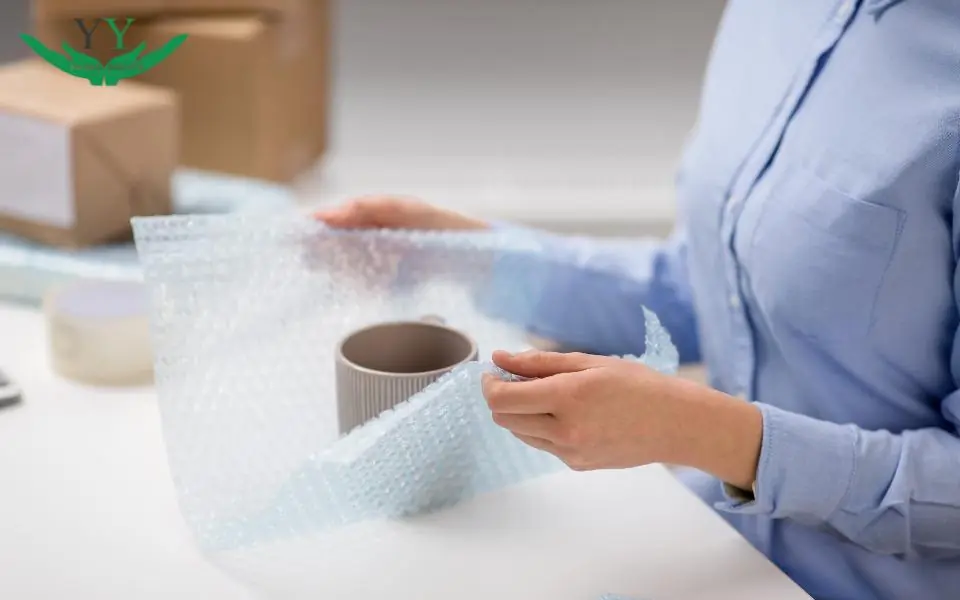
Think bubble wrap is useless? Try using it in the kitchen first

From Allergy to Alarm: What Doctors Discovered Shocked Him 😲
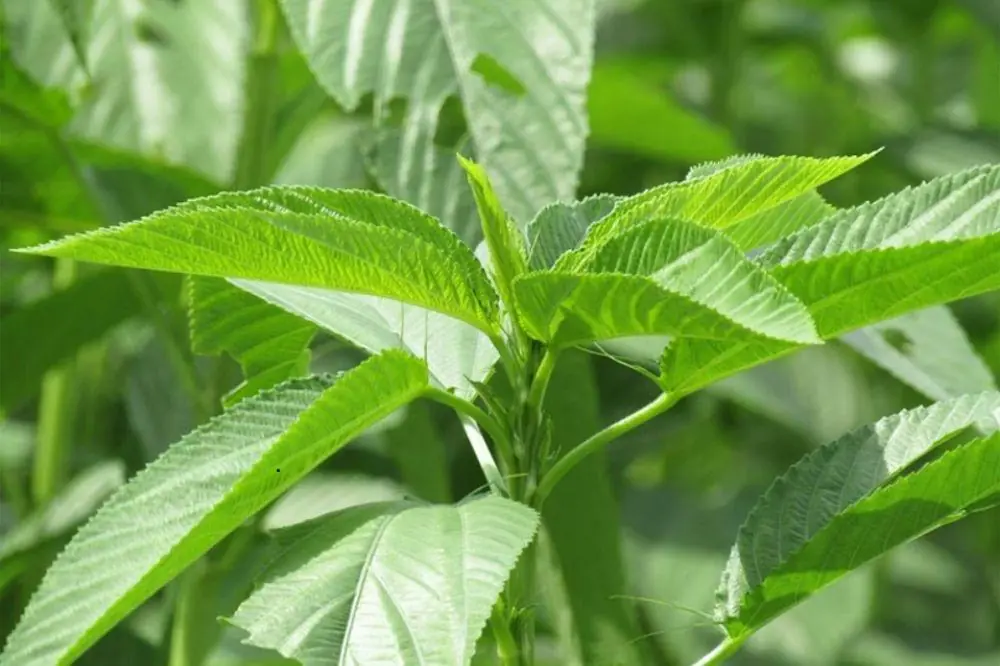
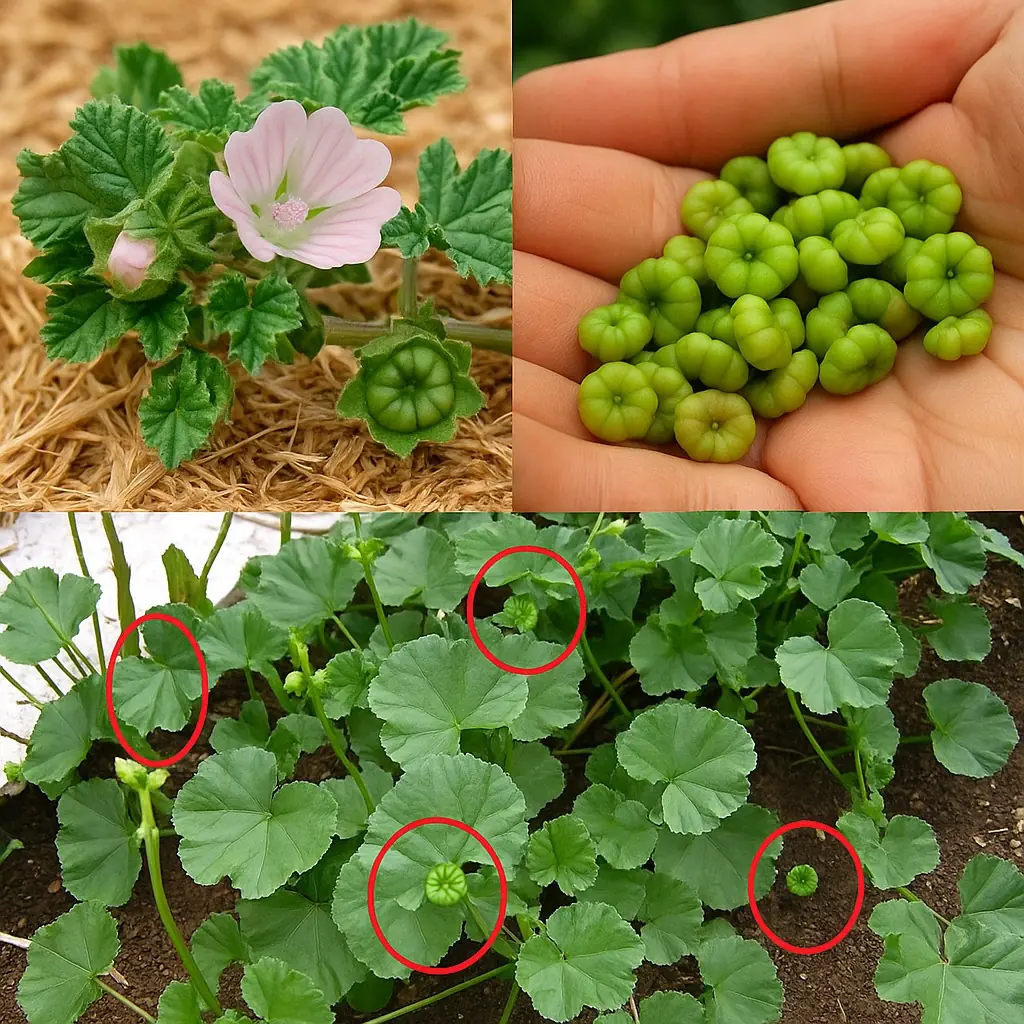
Why you should start planting jute mallow at home today: 7 reasons
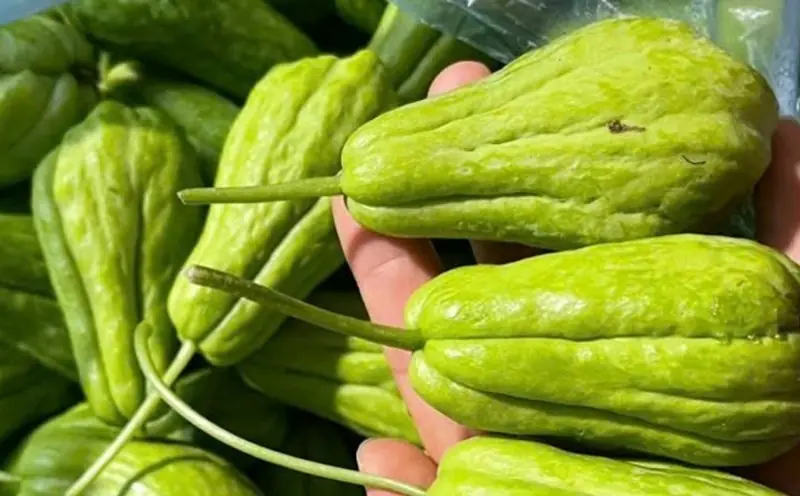
Before You Eat Chayote Again, Read This Medical Advice 🥒😨
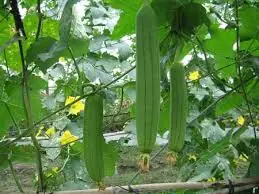
5 Health Reasons to Start Eating Loofah Today

10+ Alarming Signs Your Sugar Intake Is Too High
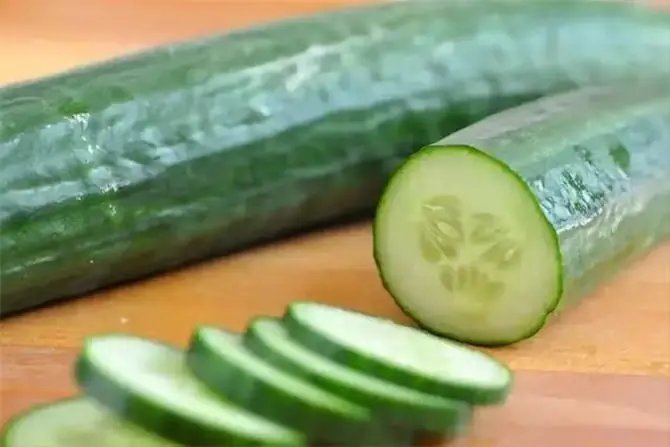
Mixing Cucumber with These Foods? Read This First

Recognizing Bladder Cancer Early: Key Warning Signs to Watch