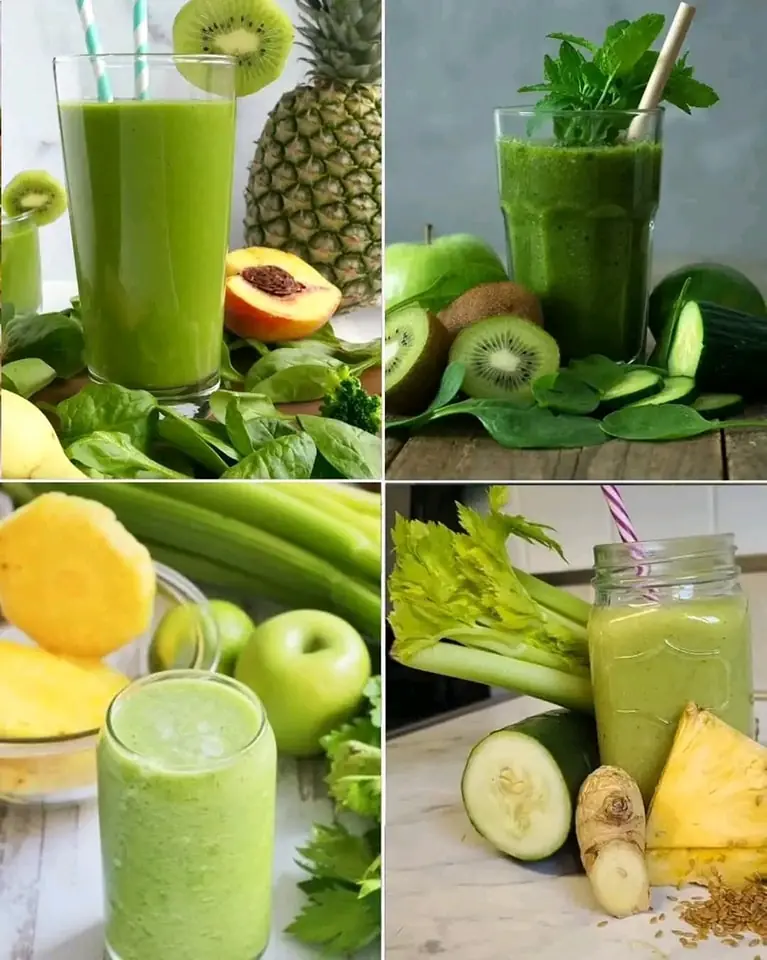
Different Green Juices to Reduce Be.lly Fat
Garden 16/12/2025 15:40

Coconut trees are tropical wonders known for their tall, swaying trunks and large, lush fronds. Growing a coconut tree from a coconut fruit might seem like a challenge, but with the right technique and patience, you can grow your very own coconut tree at home. While most people purchase coconut seedlings, growing a coconut tree from the actual fruit can be a rewarding and fascinating process. In this guide, we will walk you through the steps to grow a coconut tree from a coconut fruit.
Before we begin, it’s essential to understand that coconut trees are native to tropical and subtropical regions. These trees thrive in warm, sunny climates with plenty of rainfall. They require a large amount of space, as they can grow up to 100 feet tall. Coconut trees also need well-drained, sandy soil to grow successfully. While growing a coconut tree from seed is a lengthy process, it can be done with a bit of dedication.
The first step in growing a coconut tree from a coconut fruit is choosing the right coconut. The type of coconut you use will determine the success of the tree.
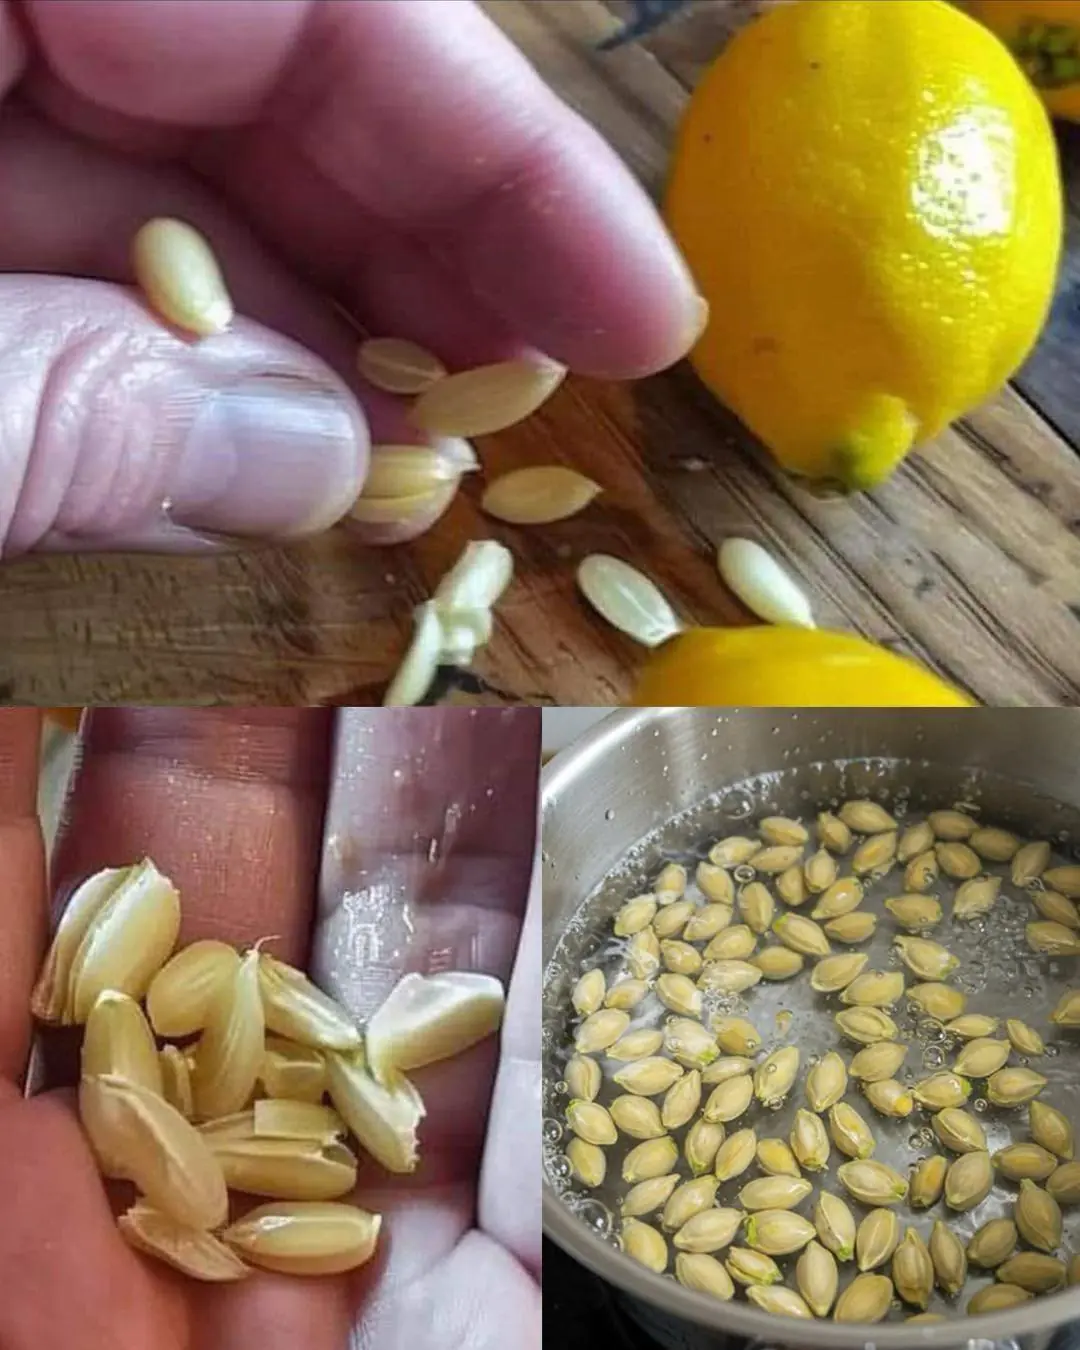
Use a Mature, Fresh Coconut: Look for a mature, fresh coconut. These are usually brown in color and have a hard shell. You should be able to shake the coconut and hear liquid sloshing inside. The liquid, known as coconut water, is essential for the germination process. Avoid coconuts that are overly dry or have cracks in the shell.
Check for Viability: The coconut should still have a fibrous husk intact. The shell must not be damaged, as this can affect the viability of the seed.
Coconuts require a period of soaking to initiate the germination process. Here’s how to do it:
1. Soak the Coconut in Water: Submerge the coconut in a large container of water. You should soak it for about 2-3 days to rehydrate the coconut and soften the outer shell. This helps to activate the natural growth process.
2. Check for Cracks: After soaking, inspect the coconut for any cracks or signs of damage. If the shell is still intact, it is ready to proceed to the next step.
Coconut trees require a warm and humid environment to germinate successfully. Here’s how you can create ideal conditions:
1. Place the Coconut in a Warm, Humid Location: Find a warm spot with consistent temperatures of around 80°F (27°C). This could be in a sunny room, greenhouse, or on a balcony. Humidity is crucial, so make sure the area is not too dry.
2. Use a Shallow Tray or Pot: Place the coconut on its side in a shallow tray or pot with well-draining soil. The coconut should be half-buried, with the sprout-side facing up. Keep the rest of the coconut exposed to the air. This setup mimics the natural process of the seed being buried in the ground.
3. Maintain Moisture: Keep the soil lightly moist, but not waterlogged. The coconut will start to sprout after a few weeks. During this time, you may notice a small shoot emerging from the coconut. This is the beginning of your coconut tree!
4. Patience is Key: Germination can take several months, depending on the conditions. In the ideal environment, a shoot can emerge within 3 to 6 months.
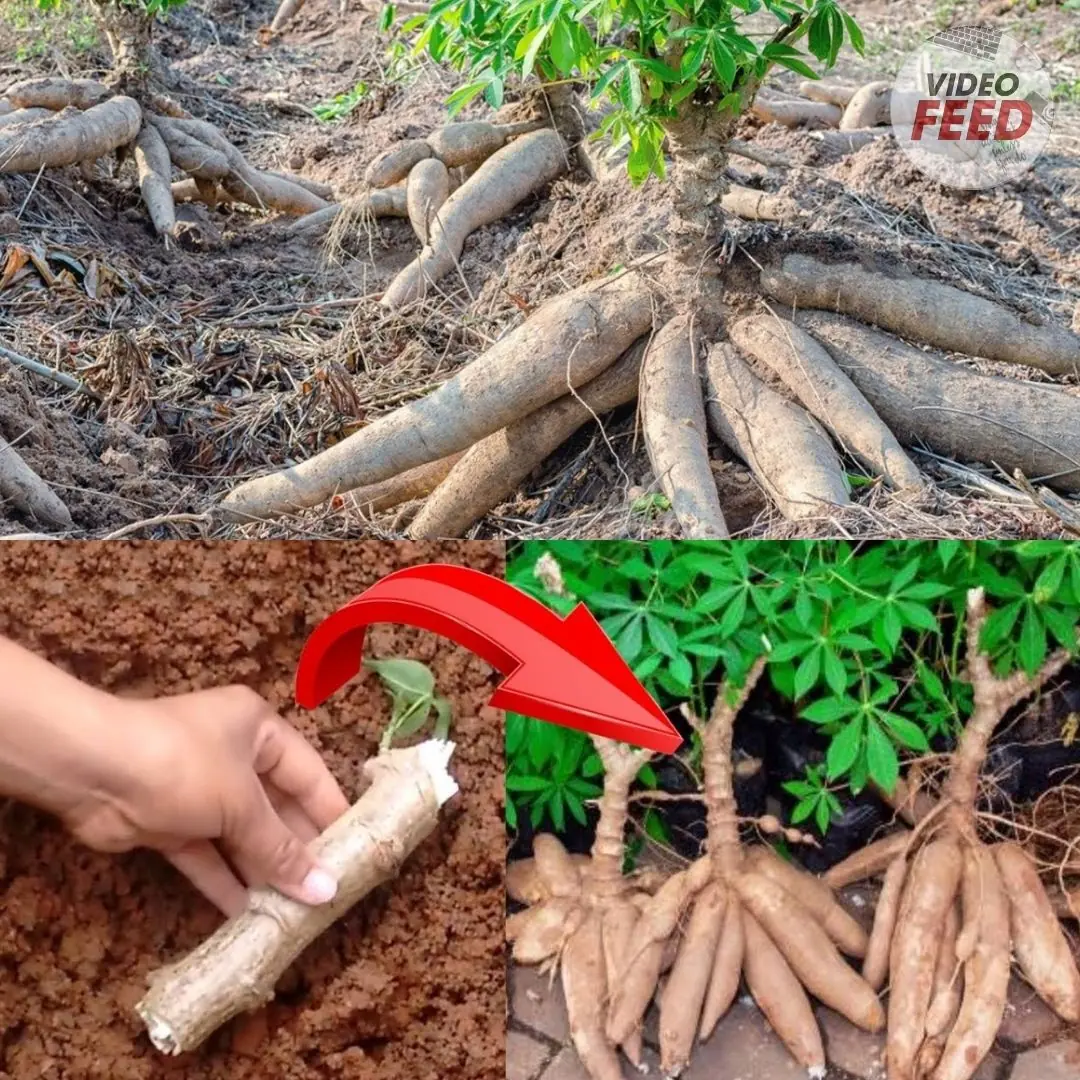
Once the coconut has sprouted and the young seedling has grown a few inches, it’s time to transplant it into a larger pot or directly into the ground. Here’s how:
1. Prepare a Pot or Planting Site: If you are transplanting the coconut into a pot, choose a large container with good drainage. Fill the pot with a well-draining potting mix or sandy soil, as coconut trees require excellent drainage. If you are planting outdoors, choose a sunny spot with loose, well-draining soil.
2. Transplant the Coconut: Gently remove the sprouted coconut from its current pot or tray and place it in the new pot or planting site. Bury it so that the roots are covered, but leave the sprout exposed above the soil.
3. Provide Plenty of Light: Coconut trees need plenty of sunlight to thrive, so make sure your newly transplanted tree is placed in a location with direct sunlight. Ideally, coconut trees need 6-8 hours of sunlight daily.
Now that your coconut tree is planted, it requires ongoing care to thrive:
1. Watering: Water your coconut tree regularly, but be careful not to overwater. The soil should remain consistently moist but never soggy. Make sure the pot or ground has proper drainage to avoid root rot.
2. Fertilizing: Fertilize your coconut tree with a balanced fertilizer every 2-3 months during the growing season to provide essential nutrients.
3. Protection from Cold: Coconut trees are sensitive to cold temperatures. If you live in an area with frost or freezing temperatures, you’ll need to protect your coconut tree or grow it in a container that can be moved indoors during the winter months.
4. Pruning: Once your coconut tree has established itself, you can prune any dead or damaged leaves. Coconut trees grow quickly and may need to be trimmed regularly to maintain their shape.
Coconuts are slow growers, and it can take several years before your coconut tree begins to produce fruit. On average, it takes between 6 to 10 years for a coconut tree to bear fruit. However, with proper care and patience, your tree will eventually start producing delicious coconuts!
Growing a coconut tree from a coconut fruit is a fun and rewarding process that requires patience and the right conditions. By following these simple steps - soaking the coconut, providing warmth and humidity, transplanting it to a suitable location, and giving it the proper care - you’ll be on your way to growing your own coconut tree. While it takes time, the beauty of seeing a coconut tree grow from seed to fruit is truly worth the wait.
Happy gardening!


Bananas are undeniably nutritious.

A rare and alarming case has drawn public attention after a married couple was diagnosed with liver cancer almost simultaneously.

Non-alcoholic fatty liver disease (NAFLD)

Diabetes can affect many parts of the body, but the feet often show the earliest warning signs.

You may be damaging your kidneys and liver every day

Strange marks on your pillow don’t automatically mean can:cer

“My ex said, ‘We’ve got nowhere to live with my new wife, let us stay at your summer house.’ I let them in… then I called the police and filed a report for breaking and entering.”

70-year-old man drinks lemon water to treat high blo.od pressure for 2 years

Gout is becoming increasingly common, and if you have it, certain foods should be strictly avoided to prevent painful flare-ups

The lonely old woman admonished the swearing teenagers on the playground. But then something happened…

These 6 warning signs often appear late — ignoring them could cost precious time.