
What the Universe Is Trying to Tell You When Ants Invade Your Home
The Meaning Goes Beyond Simple Pest Control
Tips 27/07/2026 22:50
Most people regularly clean the shelves, drawers, and visible surfaces inside their refrigerator. However, one important area is often overlooked: the rubber door gasket, also known as the refrigerator seal.
Over time, this flexible rubber strip can accumulate moisture, food particles, dust, and debris. Because it is frequently exposed to humidity and temperature changes, it can become an ideal environment for mold and mildew growth. Black spots, unpleasant odors, and sticky residue may begin to appear, making the refrigerator look less clean and potentially affecting hygiene.
Fortunately, cleaning a moldy refrigerator gasket is usually straightforward and can be done using common household supplies. Regular maintenance not only helps improve cleanliness but may also help extend the life of the seal and improve the refrigerator's efficiency.
Here's what you need to know.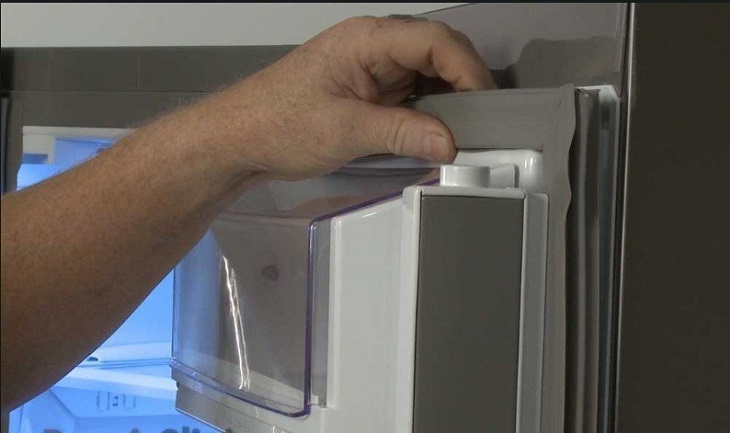
The refrigerator door seal is designed to create an airtight barrier that keeps cold air inside.
Condensation
Moisture buildup
Food splashes
Dust accumulation
These conditions may create an environment where mold and mildew can thrive.
The folds and creases of the rubber gasket can be especially difficult to clean, allowing contaminants to collect unnoticed.
Many people don't inspect their refrigerator seal regularly.
Black spots on the rubber
Gray or green discoloration
Unpleasant odors
Sticky residue
Visible dirt inside gasket folds
Even if mold is not visible, periodic cleaning is still recommended.
A clean gasket is about more than appearance.
Improve hygiene
Reduce unpleasant odors
Prevent excessive mold buildup
Extend gasket lifespan
Support refrigerator efficiency
When dirt accumulates, the gasket may not seal as effectively.
Most cleaning methods use simple household items.
Warm water
Mild dish soap
White vinegar
Soft cloth
Sponge
Old toothbrush
Dry towel
For heavier mold buildup, additional cleaning products may be needed according to manufacturer recommendations.
For basic gasket cleaning, unplugging may not always be required.
If extensive cleaning is planned or electrical components may be exposed to moisture, consult the appliance manufacturer's guidance first.
Safety should always come first.
One simple option is a mixture of:
This solution works well for routine maintenance and light dirt removal.
A diluted white vinegar solution is often used for cleaning household surfaces.
Vinegar may help loosen grime and reduce odors.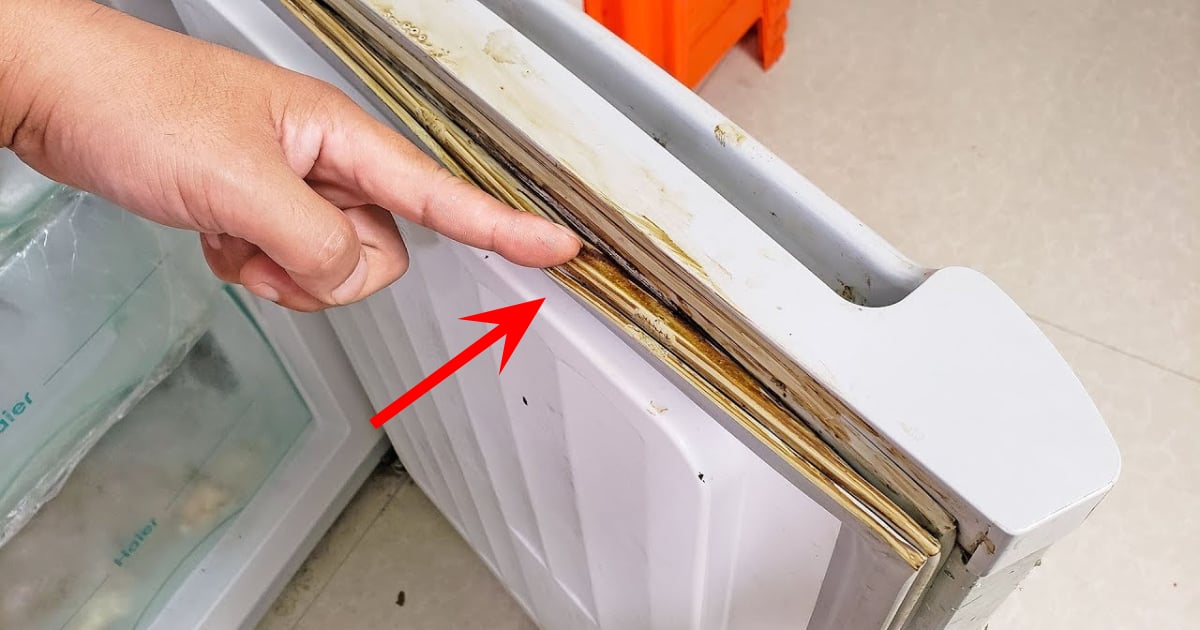
Many contaminants hide within the folds of the rubber seal.
To expose:
Hidden dirt
Moisture
Food particles
This step is often where people discover buildup they didn't know existed.
Using a soft cloth, sponge, or toothbrush:
Corners
Creases
Folded sections
Gentle scrubbing helps remove accumulated residue without damaging the rubber.
Avoid overly aggressive scrubbing that could weaken the gasket material.
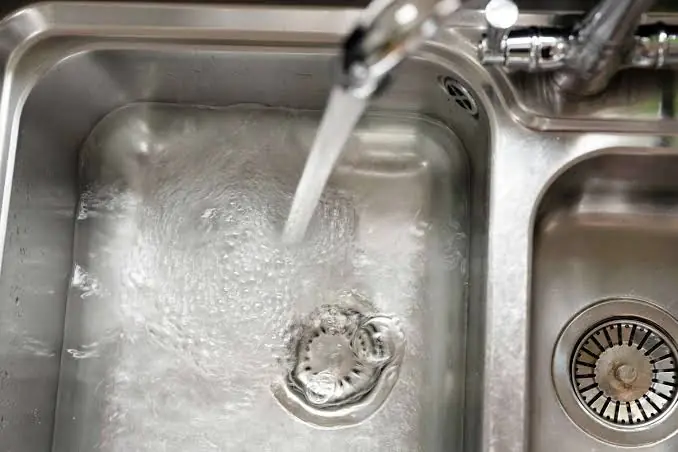
After cleaning:
To remove:
Soap residue
Loosened dirt
Remaining cleaning solution
This helps prevent buildup from being redistributed.
Moisture encourages mold growth.
Drying is one of the most important steps.
Use a clean towel to remove excess water from:
The gasket surface
Interior folds
Corners
Allowing moisture to remain may contribute to future mold growth.
Frequency depends on household conditions.
Inspect the gasket at least once per month.
May help prevent significant buildup.
Homes with higher humidity levels may benefit from more frequent cleaning.
Cleaning is important, but prevention is even better.
After spills or condensation, wipe moisture away promptly.
Mold thrives in damp environments.
Reducing moisture reduces the likelihood of growth.
Food residue provides nutrients that support mold growth.
Juice spills
Milk splashes
Sauces
Sticky beverages
Prompt cleanup can prevent problems later.
Improper temperatures may contribute to excessive condensation.
Within manufacturer-recommended temperature ranges.
Excess moisture can accumulate if cooling performance is compromised.
A quick monthly inspection can help identify problems early.
Mold spots
Cracks
Tears
Loose sections
Addressing issues early is often easier than dealing with extensive damage.
Vinegar is commonly used in household cleaning.
It may help:
Loosen grime
Reduce odors
Clean surfaces
However, severe mold infestations may require stronger cleaning approaches or professional guidance.
Always follow manufacturer recommendations for appliance care.
Some people use bleach for mold removal.
Bleach can damage certain materials if used improperly.
Check:
Appliance instructions
Manufacturer recommendations
Not all refrigerator gaskets tolerate harsh chemicals equally well.
Cleaning cannot solve every problem.
Torn
Cracked
Brittle
Permanently deformed
Damaged gaskets may reduce refrigerator efficiency by allowing cold air to escape.
A weakened seal forces the refrigerator to work harder.
Increased energy consumption
Reduced cooling performance
Temperature fluctuations
Maintaining the gasket supports efficient operation.
Many people clean every part of the refrigerator except the seal.
Harsh brushes may damage the rubber.
Drying is essential after cleaning.
Routine maintenance is much easier than intensive cleaning.
A clean gasket works best alongside overall refrigerator maintenance.
Cleaning shelves regularly
Discarding expired food
Wiping spills immediately
Checking temperature settings
Improving kitchen ventilation
These habits support both cleanliness and appliance performance.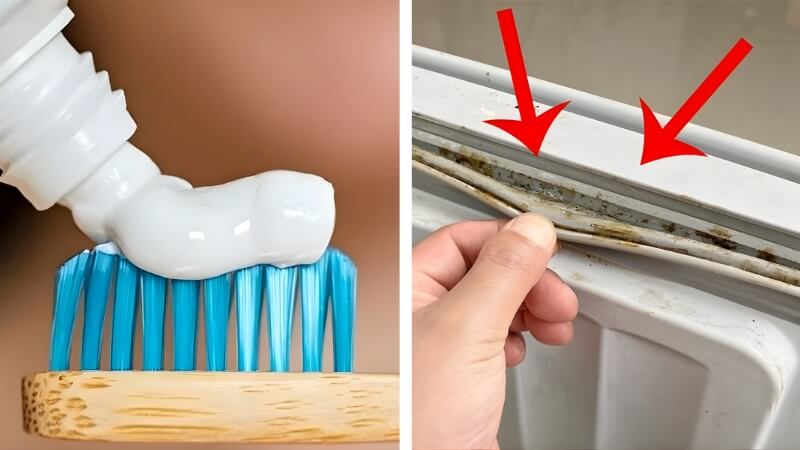
The refrigerator gasket may seem like a small detail, but it plays a major role in maintaining food freshness, energy efficiency, and overall hygiene. Because it is exposed to moisture and hidden from view, it often becomes one of the first places where mold develops.
Fortunately, regular inspection and simple cleaning habits can go a long way toward keeping the gasket clean and functioning properly.
Mold around the refrigerator door seal is a common household problem, but it is usually manageable with routine cleaning and maintenance. Using gentle cleaning solutions, carefully cleaning the gasket folds, thoroughly drying the area, and inspecting the seal regularly can help reduce mold buildup and maintain refrigerator performance.
By giving this often-overlooked part of the refrigerator a little attention every month, you can help keep your appliance cleaner, fresher, and operating more efficiently for years to come.
The Meaning Goes Beyond Simple Pest Control

Soak your feet once a week—your feet may thank you for it.

10 Surprising Ways Lemon and Charcoal Can Be Used Around the House

The School Uniform Rule Many Students Don't Know
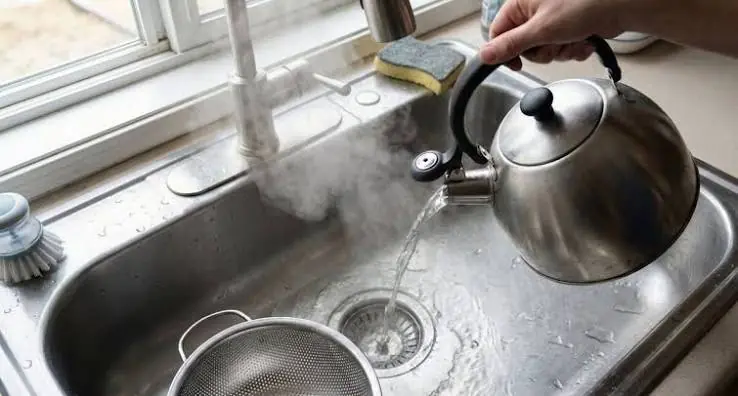
A Small Kitchen Habit Today Could Turn Into a Big Plumbing Problem Tomorrow

Wondering If Your Honey Is Authentic? Here's How to Check
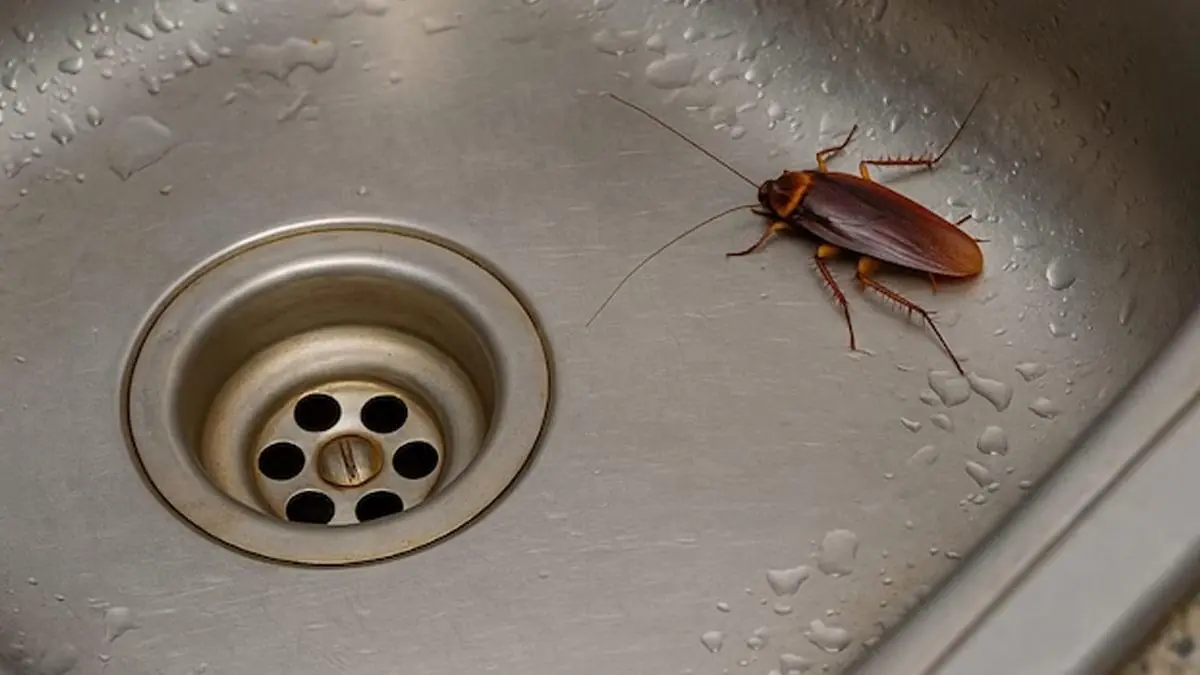
The Real Reason Cockroaches Won't Leave Your House Alone.

Your Dog Keeps Sleeping in Your Bed? Here's the Real Reason

One Image, Two Interpretations—Which One Did You See?

Don't Panic! Follow These Life-Saving Steps After a Snake Bite
🚿 Not All Pipes Handle Hot Water the Same Way—Here's Why It Matters...


What Does It Mean When a Gecko Visits Your Home?

The Strange Animal Products That Sell for Thousands of Dollars

Before You Toss That Deli Meat, Read This First

Simple Daily Habits That Can Help You Stay Fresher as You Age

Your Phone's Volume Buttons: 9 Features Worth Knowing


One Small Change Can Keep Lemons Fresh Far Longer Than You Think

Simple habits and safe methods can help keep your smile naturally brighter.

Waking Up at 3 or 4 A.M. Every Night? It May Be Worth Paying Attention To 👀

Your Body Often Speaks First: 7 Early Diabetes Symptoms Everyone Should Know 👇

Why You See Shadow Figures During Sleep Paralysis

The Urinary Symptom That Should Never Be Dismissed

Love Avocados? Doctors Reveal What They May Be Doing for Your Health 🥑👇

Tilapia: Healthy Choice or Something to Be Aware Of? 🐟👇
The Meaning Goes Beyond Simple Pest Control

Have You Seen These Tiny White Spots on Your Skin? Here's What Experts Say They Could Be 👇 Check the 1st Comment

A Common Vegetable Leaves Nearly 2,000 Infected and 98 Hospitalized in Major U.S. Outbreak
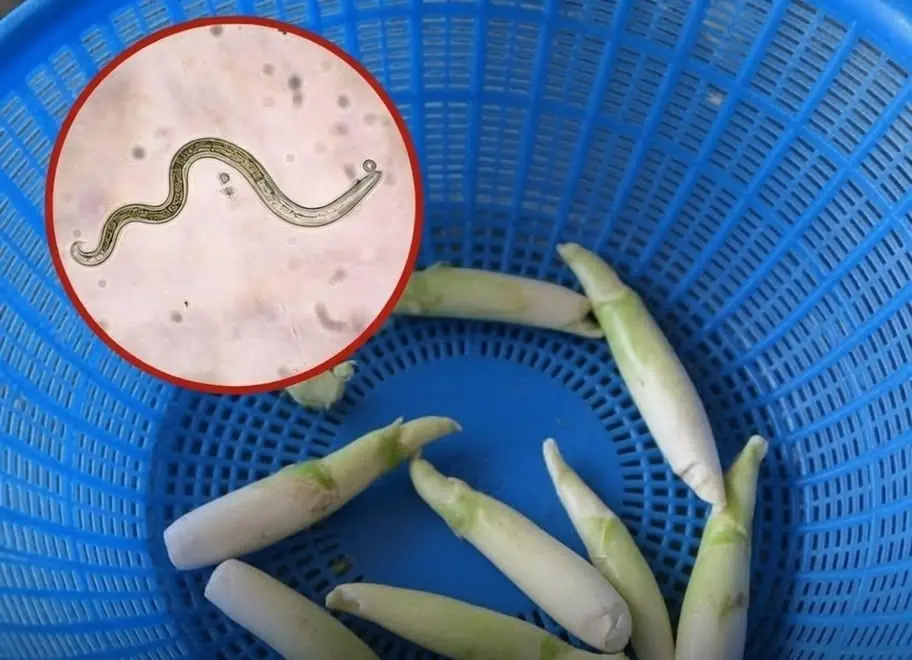
Doctors Say This Popular Vegetable Should Always Be Washed Thoroughly—Here's Why

No matter how hungry you are, don't touch these 5 breakfast foods

Many People Still Eat This Fish Without Realizing What Could Be Hiding Inside…

Experts Explain 9 Types of Itching That May Indicate an Underlying Condition

If you keep waking up at 3 or 4 in the morning, your body may be trying to tell you something. See more...

What Happens to the Body After G.allb.la.dder Removal

She Thought the Nighttime Itching Was Nothing—Then Doctors Found a Serious Illness
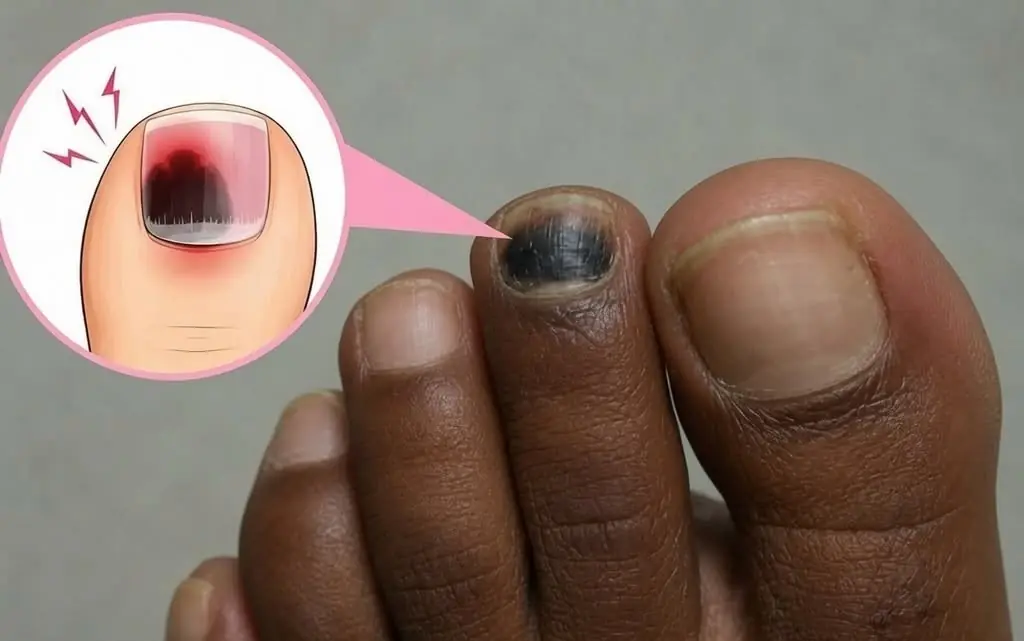
Could Your Black Toenail Be More Than a Bruise? Learn the Warning Signs

This precious vegetable can ease joint and bone pa:in — yet most people pull it out without knowing its value
Soak your feet once a week—your feet may thank you for it.

A tiny piercing, a powerful personal statement.