

If you’re working on a do-it-yourself project that involves switches, you might be wondering what the difference between some of the options out there are. What is a standard switch? A preferred one? How about a professional switch? This article will help you understand the differences, which will in turn help you understand which is the best option for your project.
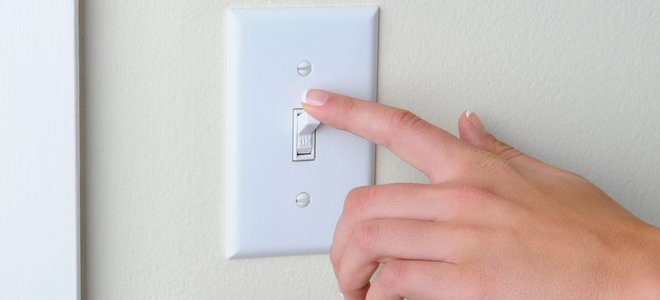
Standard Switch
Most residential switches are standard switches, rated at 15 amps. An amp is a unit of electrical current. These switches are generally proficient for devices you often use in a home, like lamps, kitchen appliances, music players, TVs, electronic chargers, and other devices.
Standard outlets are generally 2.75 inches by 4.5 inches.
Preferred and Professional Switches
Preferred and professional switches are generally 15 amp or 20 amp switches. These are often used in businesses and are incredibly useful if you want to use heavy-duty, industrial-level equipment without blowing a circuit.
The switch is generally wider than a standard switch. A preferred size plate is generally 3.13 inches by 4.88 inches. An oversized or professional switch is generally 3.5 inches by 5.25 inches.
Changing Outlets
If the time comes that you need to change out your outlet, make sure you are changing it out for the same type of outlet. If you are looking to change outlet types, you may want to consult a professional for help with the electrical part of it.
To change an outlet, start by turning off power to the area where you are working. Flip off the circuit breaker to turn it off. Once the power is off, it is safe to work in that area. If you aren’t sure if you turned off power in the right area, try plugging something into the outlet to make sure it does not turn on.
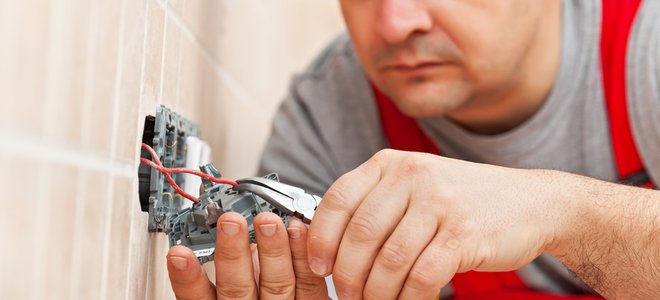
Next, take off the cover plate on the outlet. This can be easily accomplished using a screwdriver. Make sure you keep the screws someplace safe so you have the option of reusing them. You will also need to unscrew, and keep safe, the screws holding the receptacle in the wall. The new receptacle may come with its own screws but save the current ones just in case you end up needing them as well.
Once it is unscrewed, you can pull out the receptacle slightly. It will be attached to short wires, so use caution and do not just yank it out. Once it is out, attach the wires to the matching area of the receptacle. Once the wires are attached, put the box back in the wall, reattach the screws that keep it in place, and put the cover plate back on. You may also want to consider replacing the cover plate at this time if it is looking a bit dated.
Turn the power to the area back on and test it out on a device to make sure the outlet is working.
Source link : https://www.doityourself.com/stry/preferred-vs-standard-vs-professional-switches


")


