
Watch Out: 7 Plants That Can Attract Snakes to Your Living Space
7 Plants You Should Remove Immediately to Keep Snakes Away
Tips 23/03/2026 21:24

Hatching eggs at home can be an exciting and rewarding experience, whether you’re raising chickens, ducks, or other poultry. While commercial egg incubators are available, they can be expensive and may not always fit everyone’s budget. Fortunately, with some creativity and basic materials, you can craft your own egg incubator from a recycled water bottle. In this article, we’ll guide you through the step-by-step process of creating a simple and sustainable egg incubator, perfect for hatchling enthusiasts of all ages.
A Comprehensive Guide to Hatching Chicken Eggs at Home Using an Incubator
Here’s a detailed guide to help you through each step of the way.
Selecting the Right Eggs
Provenance: Ensure the eggs come from hens that have been mated with a rooster. Store-bought eggs are typically not fertile and won’t hatch.
Trusted Source: It’s crucial to obtain eggs from a trusted farm or source that guarantees fertility. This can significantly increase your chances of successful hatching.
Age: The freshness of the eggs is vital. Aim to use eggs that are no older than 7-10 days. The fresher the eggs, the higher the likelihood of hatching.
Condition of the Shell: Eggs should be clean but not excessively washed, as washing can remove the natural protective film that shields the egg from bacteria.
Visual Examination: Ensure the eggs are not cracked, deformed, or excessively dirty. Light dirt can be cleaned with a dry cloth if necessary.
Consistency: Choose eggs that are as uniform in size and shape as possible. Avoid very large or very small eggs, as they may have issues during incubation.
Incubation Conditions and Procedures
Constant: Maintain a steady temperature between 37.5°C and 38°C (99.5°F to 100.4°F) throughout the incubation period.
First Interval: For the first 18 days, keep the humidity around 50-55%.
Last Days: Increase the humidity to about 65-70% during the last 3 days (hatching period).
Fresh Air: Ensure the incubator has good ventilation to provide a constant flow of fresh air.
Frequency: Turn the eggs at least 3-5 times a day to prevent the embryo from sticking to the shell.
Stop Turning: Cease turning the eggs 3 days before the expected hatch date.
Candling: Use a light source to candle the eggs and monitor embryo development. This helps identify any non-viable eggs early on.
The Hatching Process
Preparation:
Increase the humidity and stop turning the eggs 3 days before the expected hatching date.
Ensure the hatching environment remains optimal by maintaining stable humidity and temperature.
Important Tips:
Avoid opening the incubator frequently during the hatching period to keep the environment stable.
Patience is key; chicks can take several hours to fully emerge from their shells.
Hatching chicken eggs at home with an incubator requires careful attention to detail, but it is a highly rewarding process.
7 Plants You Should Remove Immediately to Keep Snakes Away
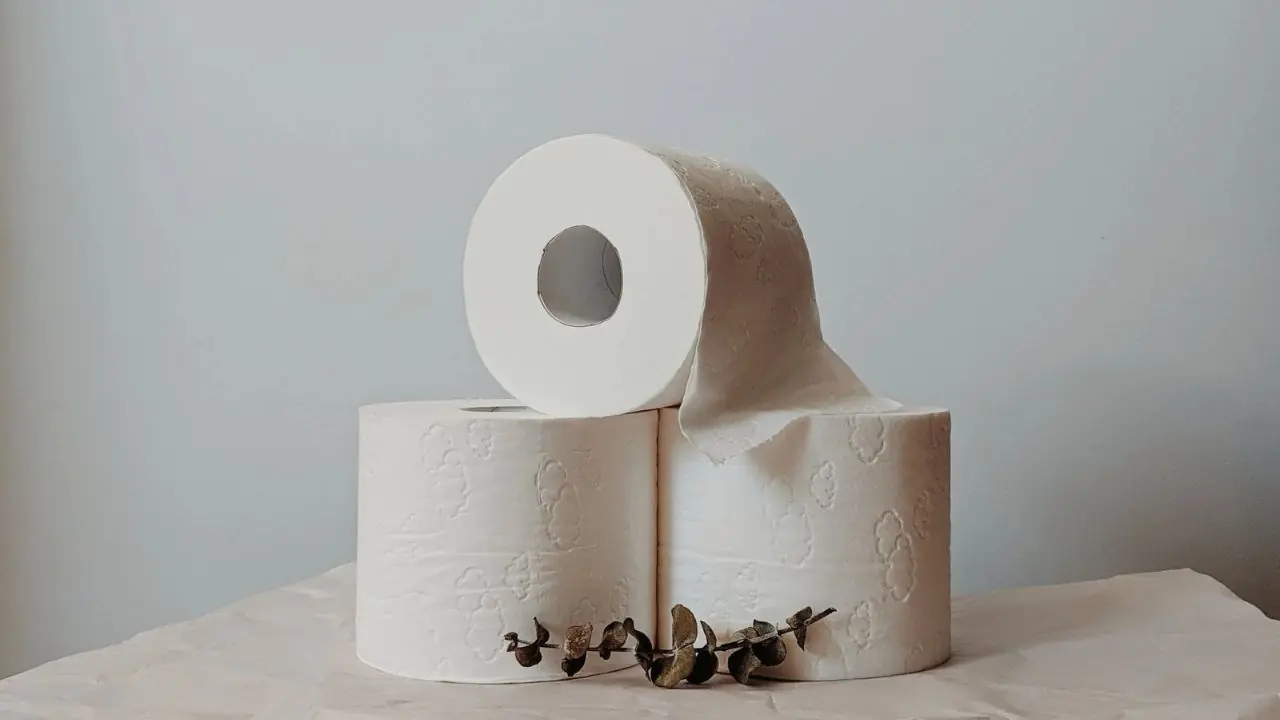
Smart Ways to Save Money Using Toilet Paper Rolls
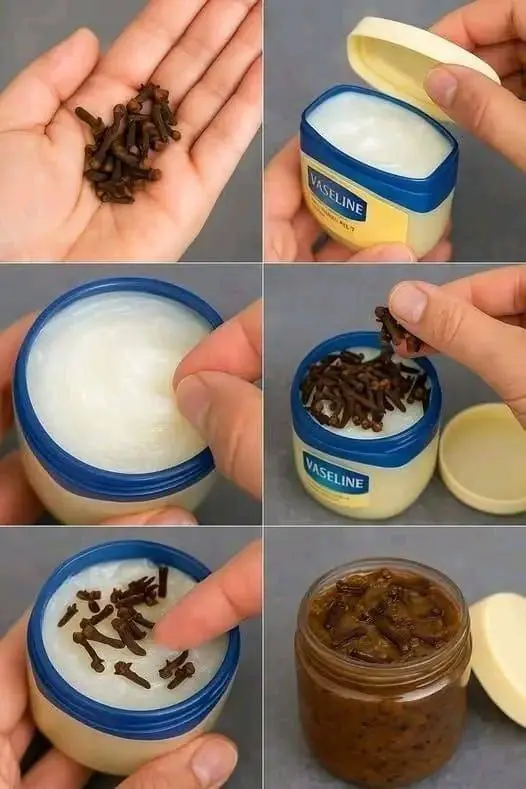
A 2-ingredient remedy most people don’t know about
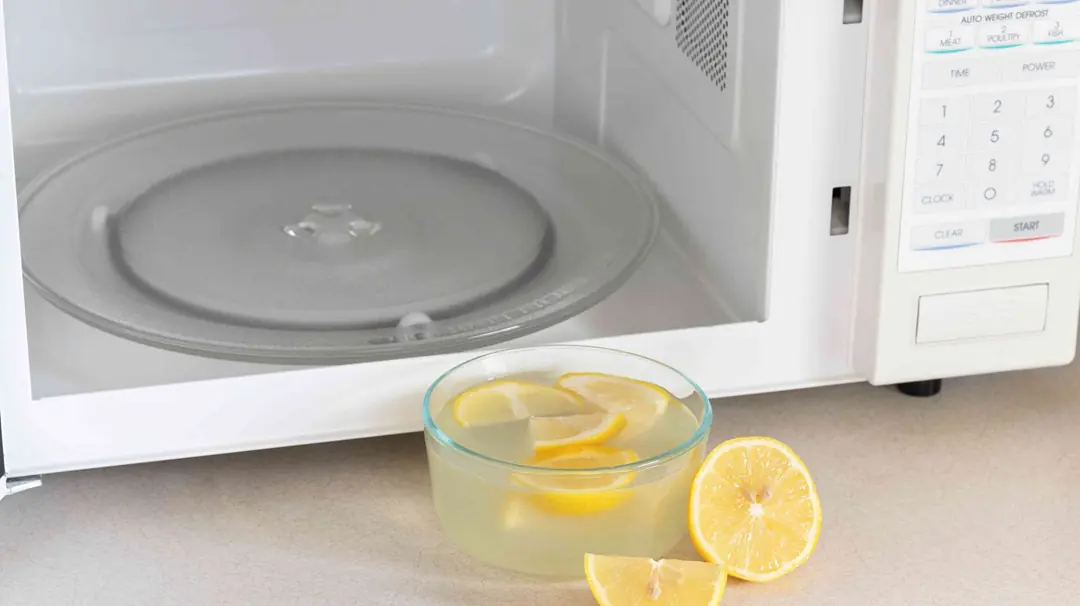
Half a lemon is all you need to get your microwave sparkling clean
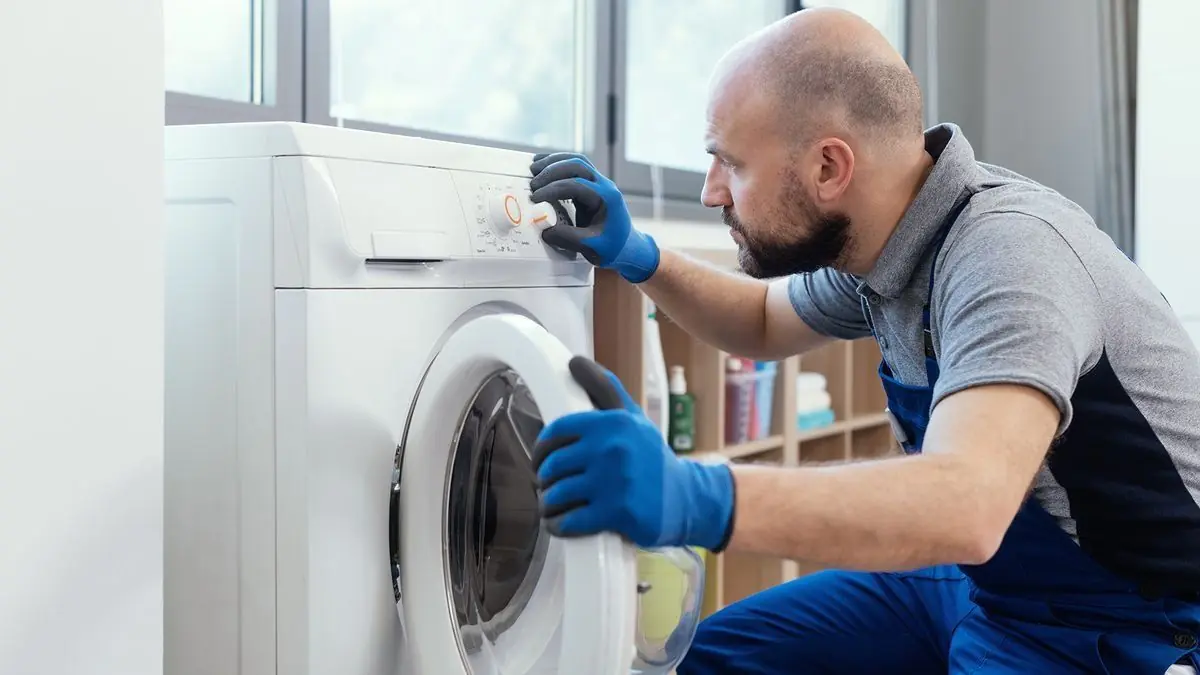
How to stop your washing machine from making noise in the spin cycle
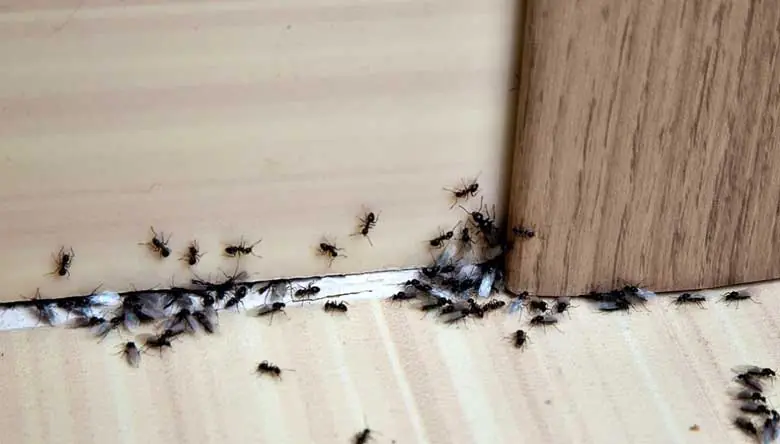
When ants suddenly enter your home, it might be a sign you shouldn’t ignore

6 smart tricks your phone’s side buttons can perform besides volume control
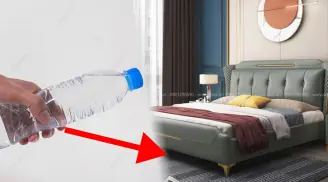
Why is it recommended to place a water bottle under the bed in a hotel room?
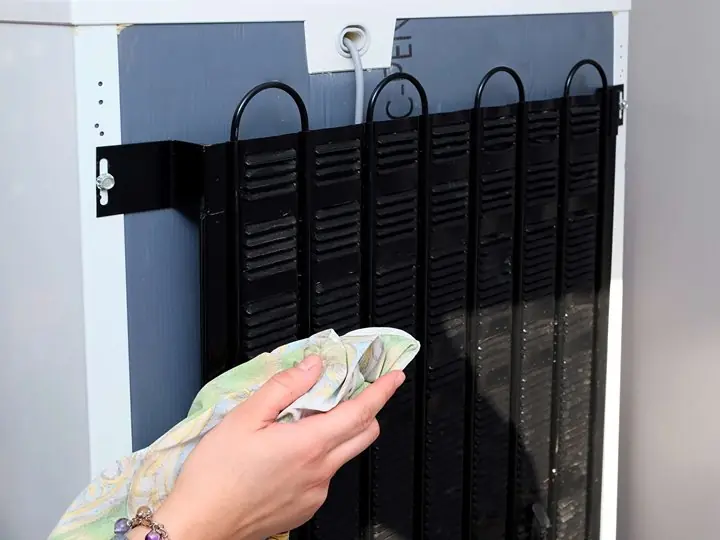
This hidden part of your fridge could be raising your electricity bill
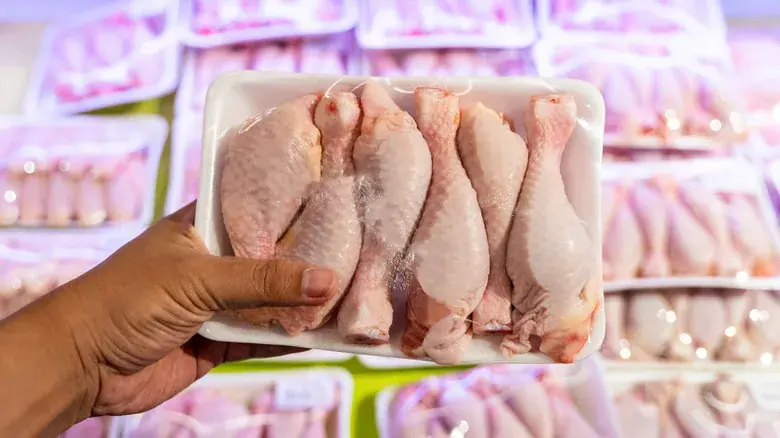
Chicken is a staple in many households and one of the most commonly consumed protein sources. However, not everyone knows how long chicken can be stored safely.
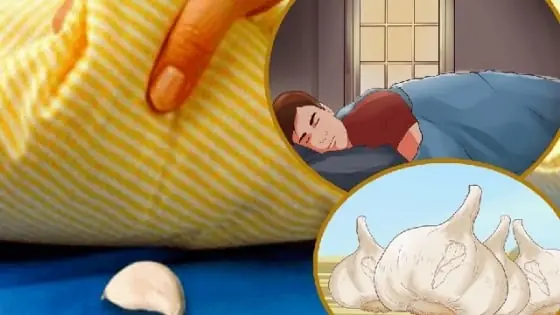
This strange bedtime trick is going viral
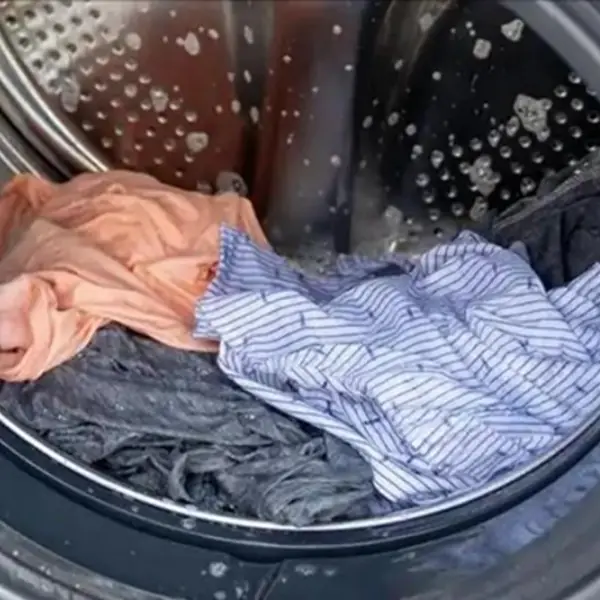
Laundry Hacks Explained: Why Detergent Alone May Not Be Enough
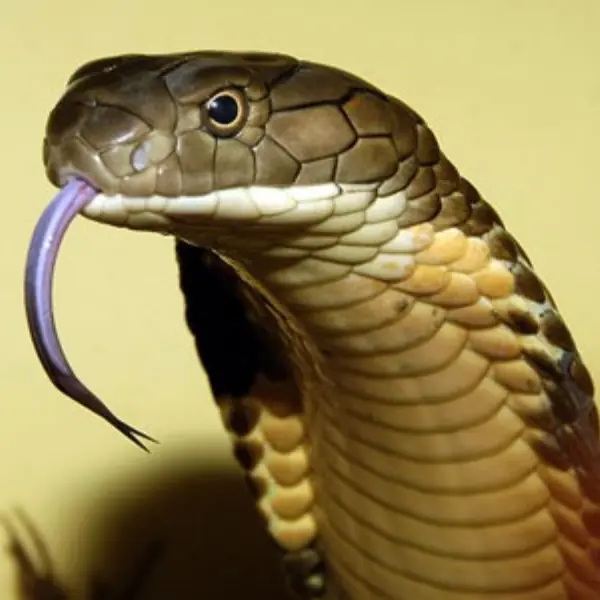
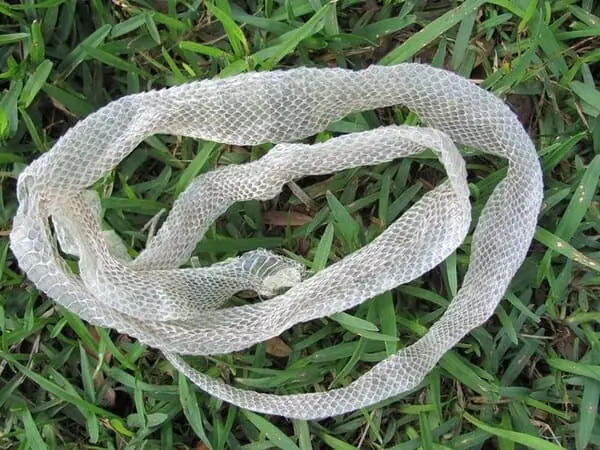
What to Do First After a Snake Bite: A Life-Saving Guide

A simple 15-minute method helps clean dusty fans without removing the grille.
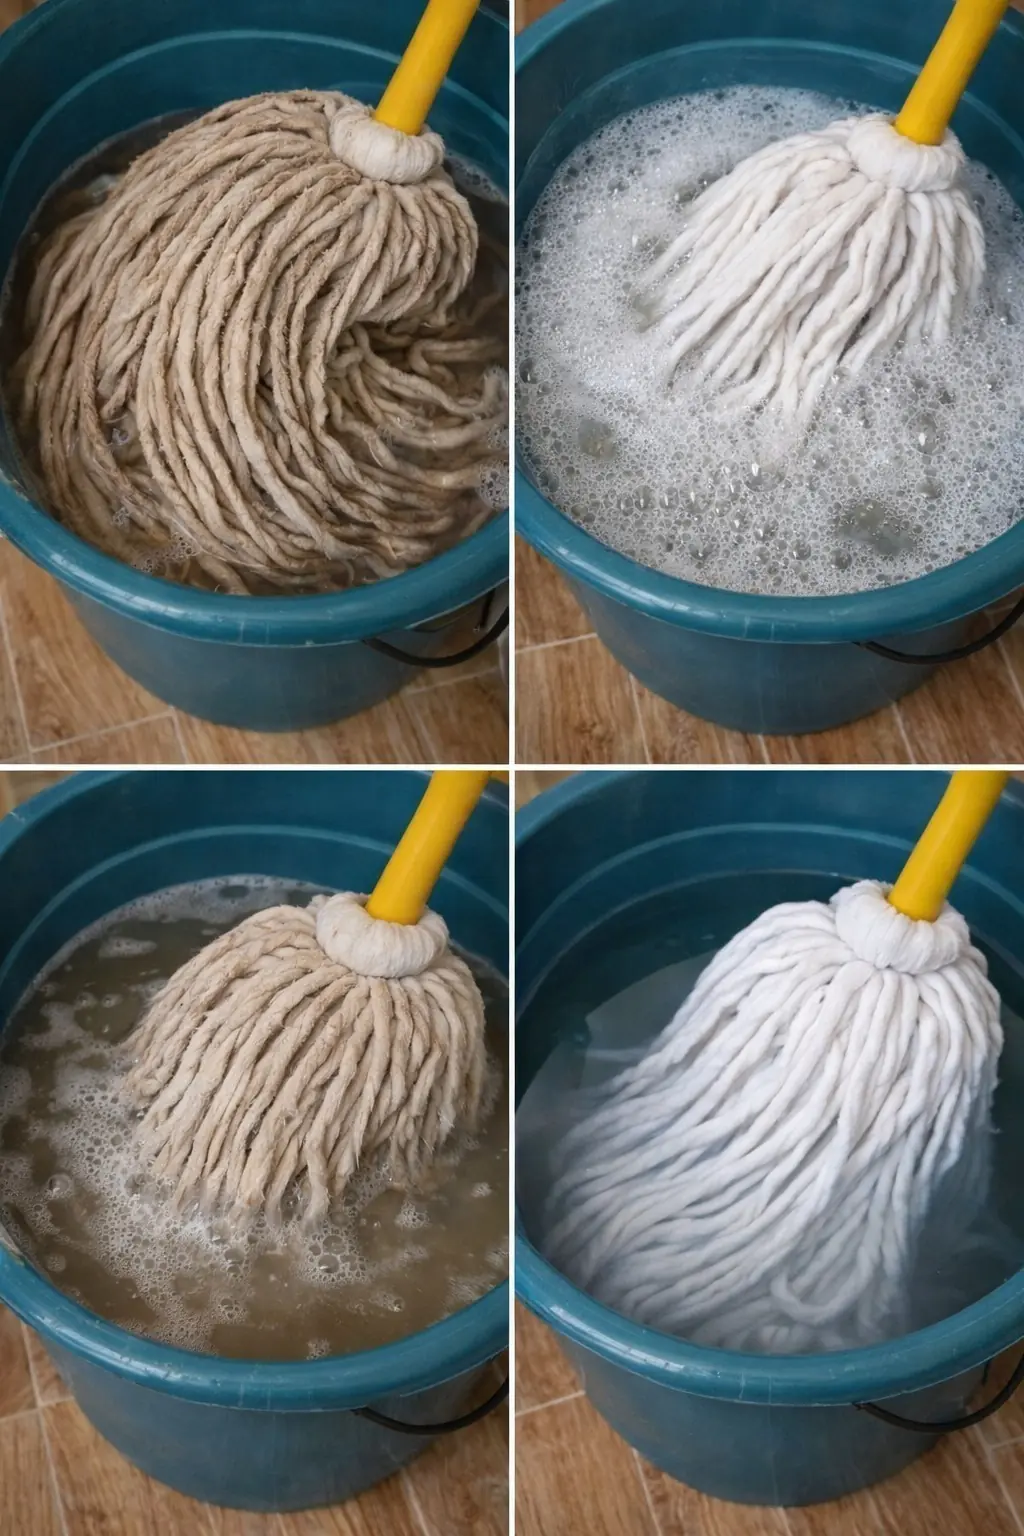
Your mop is dirtier than your floor… and you don’t even know it!
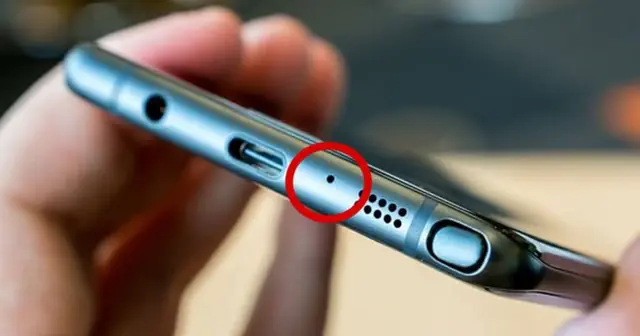
The small round hole in the phone has a very important function

Simple storage tips can keep ginger fresh for up to six months.
If You Notice This in Your House… Be Careful
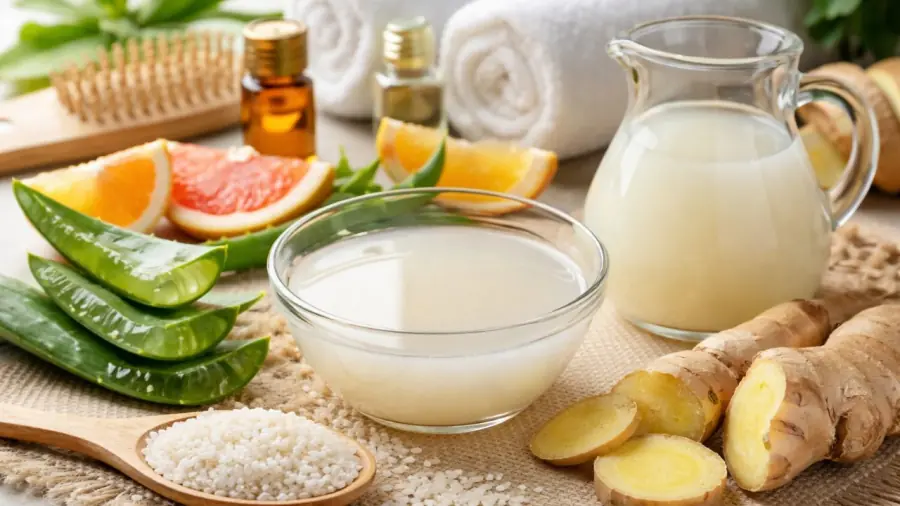
A guide to using rice water and ginger for stronger, healthier hair
What plants help repel mice from your home fast and effectively?
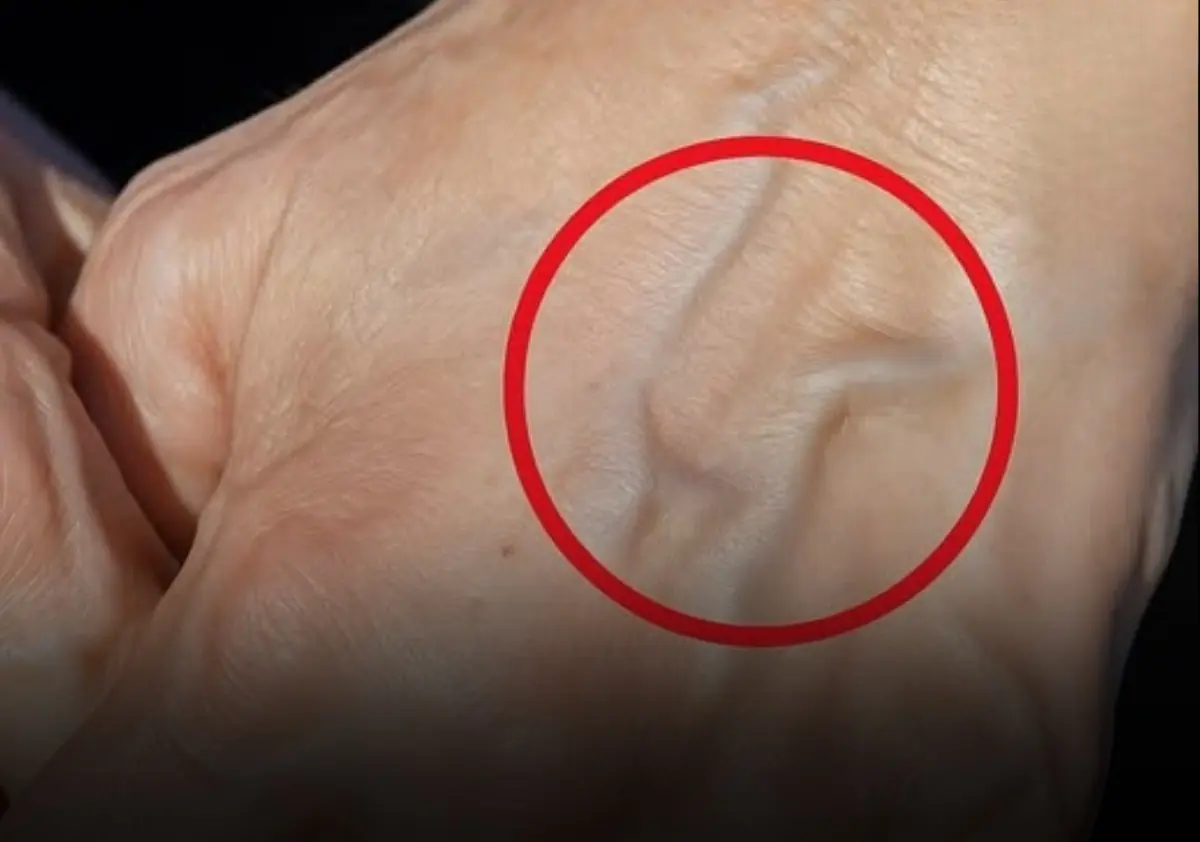
If you have visible veins, it means you are… See more

Don’t Miss These Five Early Signs of Thyroid Can:cer

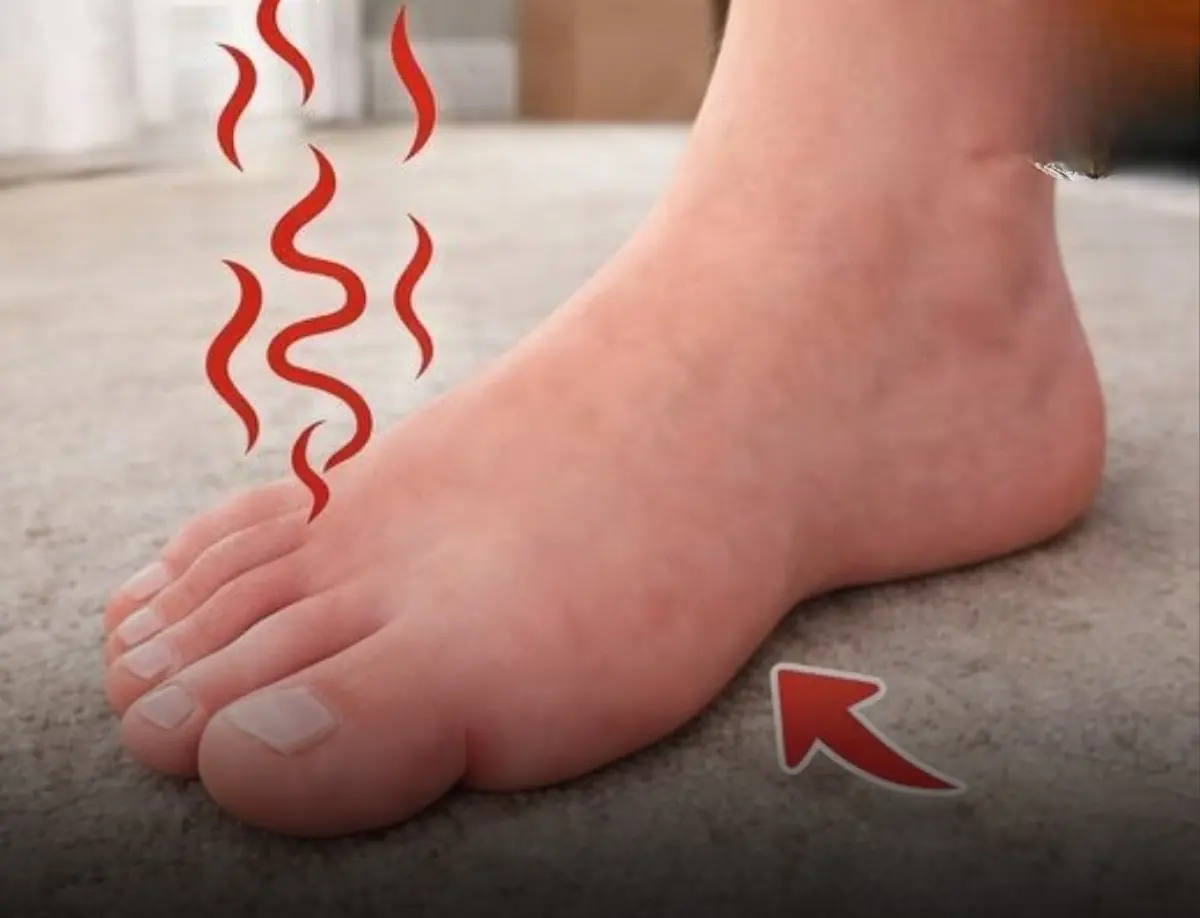
8 causes of dry mouth at night you shouldn’t ignore

Your Thyroid Is Begging You to Stop Eating These 6 Foods Immediately!

This Is the World’s Dea:dliest Food: Over 200 Dea:ths a Year, Still Widely Consumed

Understanding Abdominal Pain What Your Belly Is Trying to Tell You...

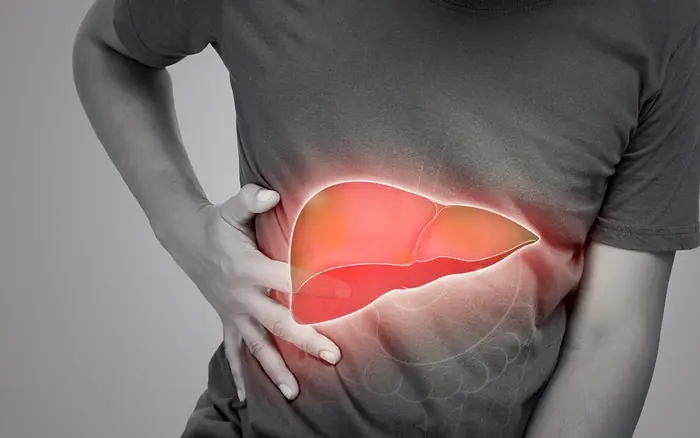
Eating steamed sweet potatoes every day, woman panicked when receiving liver test results

Pay attention to the following 3 areas

Doctors reveal that consuming ginger causes in...

He ate vegetarian—but still got cancer at 27
5 Silent Warning Signs Your Heart Is in Serious Danger
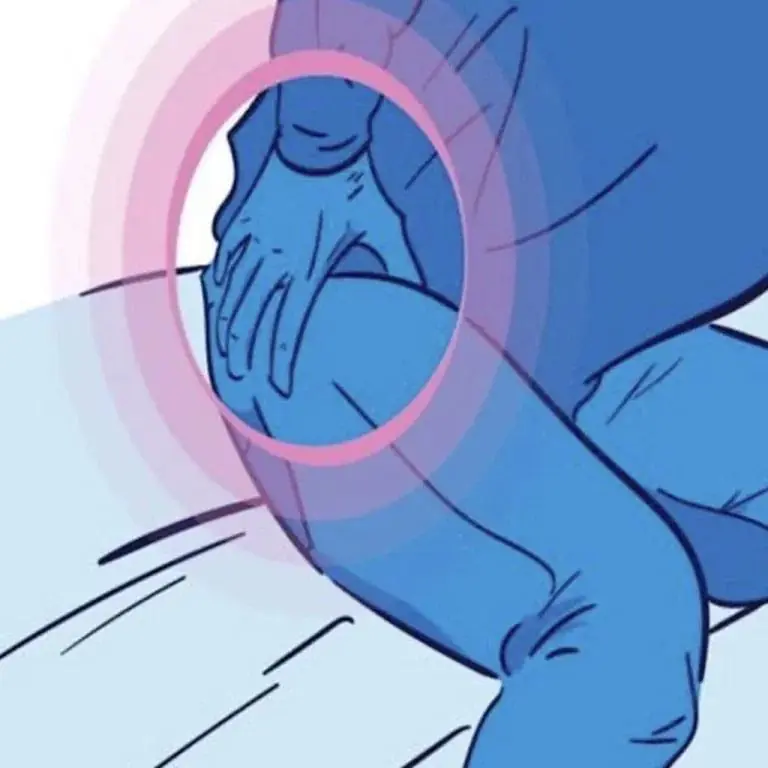
Don’t ignore hip pain—it could mean more than you think

These common symptoms appear in nearly half of patients shortly before a str.oke
7 Plants You Should Remove Immediately to Keep Snakes Away
Smart Ways to Save Money Using Toilet Paper Rolls
A 2-ingredient remedy most people don’t know about

10 signs on your face that could be linked to kidney issues
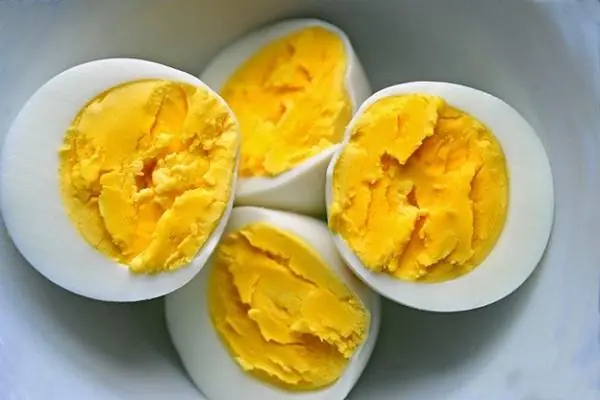
5 types of people who should eat boiled eggs every day
Half a lemon is all you need to get your microwave sparkling clean
Common Habits That May Be Putting Your Liver at Risk