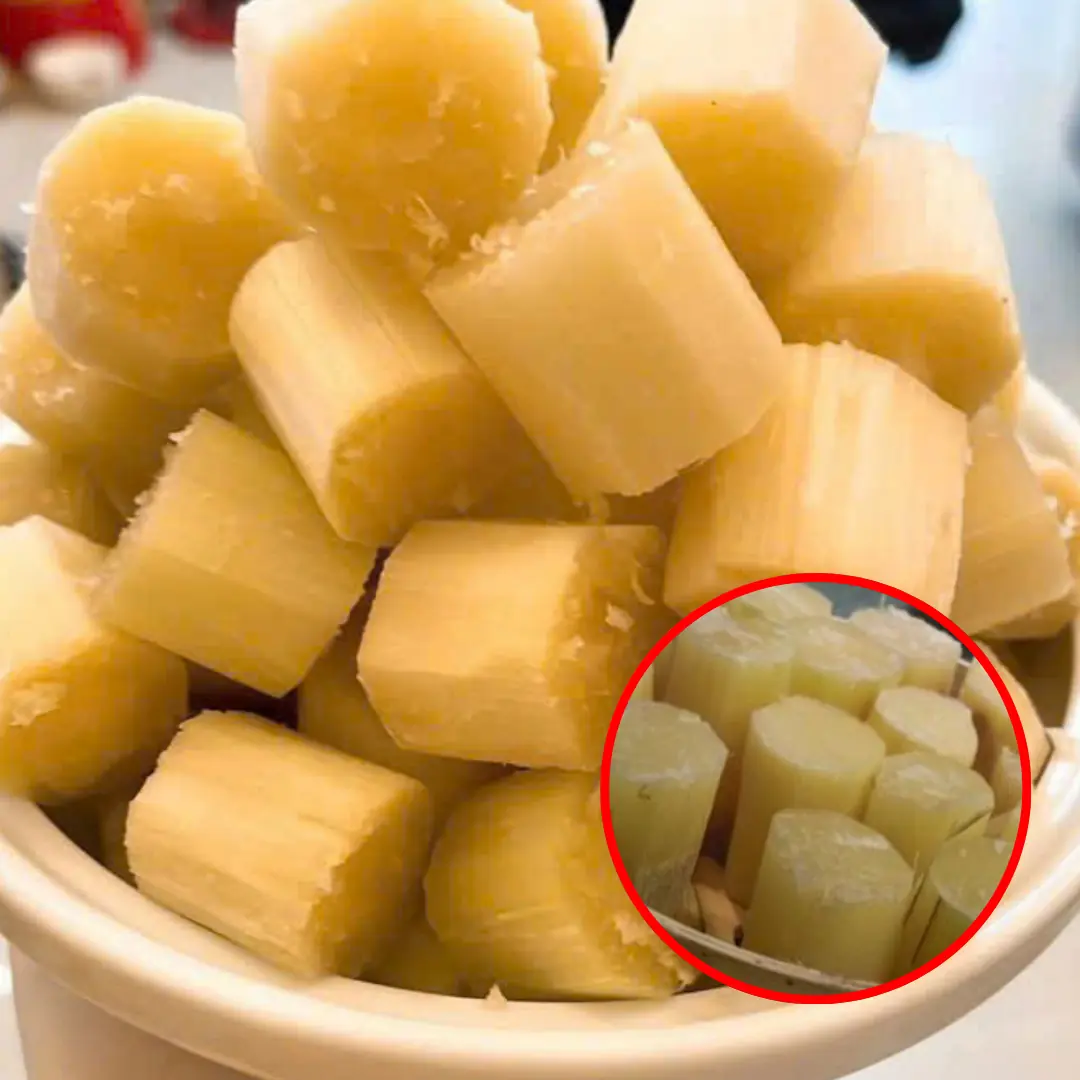
Why More People Are Turning to Sugarcane for Natural Energy
The Nutritional Power of Sugarcane You Didn’t Know About
Garden 07/05/2026 14:20

Hydrangeas are beautiful, vibrant flowering shrubs that can add color and life to any garden. These plants are popular for their large, showy blooms, and with a bit of patience and the right technique, you can propagate them from stem cuttings. This method is an easy and cost-effective way to grow new hydrangea plants. Here’s a detailed guide on how to cultivate hydrangeas in soil using stem cuttings.
Propagating hydrangeas through stem cuttings allows you to grow new plants that are genetically identical to the parent plant. It’s a great way to create more of your favorite hydrangeas, and with the right steps, the process can be straightforward.
The ideal time to take hydrangea cuttings is during late spring or early summer, after the plant has started actively growing. It’s best to take cuttings when the plant is not in full bloom, as this ensures the cuttings will have the best chance of rooting and establishing themselves.
Sharp pruning shears or scissors
Rooting hormone (optional)
Small pots or containers with drainage holes
Well-draining potting soil
Plastic bag or clear plastic dome (to create humidity)
Water
Choose a healthy, non-flowering stem from your hydrangea plant. The stem should be about 4 to 6 inches long and should be mature but still soft, with no flowers or buds. The best cutting is one that’s not too woody and has a few leaves attached. Use sharp pruning shears or scissors to make a clean cut just below a leaf node (the point where leaves emerge).
Remove the bottom set of leaves from the cutting, leaving a few leaves at the top to help with photosynthesis. Be careful not to damage the stem while doing this. You want to expose a few inches of the stem to encourage root growth.
Although rooting hormone is optional, it can help increase the success rate of rooting. Dip the cut end of the stem into rooting hormone powder, making sure to coat the base of the cutting evenly. Shake off any excess powder. Rooting hormone encourages faster root development and prevents the cutting from rotting in the soil.
Fill a small pot or container with well-draining potting soil. Insert the bottom of the cutting into the soil about 2 to 3 inches deep. Gently firm the soil around the base to ensure the cutting is secure. It’s important to make sure the cutting is in soil that is moist, but not soggy, to prevent rot.
Hydrangeas prefer a humid environment for successful rooting. To create this, cover the cutting with a clear plastic bag or place the pot inside a clear plastic dome. This helps retain moisture around the cutting and provides a greenhouse effect, encouraging root development.
Make sure there is some airflow to prevent mold from developing. You can occasionally open the bag or dome to let fresh air circulate.
Put the pot in a location that receives indirect light. Avoid direct sunlight, as it can scorch the cutting. The temperature should be between 65°F and 75°F (18°C - 24°C) for the best results. Keep the soil moist, but not soggy, as overwatering can lead to rot.
After about 3 to 4 weeks, gently tug on the cutting to see if it has developed roots. If there is resistance, it means the cutting has rooted successfully. You can also check by removing the cutting from the soil and inspecting the base of the stem for small roots. If the roots are present, it’s time to move on to the next step.
Once your hydrangea cutting has developed a healthy root system, it’s time to transplant it into a larger pot with good drainage. Use a mix of potting soil and compost to provide the cutting with plenty of nutrients. Water the newly potted plant thoroughly.
If you plan to move the newly rooted hydrangea outside, it’s essential to gradually acclimate the plant to outdoor conditions. Over the course of about 7 to 10 days, begin placing the plant outside for a few hours a day, gradually increasing the time spent outdoors. After this, your hydrangea should be ready to plant in the garden.
Once your hydrangea has rooted and established itself, care for it by providing it with:
Regular watering (keeping the soil moist but not waterlogged)
Well-draining soil
Partial to full sunlight
Occasional feeding with a balanced fertilizer, especially during the growing season
Propagating hydrangeas from stem cuttings is an easy and rewarding way to grow new plants for your garden. By following these simple steps, you can quickly turn a single hydrangea cutting into a flourishing new plant. With patience and care, you’ll enjoy the vibrant blooms of your hydrangea plants in no time!
The Nutritional Power of Sugarcane You Didn’t Know About


Why many experts refuse to place a toilet beneath a staircase.

Morning symptoms may reveal hidden kidney problems—don't ignore these warning signs.
A bedtime banana can offer surprising benefits—but it may not be the right choice for everyone.

Not every leftover is safe. Some foods can spoil faster than expected, even when stored in the refrigerator.


The Late-Night Foods That Could Put Extra Stress on Your Heart

Simple daily habits may affect cervical health more than many people realize.
Beets offer many benefits, but they may also cause surprising side effects.
These Foods May Help Support Your Stomach During H. pylori Treatment
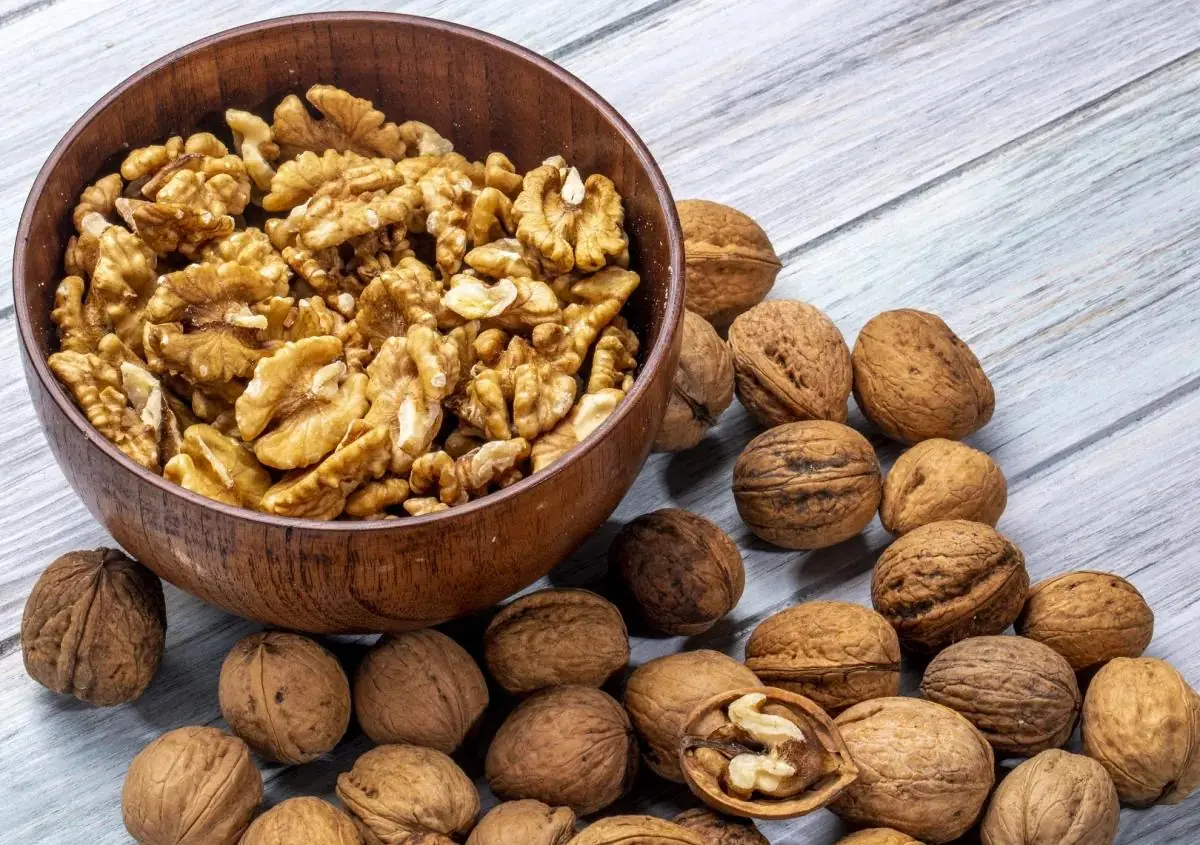
Research suggests walnuts may support heart, brain, and overall health.

Persistent bloating may hide digestive problems that need medical attention.

Unexpected bruises can be harmless—or a sign that needs medical evaluation.

Tiny white bumps are often harmless, but some deserve medical evaluation.
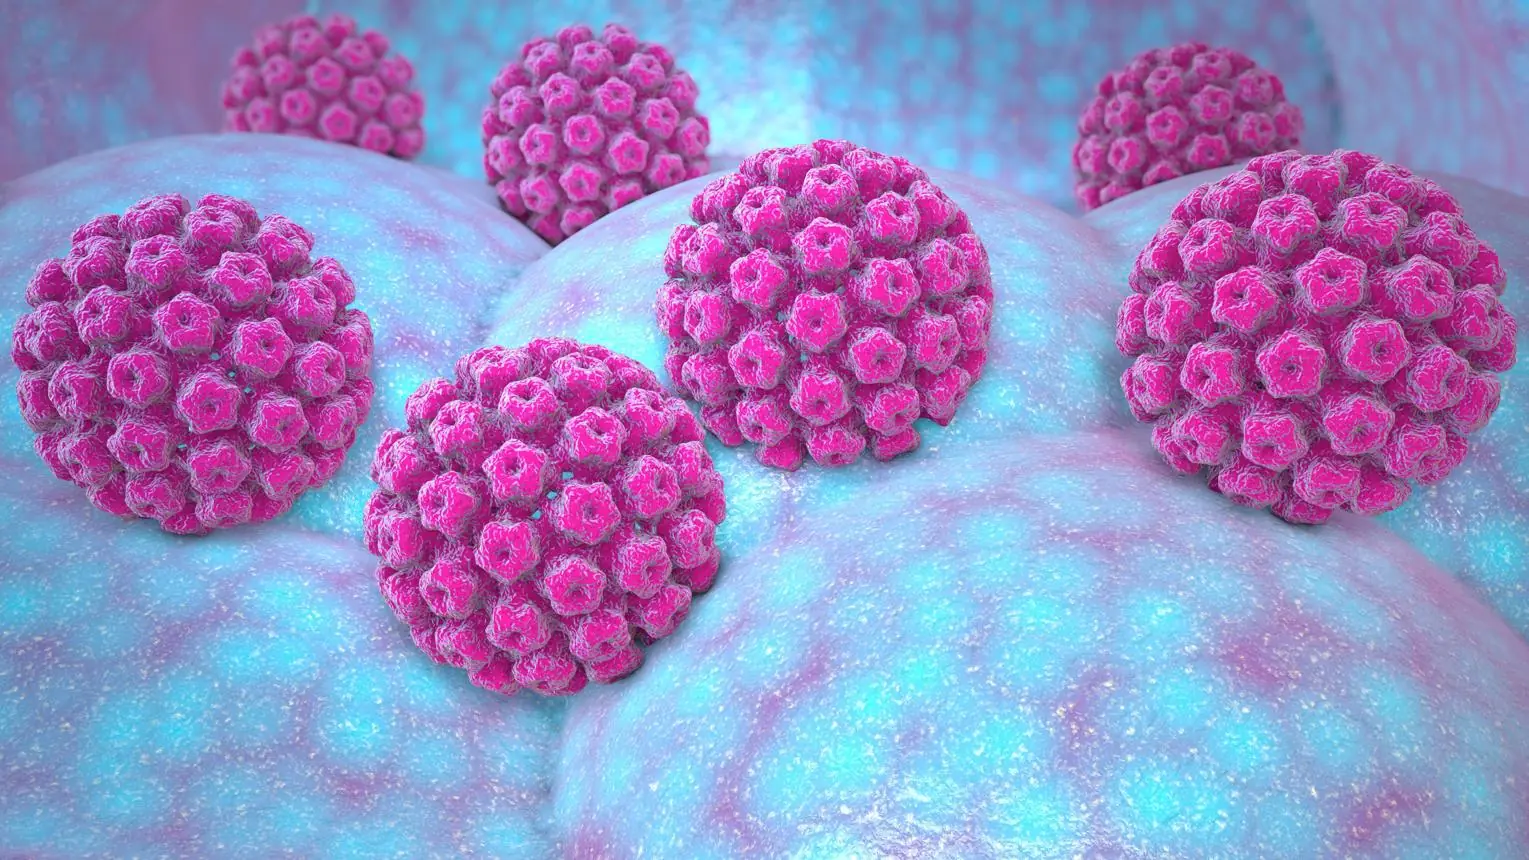
Poor hygiene affects health, but cervical cancer has a different primary cause.


Foot Changes That May Be Linked to Certain Health Conditions


🧦❤️ Sleeping With Socks On Every Night? Here's What It Could Mean for Your Health