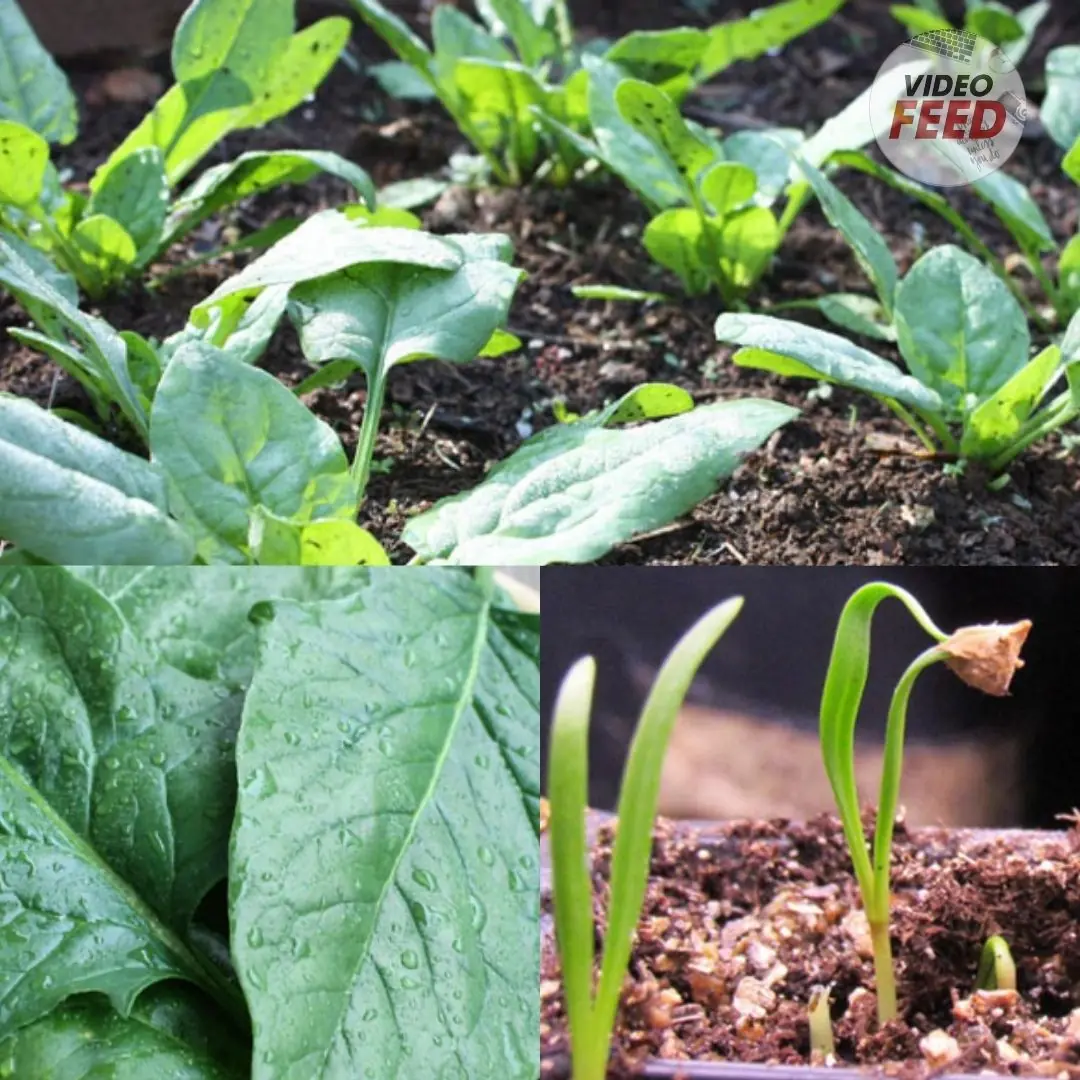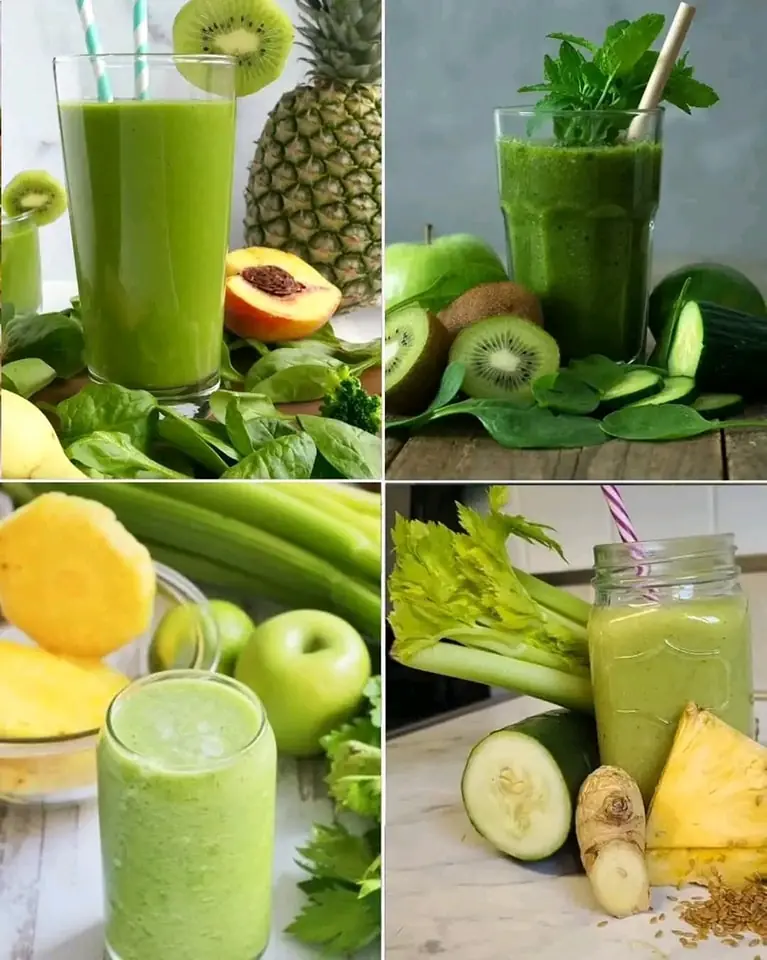
Different Green Juices to Reduce Be.lly Fat
Garden 16/12/2025 15:40

Thuja plants, also known as arborvitae, are popular evergreen shrubs often used in landscaping for their dense foliage and ability to thrive in various conditions. If you want to propagate Thuja plants without spending money on new ones, propagation through cuttings is an excellent and cost-effective option. One fascinating and natural method to enhance the success of Thuja cutting propagation is by using aloe vera gel, a powerhouse of nutrients and growth-promoting compounds. In this guide, we’ll walk you through the step-by-step process of propagating Thuja plants from cuttings using aloe vera gel.
Aloe vera gel is not only known for its healing properties but also for its ability to stimulate root growth in plants. The gel contains natural hormones and compounds that can encourage faster root development and prevent the cutting from drying out or rotting. By using aloe vera gel, you increase the chances of successful propagation, making it an ideal medium for rooting Thuja cuttings.
Before you get started, gather the following materials:
Healthy Thuja plant: Choose a mature, healthy plant to take cuttings from.
Aloe vera gel: You can either use fresh gel from an aloe vera plant or store-bought gel (ensure it’s 100% pure aloe vera with no added chemicals).
Sharp pruning shears: To make clean cuts on the plant.
Rooting hormone (optional): While aloe vera gel can act as a natural rooting stimulant, using a rooting hormone can further enhance the chances of success.
Small pots or containers: For planting the cuttings once they have developed roots.
Well-draining soil or potting mix: Essential for healthy root growth.
Plastic bag or plastic dome: To create a humid environment for the cuttings.
Choose a healthy Thuja plant from which to take the cutting. Look for a mature stem that is not too old or too young—around 6-8 inches in length is ideal. The cutting should have a healthy, green color and no signs of disease or damage.
Using sharp pruning shears, cut a healthy stem from the Thuja plant. Make sure the cutting has at least two or three sets of leaves. The cut should be made just below a node (where leaves emerge), as this is where the roots will develop.
Remove the lower leaves from the cutting, leaving a few sets of leaves at the top. Be gentle during this process to avoid damaging the stem. The exposed stem will eventually develop roots, so you want to make sure it’s clean and free of excess leaves that might rot under the soil.
Take a small amount of fresh aloe vera gel and apply it generously to the cut end of the Thuja stem. Aloe vera gel will act as a natural rooting hormone, stimulating root development and helping to protect the cutting from pathogens. If you are using store-bought aloe vera gel, make sure it’s 100% pure and free from chemicals.
If you want to further enhance the chances of rooting, you can dip the cutting’s end into rooting hormone powder after applying the aloe vera gel. While aloe vera gel is sufficient on its own, rooting hormone can help speed up the process and increase the likelihood of successful rooting.
Fill a small pot with well-draining soil or potting mix. Make a small hole in the center of the soil with a stick or pencil, then gently insert the cutting into the hole. Firm the soil around the cutting to keep it upright and ensure good contact between the stem and soil.
To encourage rooting, create a humid environment for the cutting. Cover the pot with a plastic bag or use a plastic dome to trap moisture. This will mimic a greenhouse effect and provide the cutting with the warmth and humidity it needs to root.
Place the pot in an area with bright but indirect light. Avoid placing the cutting in direct sunlight, as this can cause it to overheat and dry out. The ideal temperature for rooting is between 65-75°F (18-24°C).
Check the soil regularly to ensure it remains moist but not soggy. You may need to water the cutting lightly every few days, depending on the humidity in the room. Keep an eye on the cutting, ensuring that it doesn’t dry out, as this can halt the rooting process.
After a few weeks, your Thuja cutting will begin to develop roots. This process can take anywhere from 4 to 6 weeks, depending on the conditions. You can check for roots by gently tugging on the cutting to feel for resistance. Once you see significant root development, you can transplant the cutting into a larger pot or directly into the garden.
Once the cutting has developed strong roots, it’s time to transplant it into a larger pot or the ground. Be sure to acclimate the young plant gradually to outdoor conditions by hardening it off, especially if it has been kept indoors. Gently water the newly transplanted Thuja and continue to care for it as it grows.
Propagating Thuja plants from cuttings using aloe vera gel is a simple, natural, and effective way to grow new plants at home. Aloe vera gel helps to speed up the rooting process while providing protection against diseases, making it an excellent choice for plant propagation. With patience and the right care, you can grow a healthy, thriving Thuja plant from a single cutting. Happy gardening!