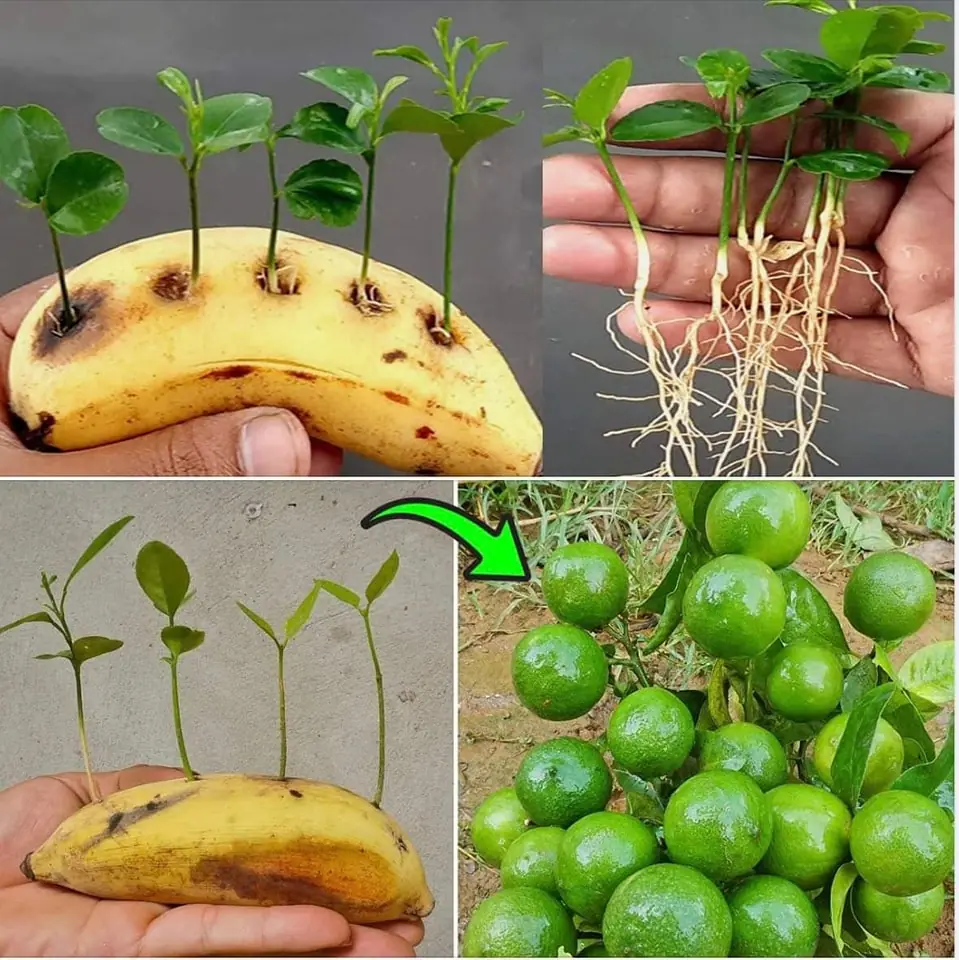
Unleashing the Magic: Lemon Seeds in Banana for Healthy Sprouting
Garden 07/06/2025 16:38

Star anise (Illicium verum) is a fragrant spice known for its distinct star-shaped pods, which are often used in cooking and traditional medicine. Native to Southeast Asia, star anise adds a unique licorice-like flavor to dishes, particularly in Asian cuisine, and is commonly used in tea blends, soups, and even in making five-spice powder.
If you're a fan of star anise and want to enjoy this exotic spice at home, you can easily grow it in a pot, even in limited spaces like a balcony or patio. Growing star anise in a pot is simple and rewarding, provided you meet its growing requirements. In this guide, we’ll walk you through how to grow star anise in a pot, so you can enjoy fresh, homegrown spices all year long!
Star anise is a tropical plant that thrives in warm, humid climates. It requires specific conditions to grow well, so it's important to replicate these conditions when growing it in a pot. Here's what you need to know:
Temperature: Star anise thrives in temperatures between 60-80°F (15-27°C). It’s sensitive to frost, so it’s best to grow it in warmer climates or indoors where temperatures are controlled.
Light: The plant needs bright, indirect sunlight. Too much direct sunlight can scorch its leaves, so a location with filtered light is ideal.
Humidity: As a tropical plant, star anise requires high humidity to flourish. If you're growing it indoors, you might need to increase humidity using a humidifier or by placing a tray of water near the plant.
Soil: Star anise prefers well-draining, slightly acidic to neutral soil. A good potting mix designed for tropical plants will work well.
Select a large pot that can accommodate the plant's root system. Star anise trees can grow quite tall (up to 30 feet in ideal conditions), but when grown in a pot, they will stay more manageable. A pot with a minimum diameter of 12-16 inches will allow enough room for the roots to spread.
Potting Mix: Choose a high-quality, well-draining potting mix. You can create your own mix by combining equal parts of peat moss, perlite, and pine bark. Adding a small amount of compost will provide the necessary nutrients for your plant.
Pot with Drainage: Ensure that the pot has drainage holes at the bottom to allow excess water to escape. This is crucial to prevent root rot, which can occur in waterlogged soil.
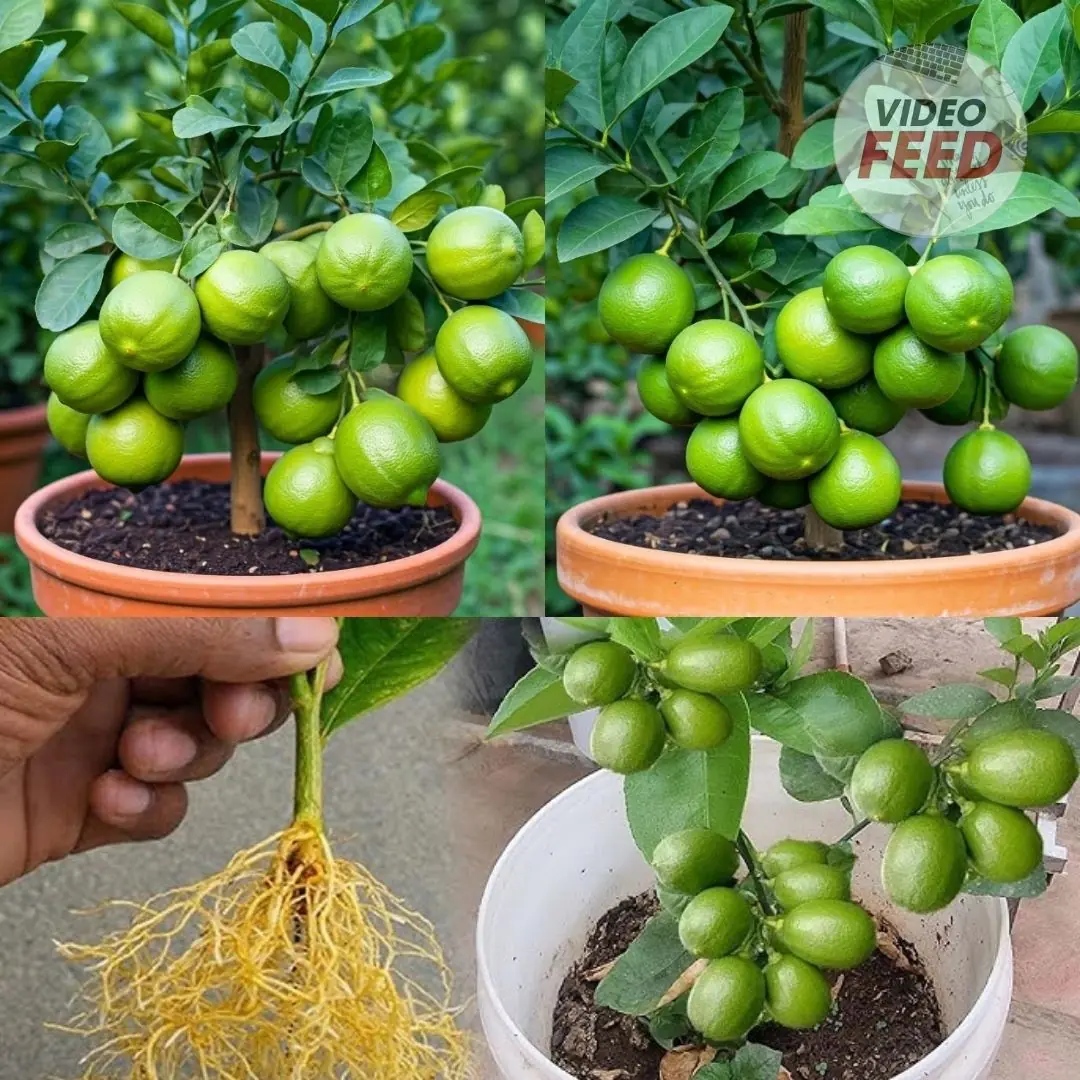
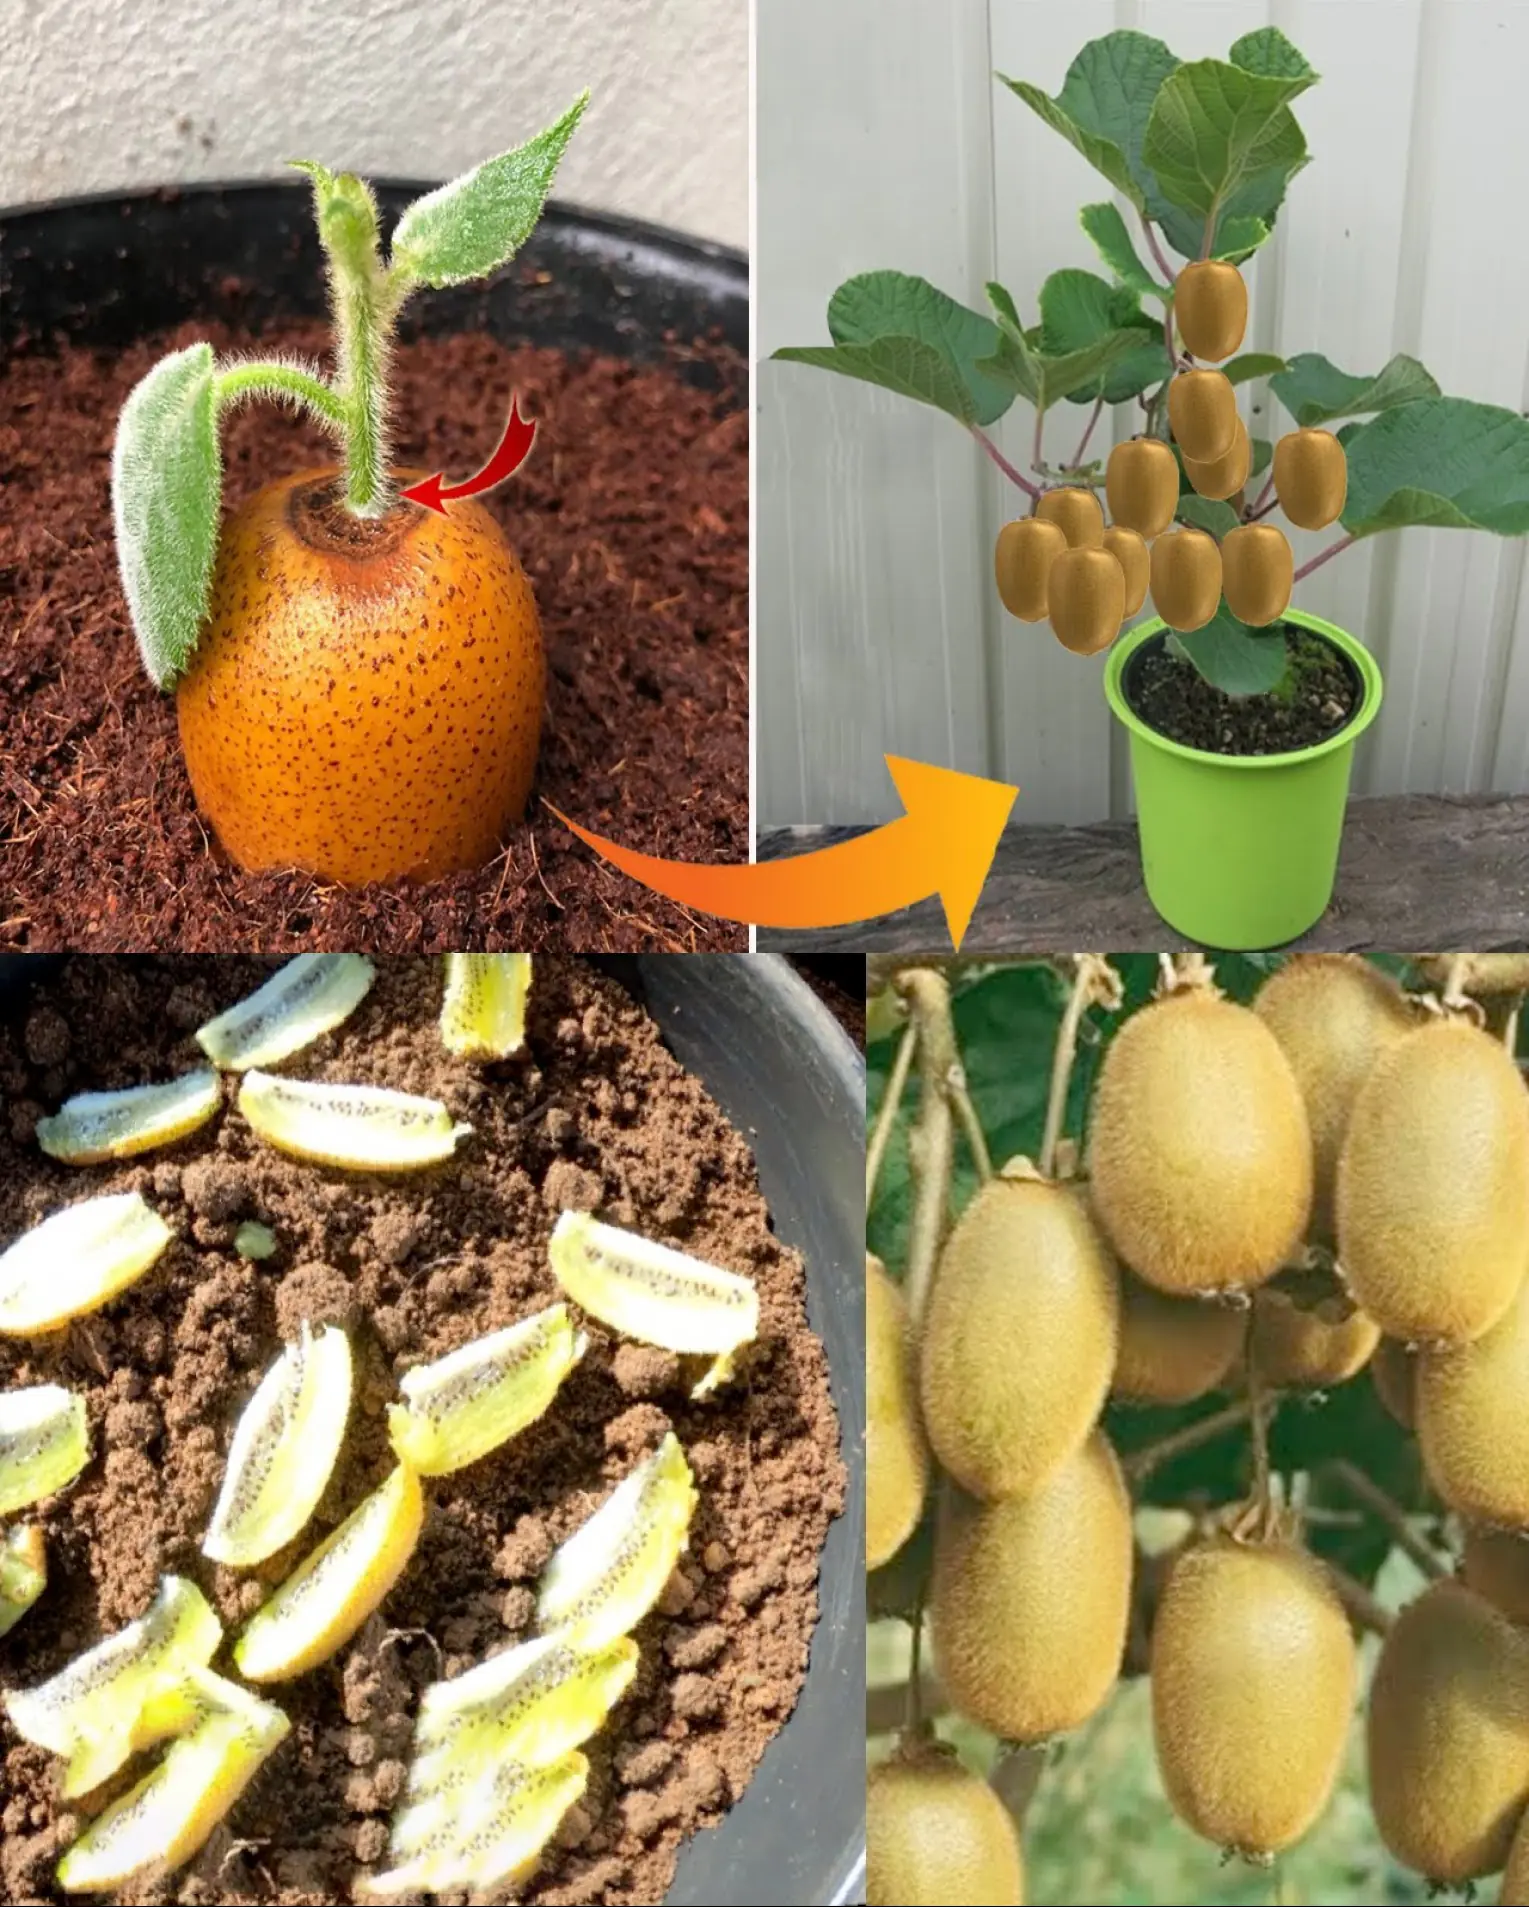
You can grow star anise from seeds or small nursery plants. Starting from seeds may take a bit longer, but it’s definitely rewarding.
From Seeds: If you are starting from seeds, soak them in warm water for 24 hours to enhance germination. Plant the seeds in shallow pots or trays, covering them lightly with soil. Keep the soil moist but not soggy.
From Nursery Plants: If you prefer a faster route, buy a young star anise plant from a local nursery or garden center. When transplanting, place the plant in your prepared pot, making sure the root ball is level with the surface of the soil.
Once planted, star anise requires regular care to thrive:
Watering: Water the plant thoroughly, allowing the soil to dry out slightly between waterings. Overwatering can lead to root rot, so ensure that the pot has proper drainage.
Fertilizing: During the growing season (spring and summer), feed your plant with a balanced liquid fertilizer once a month. In winter, when the plant is dormant, reduce fertilization.
Pruning: While star anise trees don’t need much pruning, it’s good to remove dead or damaged leaves and stems to encourage healthy growth. If you want to shape the plant, you can lightly prune the top to promote a bushier form.
Repotting: Every 2-3 years, repot your star anise plant into a larger container to allow for more root growth.
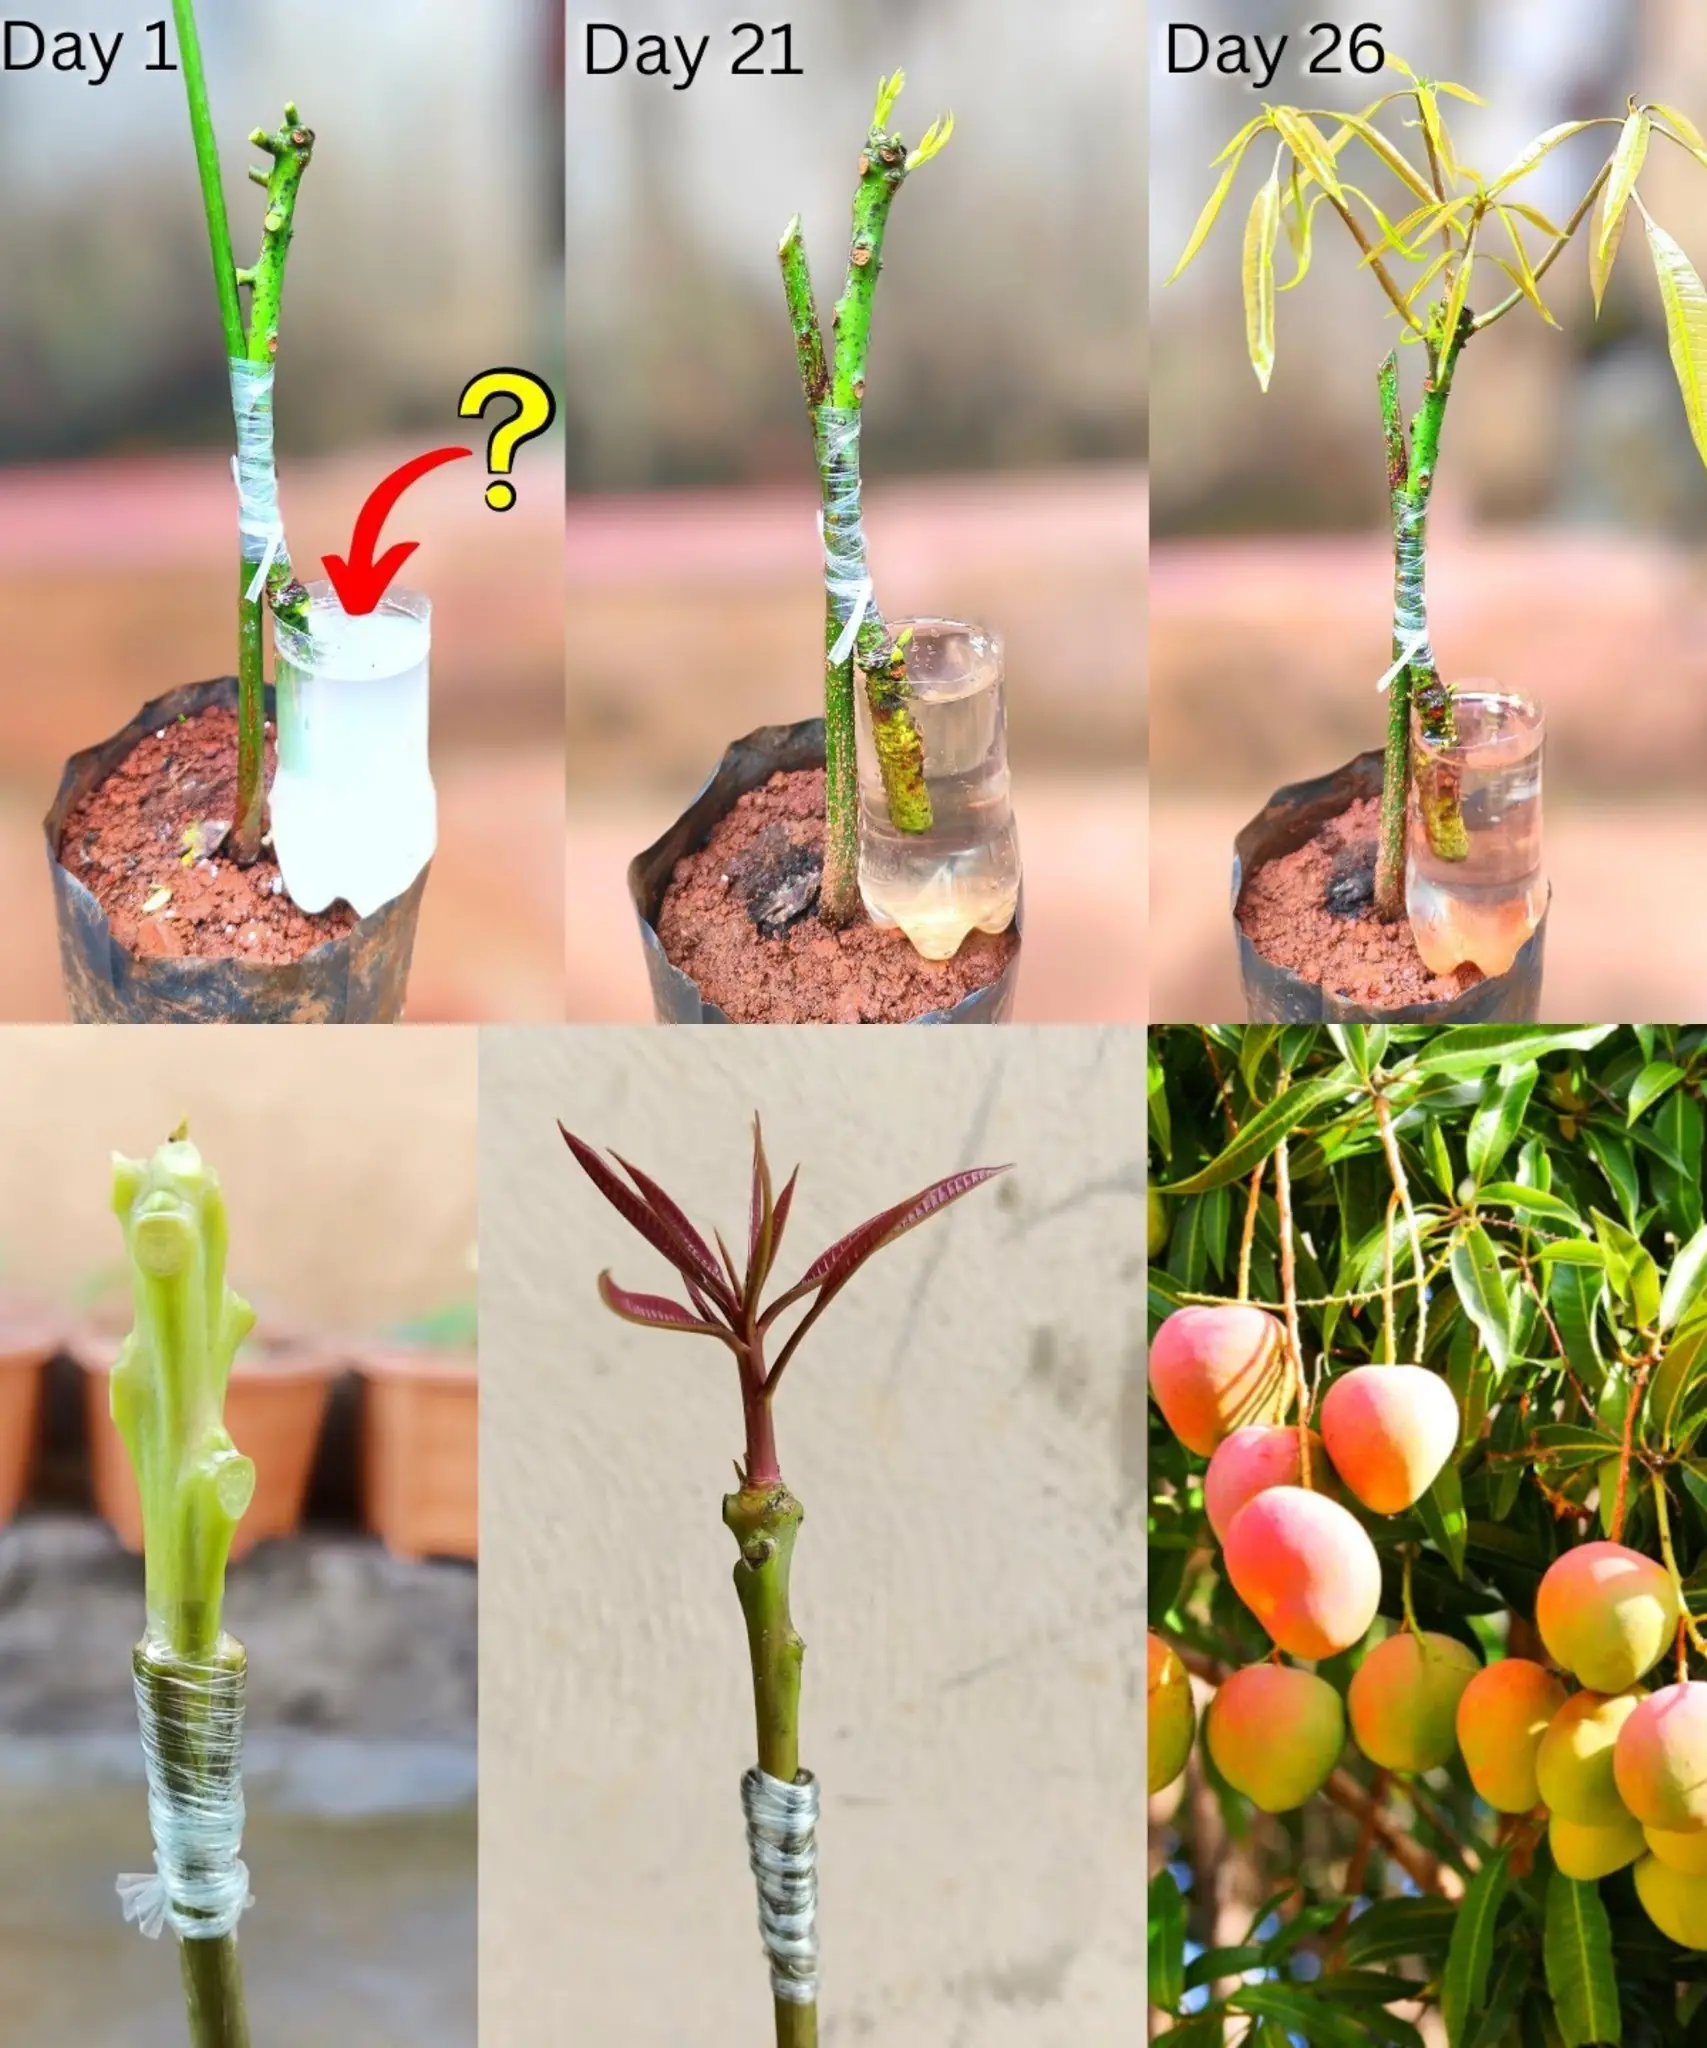
Star anise takes time to mature. If you’ve grown your plant from seed, it may take 3-4 years before it begins producing flowers and fruit. The plant produces small, yellow flowers that eventually develop into the iconic star-shaped pods.
Harvesting Pods: The star-shaped pods are ready to harvest when they turn a deep brown color and the seeds inside begin to harden. Pick the pods gently, and allow them to dry completely before storing them. The dried pods can be used in cooking, teas, and homemade spice blends.
While star anise is generally resilient, it can be susceptible to a few pests and diseases. Keep an eye out for:
Spider Mites: If you notice webbing or yellowing leaves, you may have a spider mite infestation. Treat the plant with insecticidal soap or neem oil.
Scale Insects: These small, round insects can sap the plant’s vitality. Remove them by gently scraping them off or using an insecticidal soap.
Root Rot: This is a result of overwatering. Make sure your pot has good drainage and that you’re not watering too frequently.
Growing star anise in a pot is a fantastic way to enjoy this exotic spice in your own home. By providing the right conditions - bright, indirect light, well-draining soil, and regular care - you can successfully cultivate a thriving star anise plant. Though it requires patience to grow from seed, the reward of harvesting your own fresh star anise pods is well worth the effort.
So, whether you’re an avid cook or just a gardening enthusiast, consider growing star anise in a pot for a unique addition to your plant collection and spice cabinet!