
You’re not using your volume buttons to their full potential - Here are 6 tricks
Think Volume Buttons Only Control Sound? Here Are 6 Hidden Tricks
Tips 11/02/2026 14:33
Making coconut oil at home may sound complicated, but in reality, it is a straightforward and rewarding process. With just a few mature
coconuts and simple kitchen tools, you can produce fresh, pure coconut oil without additives, preservatives, or chemical processing. This
traditional method - often referred to as the cold-press or wet-milling method - helps preserve the coconut’s natural aroma, nutrients, and
delicate flavor.
Homemade coconut oil can be used in cooking, skincare, hair care, and many other daily routines. Below is a detailed, step-by-step guide to
help you achieve the best results.
2–3 mature brown coconuts
Warm water (not boiling)
Blender or hand grater
Fine strainer or cheesecloth
Large bowl
Saucepan
Spoon or spatula
Clean glass jar with lid
Begin by breaking open the coconuts. Drain the coconut water into a separate container (it can be consumed fresh if desired). Carefully
remove the white coconut meat from the shell using a knife or coconut scraper.
Rinse the coconut meat thoroughly under clean water to remove any shell fragments or impurities. Clean preparation ensures better flavor
and longer shelf life.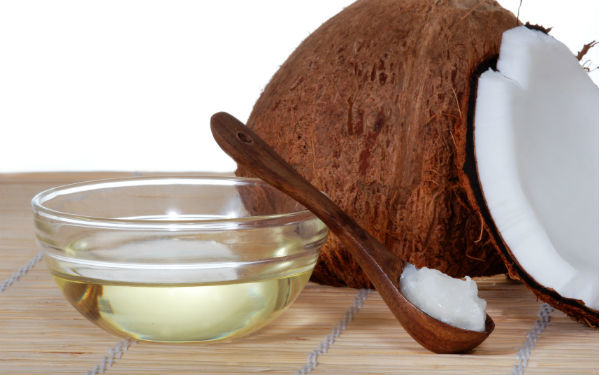
Cut the coconut meat into small chunks to make blending easier. Place the pieces into a blender and add a small amount of warm water—just
enough to allow the blender to move smoothly.
Blend until the mixture becomes thick, creamy, and finely processed. The texture should resemble a rich coconut paste.
Place a fine strainer or cheesecloth over a bowl. Pour the blended mixture through it and squeeze firmly to extract as much coconut milk as
possible.
For maximum yield, you can return the squeezed coconut pulp to the blender, add a little more warm water, and repeat the process once
more.
The liquid you collect is fresh coconut milk—the base for your oil.
Cover the bowl and let the coconut milk sit undisturbed at room temperature for 12 to 24 hours.
During this time, the mixture will naturally separate into layers:
A thick, creamy layer on top
A watery layer at the bottom
Within the creamy layer, the oil will begin forming and separating.
This step requires patience, as the natural separation is essential for high-quality oil.
Once separation is complete, gently spoon off the thick top layer (the coconut cream) and transfer it into a saucepan. Try to avoid scooping
too much of the watery layer beneath.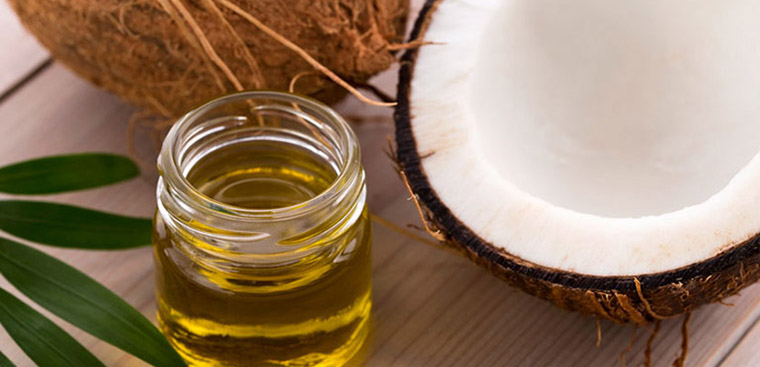
Place the saucepan over low heat. Stir occasionally to prevent sticking. As the cream warms, it will begin to curdle and slowly release oil.
Continue heating gently. Over time, you will notice:
Oil separating clearly from the solids
Solids turning light golden brown
A fragrant coconut aroma developing
Avoid high heat, as excessive temperatures may reduce the oil’s nutritional quality.
Once the solids have browned lightly and the oil has fully separated, remove the pan from heat. Allow it to cool slightly.
Strain the oil through cheesecloth to remove the remaining solids. The liquid you collect is pure, homemade coconut oil.
Pour the strained oil into a clean, dry glass jar. Let it cool completely before sealing with a lid.
When stored in a cool, dry place, homemade coconut oil can last several months. In colder climates, it may solidify naturally—this is
completely normal and does not affect quality.
Choose fully mature coconuts with hard brown shells, as they contain more oil.
Use low heat to preserve nutrients and natural fragrance.
Ensure all tools and containers are clean to prevent spoilage.
If moisture appears in the jar, refrigerate to extend shelf life.
Homemade coconut oil is versatile and can be used in many ways:
Stir-frying vegetables
Baking cakes and cookies
Replacing butter in certain recipes
Deep conditioning hair mask
Scalp treatment for dryness
Frizz control and shine enhancement
Natural moisturizer
Lip balm
Body scrub ingredient
Gentle makeup remover
Because it contains natural fatty acids and antioxidants, coconut oil supports skin hydration and hair strength.
Preparing coconut oil at home is both economical and satisfying. The process requires time and care, but the result is a pure, aromatic oil free
from industrial processing. By using fresh coconuts and gentle heat, you preserve many of the beneficial compounds that make coconut oil
valuable.
Whether used in the kitchen or as part of your self-care routine, homemade coconut oil offers a simple, natural solution that fits easily into
daily life. Sometimes, the most effective products are those made from basic ingredients, prepared with patience and intention.
Think Volume Buttons Only Control Sound? Here Are 6 Hidden Tricks
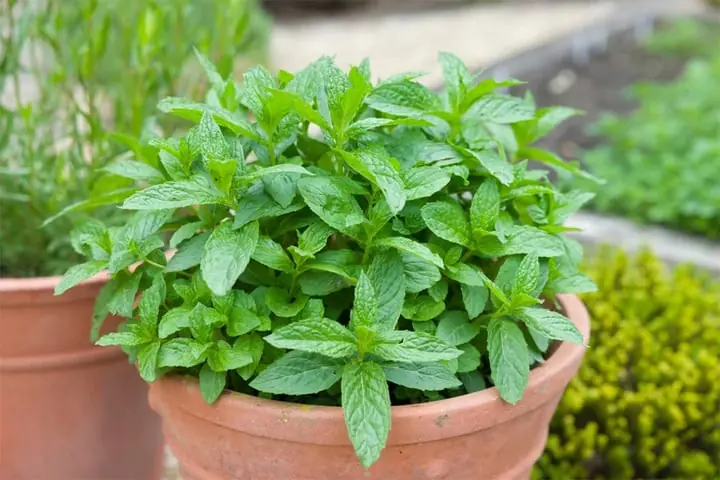
7 beautiful and fragrant plants that naturally keep mosquitoes away


A 52-Year-Old Woman Di.ed from a Stro.ke: Middle-Aged People, Stop Doing These 7 Things—Even in the Cold Winter—Before It’s Too Late!
This Simple Lemon and Charcoal Trick Could Save You a Lot of Money

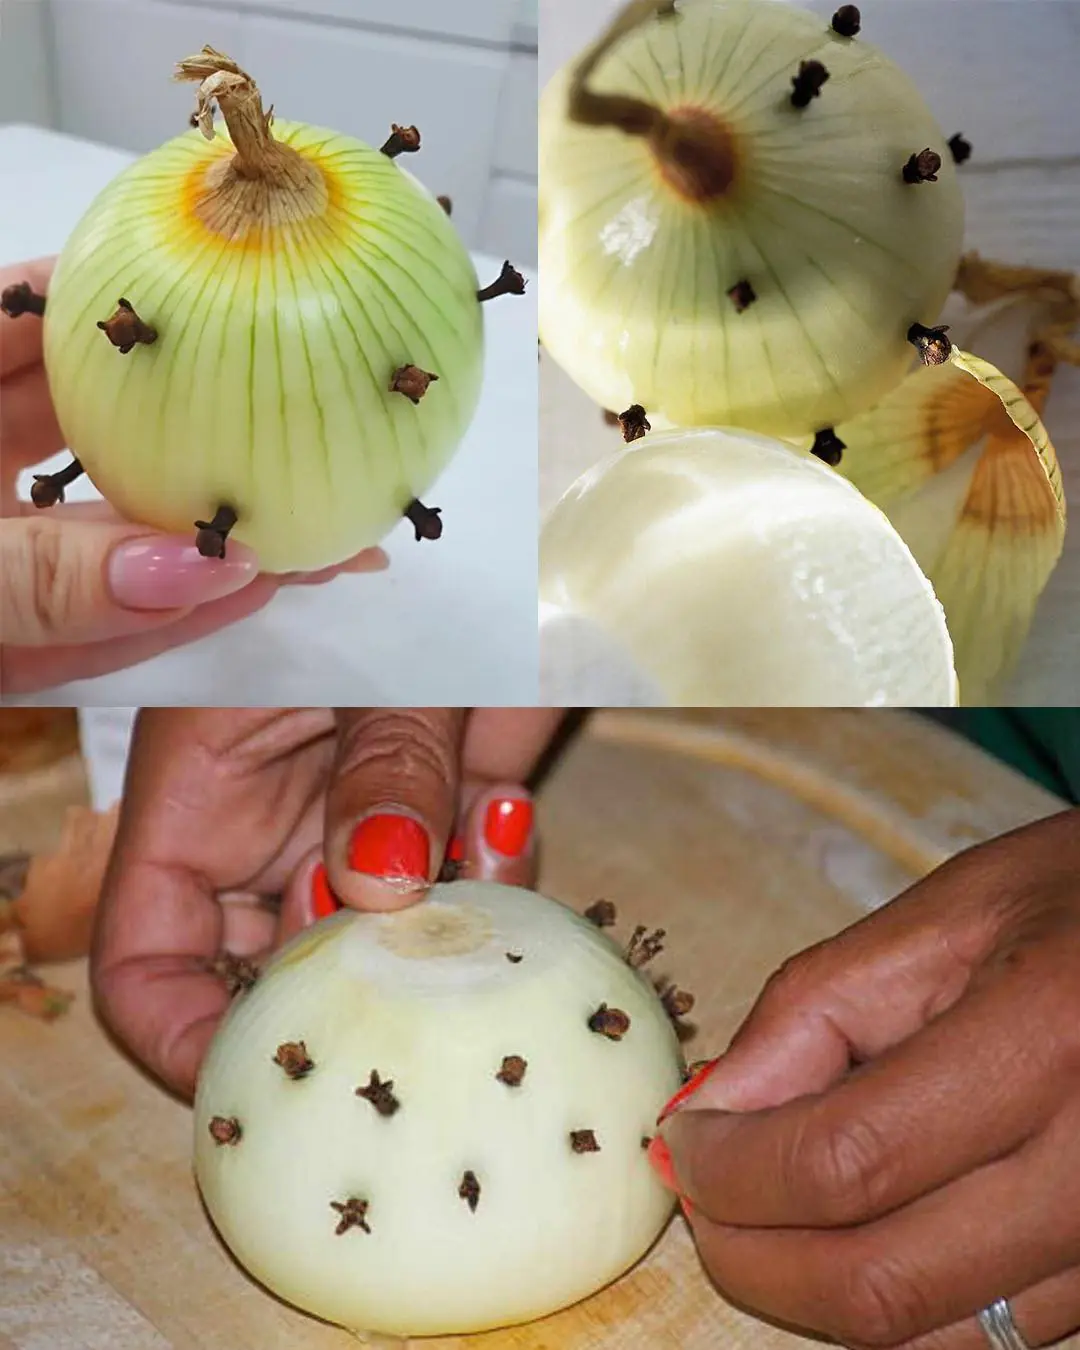
The unexpected but clever trick of inserting cloves into an onion - a simple kitchen habit with surprisingly useful benefits.

Let’s break down 7 smells snakes hate and how to use them to keep these slithery visitors away from your home
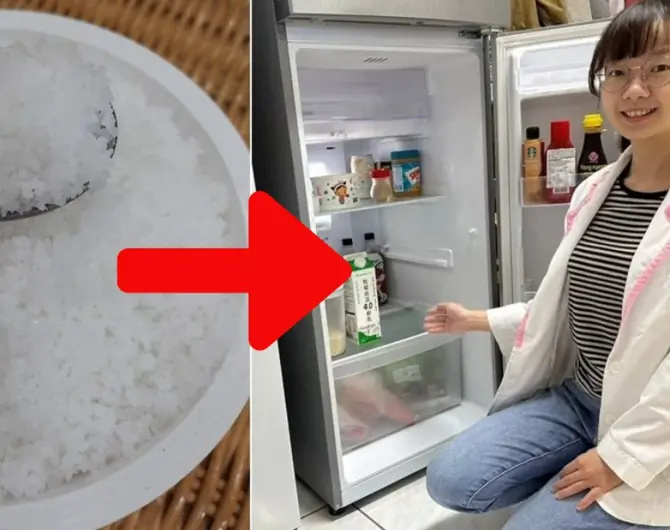
Why so many people put a handful of salt in the fridge - The benefits are surprising

Don’t Panic: If a Snake Enters Your House, These Natural Repellents May Help
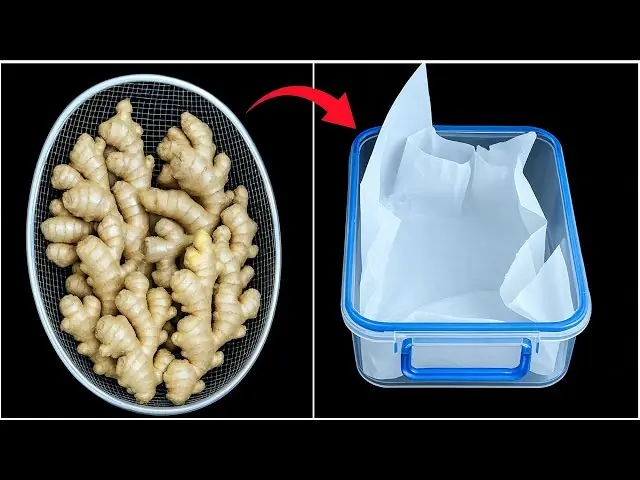
Stop Storing Ginger in the Fridge! Here’s How to Keep It Fresh for Up to 6 Months
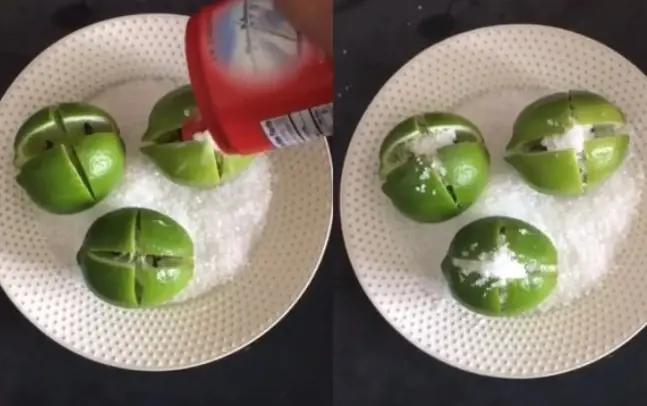
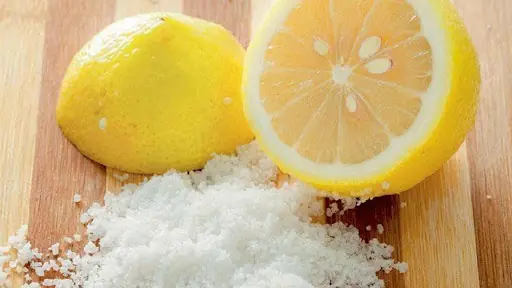
Put salted lemons next to your bed and wake up to refreshing, family-wide benefits
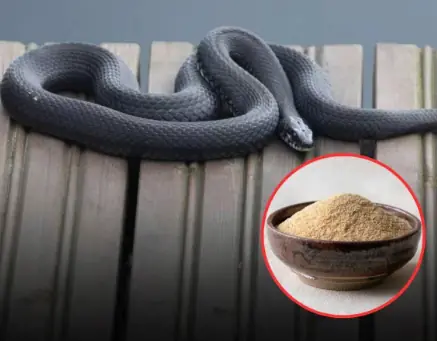
Rattlesnakes, cobras, garden snakes—no matter where you live, the thought of a snake wandering near your home is enough to make anyone uneasy.

Recognizing early warning signs is crucial for timely medical intervention.

Tiger tongue plant

Using diatomaceous earth and cloves for natural bed bug and insect control

If your schedule allows, morning is the golden hour for laundry—especially on sunny days.
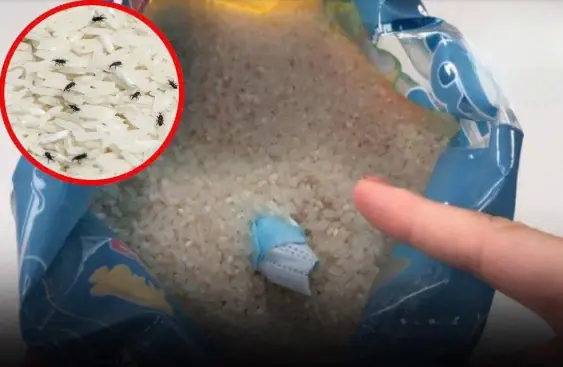
Storing rice properly will prevent it from being attacked by pests like moths, extend its shelf life, and keep its aroma intact when cooking.

Not the Air Conditioner

Stroke can affect anyone, at any time, and may leave severe, lasting consequences if not detected and treated promptly.

We almost sold the house that held all our memories

Abdominal pain — that all-too-familiar bellyache — is something almost everyone experiences at some point in life.

Doctors reveal the truth about eating bananas at night — from better sleep to digestion benefits, here’s what really happens when you enjoy this simple evening snack.

I thought my sister betrayed me over money until i learned the truth

My daughter said she hated me, and i almost believed her

I thought my husband was hiding something, but i was completely wrong

Most people rarely think about their sleeping position, even though it is something they repeat every single night.

5 signs of appen.dicitis you should never ignore

The Iris: An Enduring Emblem of Grace, Healing, and Quiet Strength

Bananas are undeniably nutritious.

A rare and alarming case has drawn public attention after a married couple was diagnosed with liver cancer almost simultaneously.

Non-alcoholic fatty liver disease (NAFLD)

Diabetes can affect many parts of the body, but the feet often show the earliest warning signs.

You may be damaging your kidneys and liver every day

Strange marks on your pillow don’t automatically mean can:cer

“My ex said, ‘We’ve got nowhere to live with my new wife, let us stay at your summer house.’ I let them in… then I called the police and filed a report for breaking and entering.”

70-year-old man drinks lemon water to treat high blo.od pressure for 2 years

Gout is becoming increasingly common, and if you have it, certain foods should be strictly avoided to prevent painful flare-ups