
The Hidden Seatbelt Detail Most Drivers Never Notice
A small seatbelt feature hides an important everyday function.
Tips 25/04/2026 08:20
Keeping your plants hydrated while you’re away doesn’t have to be a struggle. A simple, cost-effective DIY automatic plant watering system can take care of your greenery when you can’t. Using common household items, you can ensure your plants get the right amount of water over an extended period. Here’s a step-by-step guide to creating a practical and efficient watering system.
To get started, gather these essential materials:
1. A Plastic Bottle (2L or larger): The size depends on how many plants you need to water and the duration of your absence.
2. A Syringe Needle: This helps control the water flow from the bottle.
3. A Plastic Q-tip (Empty Inside): Acts as an air regulator to maintain consistent water flow.
4. Glue: Ensures airtight seals between components.
5. Scissors or a Knife: Used to cut and modify the plastic Q-tip.

Follow these steps to create your DIY automatic plant watering system:

This system operates on a simple principle: as water flows out of the syringe needle, air enters the bottle through the Q-tip. This balance prevents the bottle from collapsing and regulates the water release. The soil absorbs the water slowly, keeping it moist without over-saturating
Cost-Effective: Repurpose household items to save money.
Eco-Friendly: Reduce water waste by delivering only what’s needed.
Customizable: Adjust the design for various plant types and pot sizes.
Peace of Mind: Ensure your plants thrive, even when you’re away.
Building a DIY automatic plant watering system is a fun and practical project that ensures your plants stay healthy and hydrated while you’re away. With just a plastic bottle, a syringe needle, and a hollow Q-tip, you can create a reliable watering system tailored to your plant’s needs. Give it a try and enjoy the peace of mind that comes with knowing your plants are in good hands!
A small seatbelt feature hides an important everyday function.
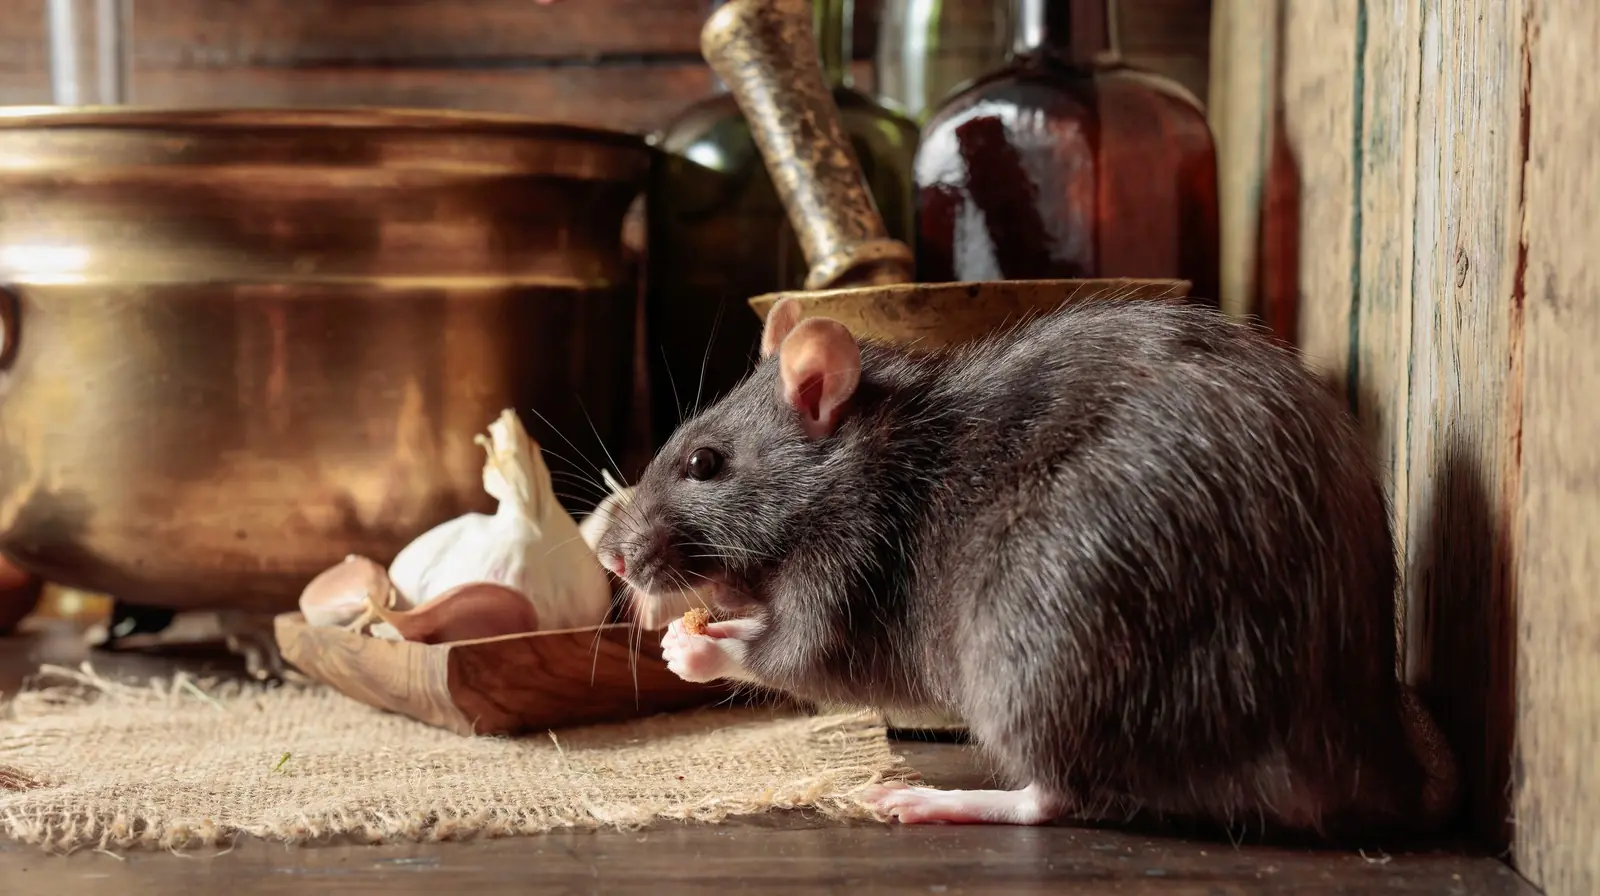
Try these 3 simple tricks to stop mice from invading your home
Knowing your body type: understanding its meaning and learning how to use it effectively.
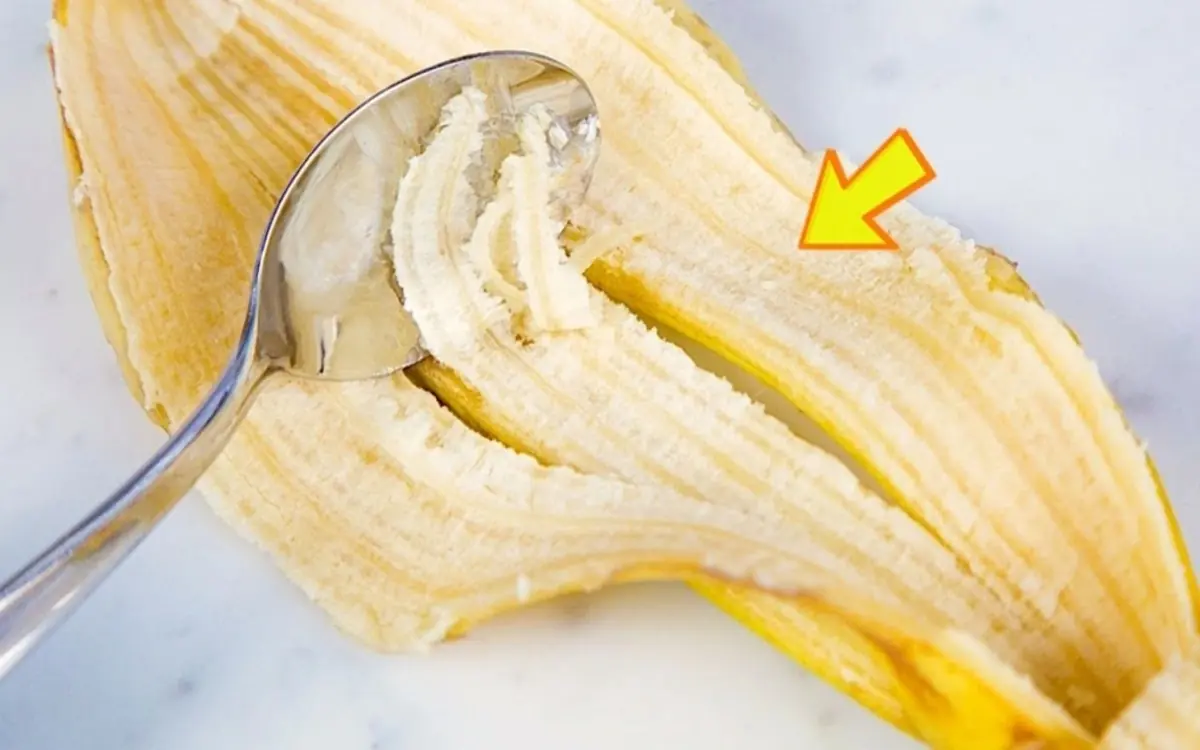
After discovering this, you’ll think twice before throwing away banana peels

Think Raw Eggs Are Dangerous? Japan Proves Otherwise
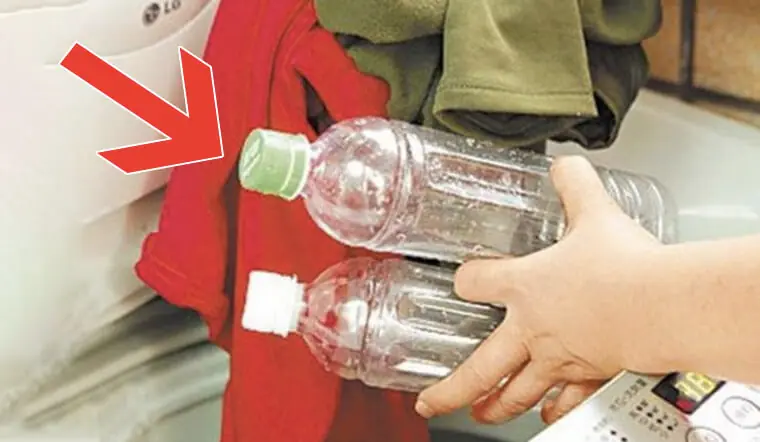
Just an empty water bottle can help reduce tangling and wrinkles during washing

White or purple garlic: which should you pick at the market?
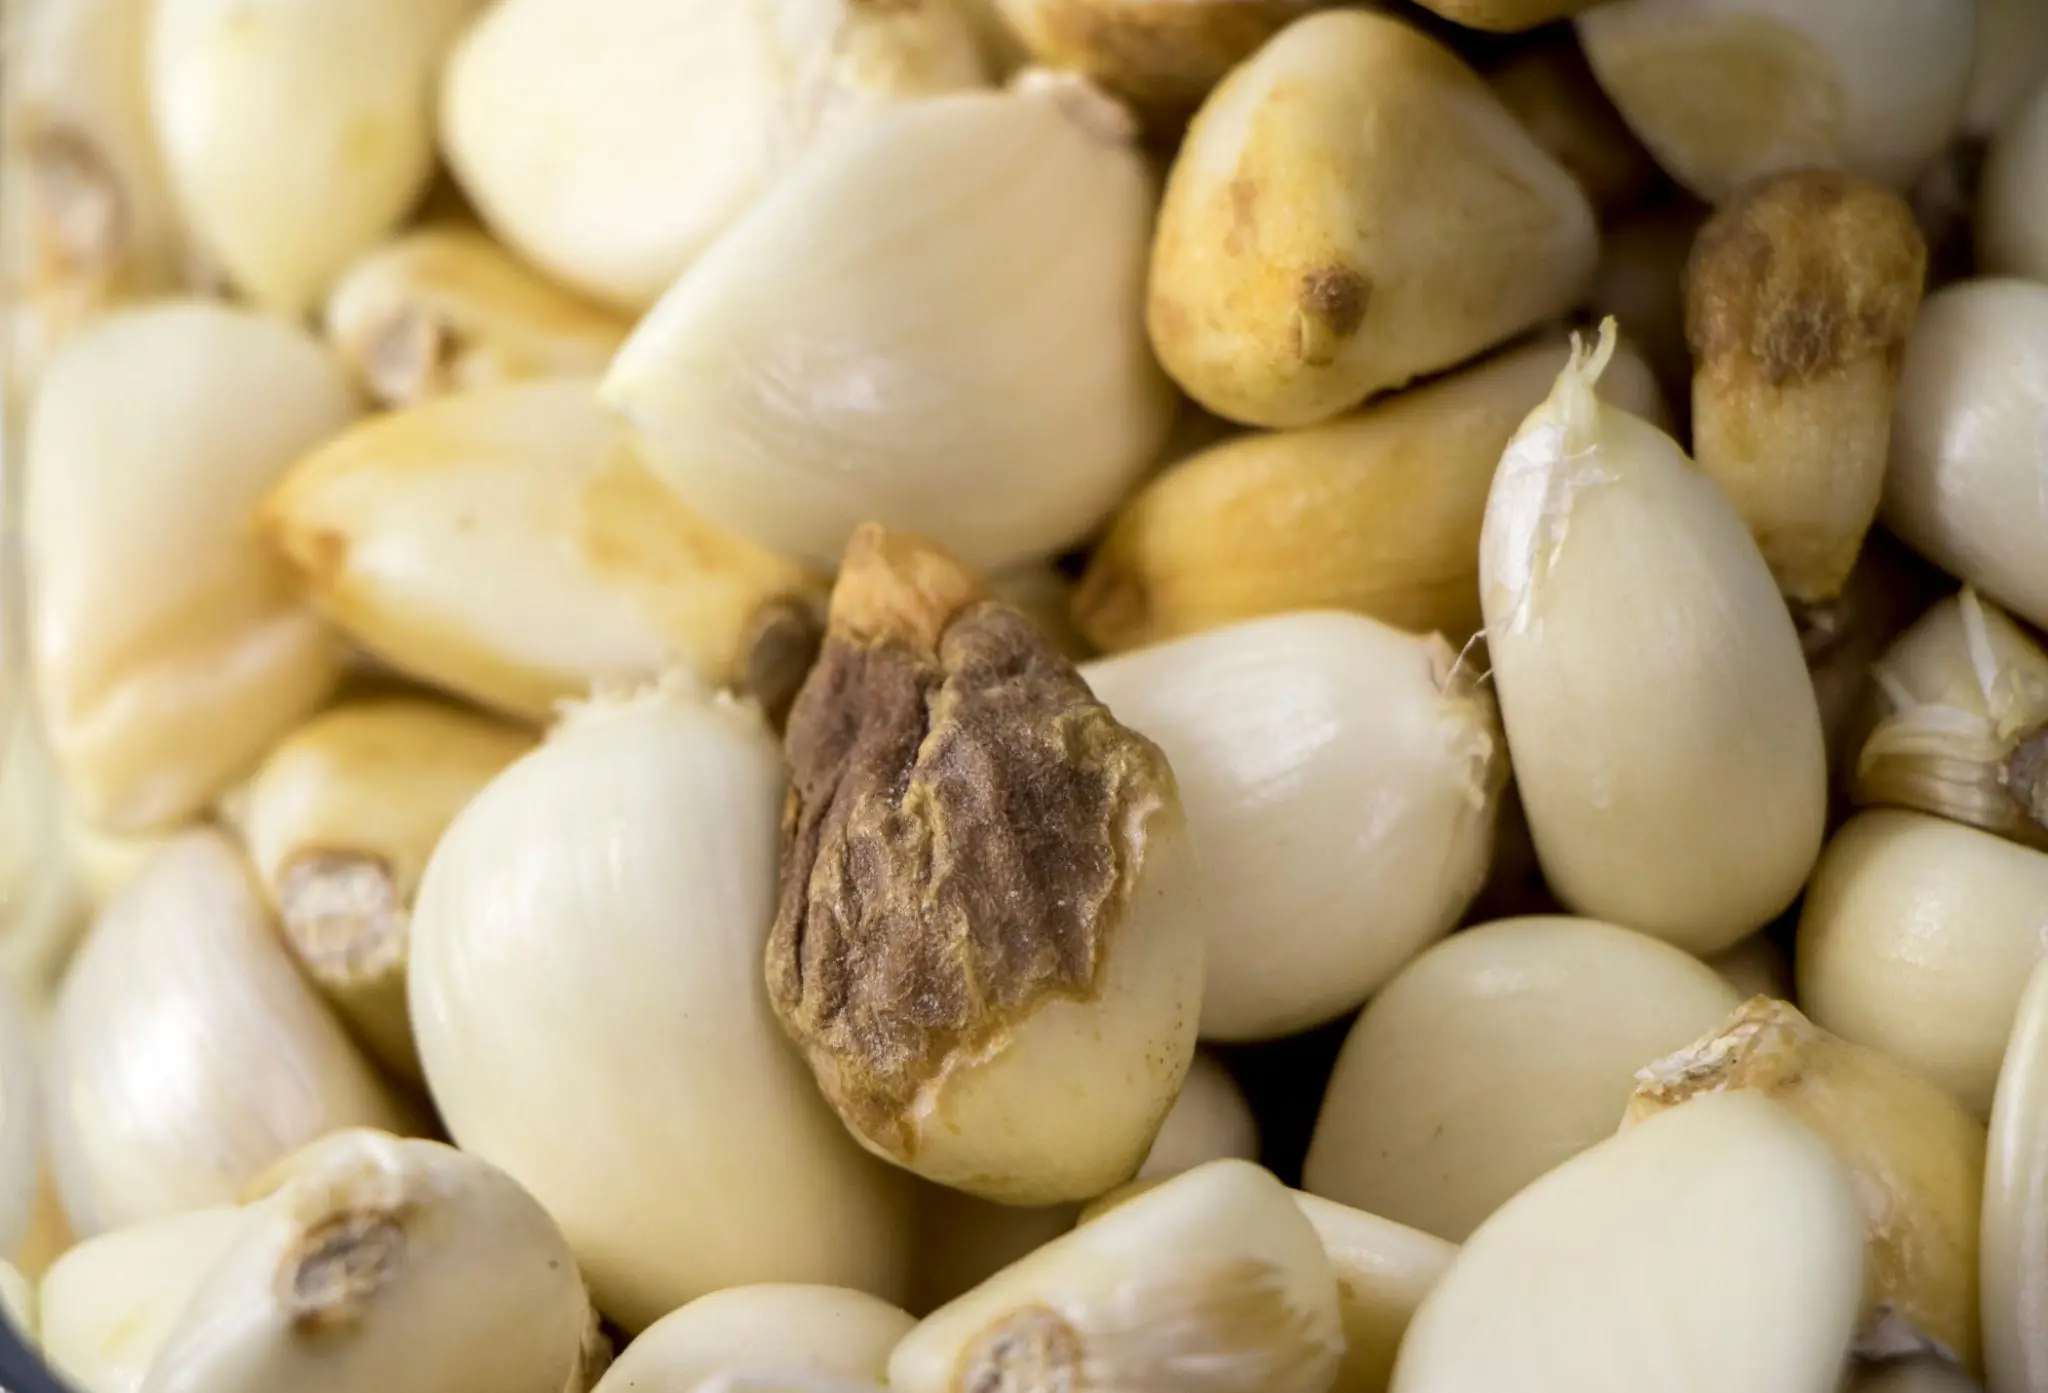
If you spot these 4 types of garlic at the market, it’s best to avoid them
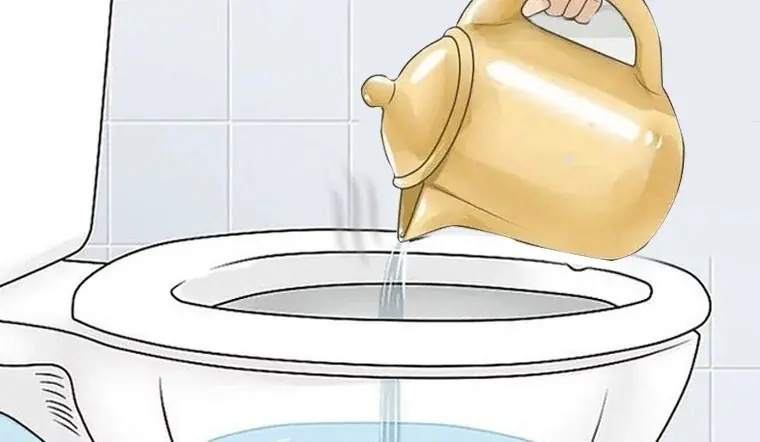
Why do some people pour hot water into a hotel toilet before flushing?
Life hack: how to distinguish a real mirror from a two-way mirror in fitting rooms
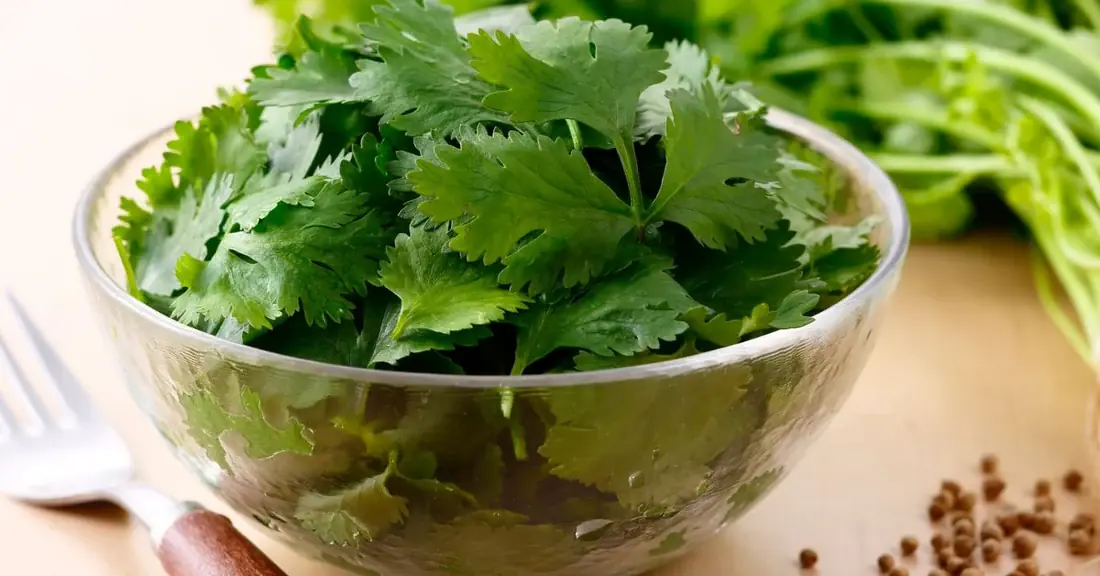
This everyday herb is gaining attention for a reason
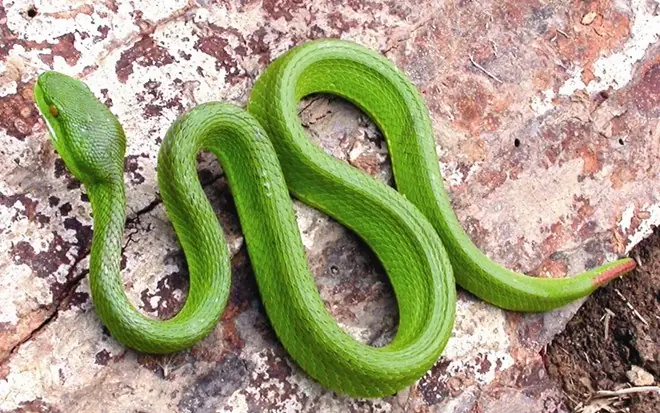
A snake in your house? Using these substances can help repel it fast
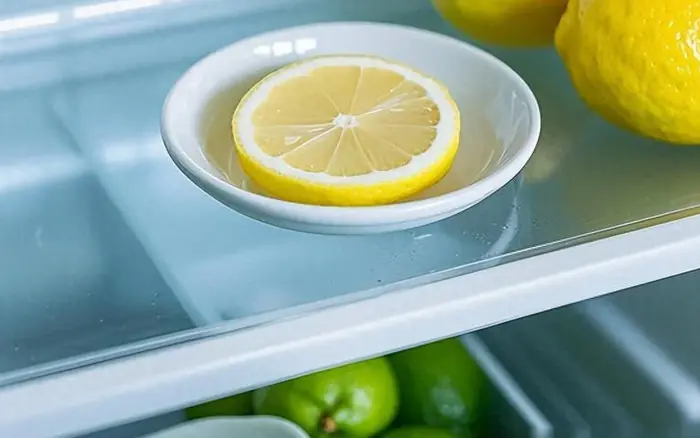
Cut a lemon in half and rub it around your home - the results may surprise you
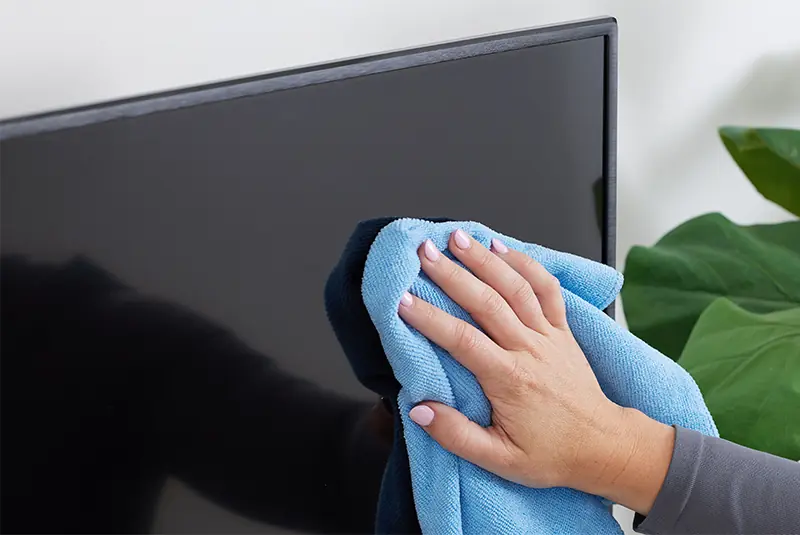
How to clean your TV screen properly and avoid damage
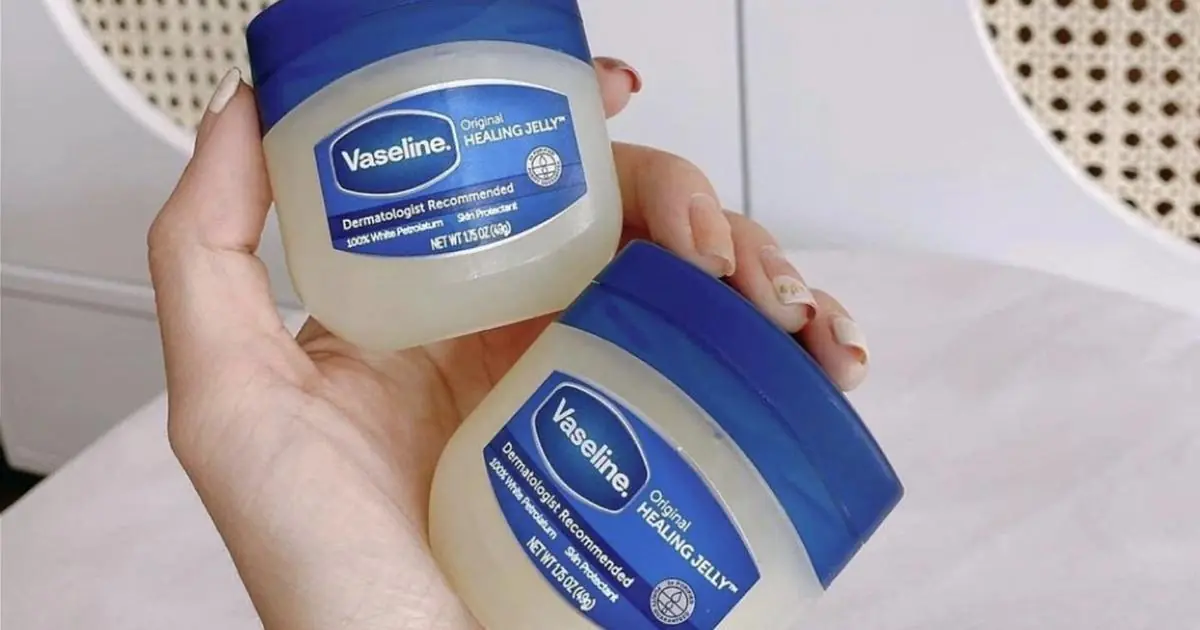
10 smart ways to use Vaseline for wrinkle-free and radiant skin

10 genius turmeric tips you’re missing for glowing skin and improved health
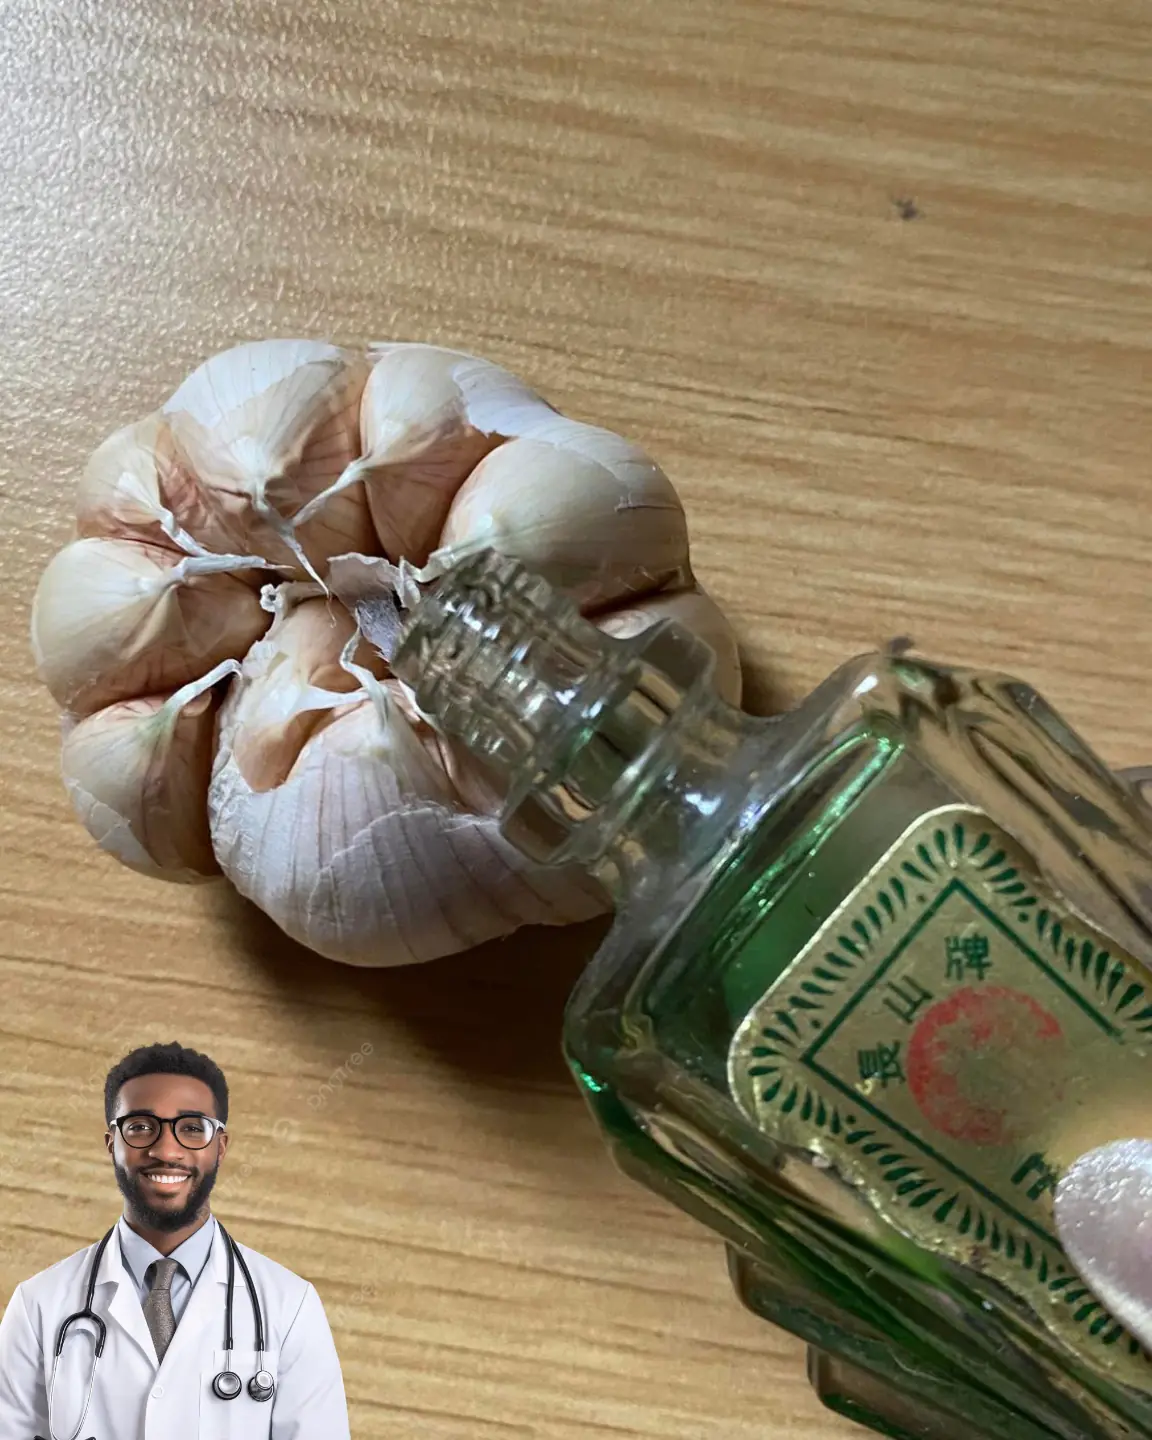
What Happens When You Combine Garlic with Menthol Oil? 👇👇
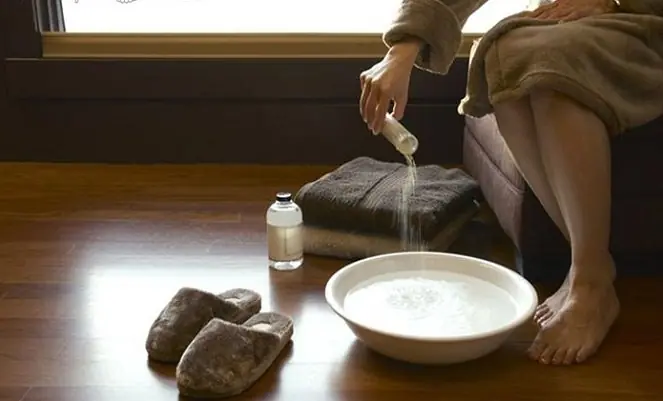
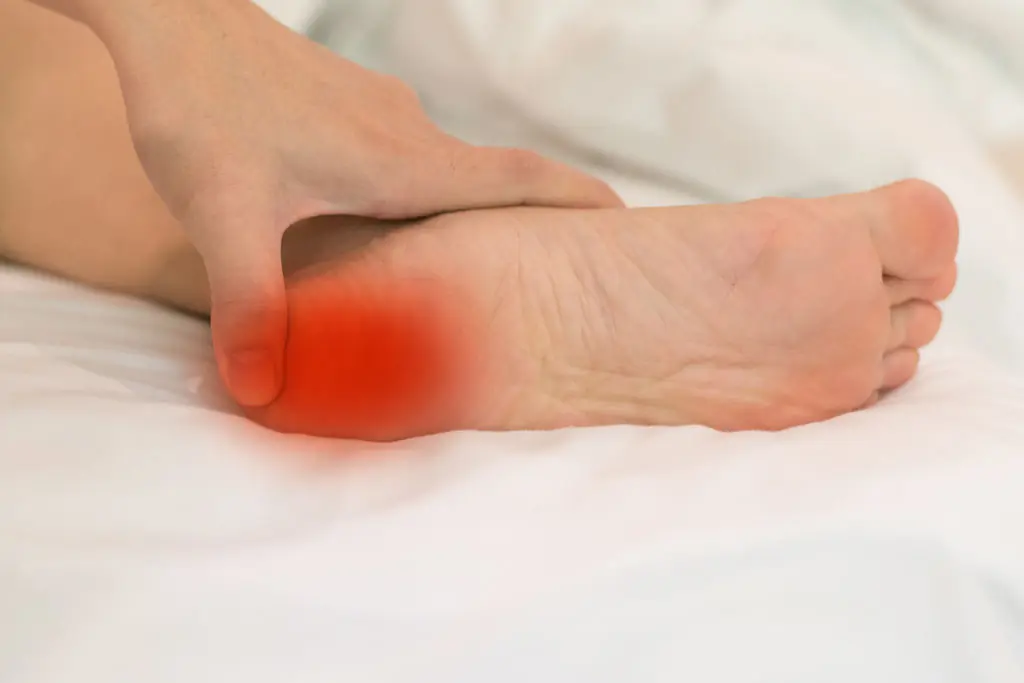
Soaking your feet in vinegar weekly may help ease these 9 common issues
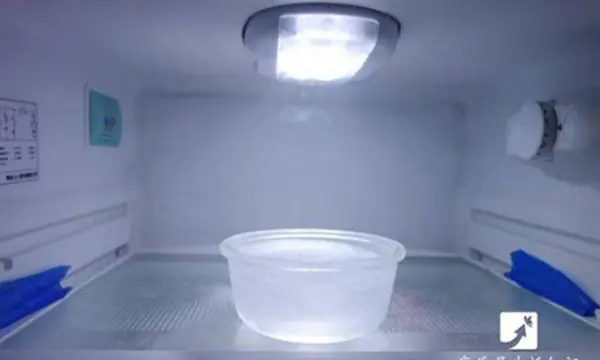
A simple bowl of water can actually reduce your refrigerator’s energy usage
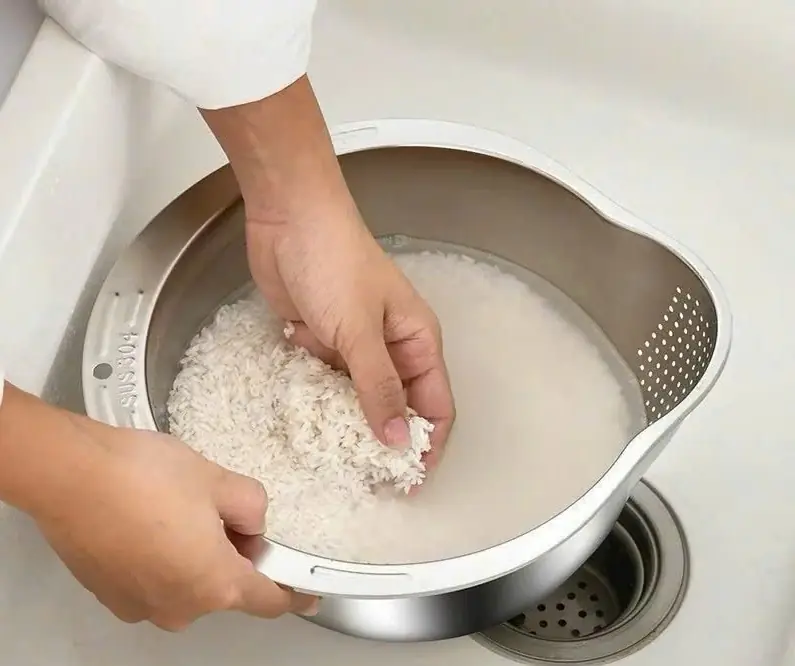
Washing rice seems simple but these mistakes are everywhere
A small seatbelt feature hides an important everyday function.
Blocked Arteries Don’t Just Affect the Heart—Watch Your Legs

Don’t Ignore This Common Sign—It Could Be More Than You Think

10 Silent Signs of Diabetes Most People Ignore

Are These Chicken Parts Safe? What You Need to Know

Doctors Warn: Avoid These 4 Habits Right After Waking Up
These Subtle Changes Could Be Your Body’s SOS Signal

Can a vegetable really reduce sugar levels? Here’s the truth.
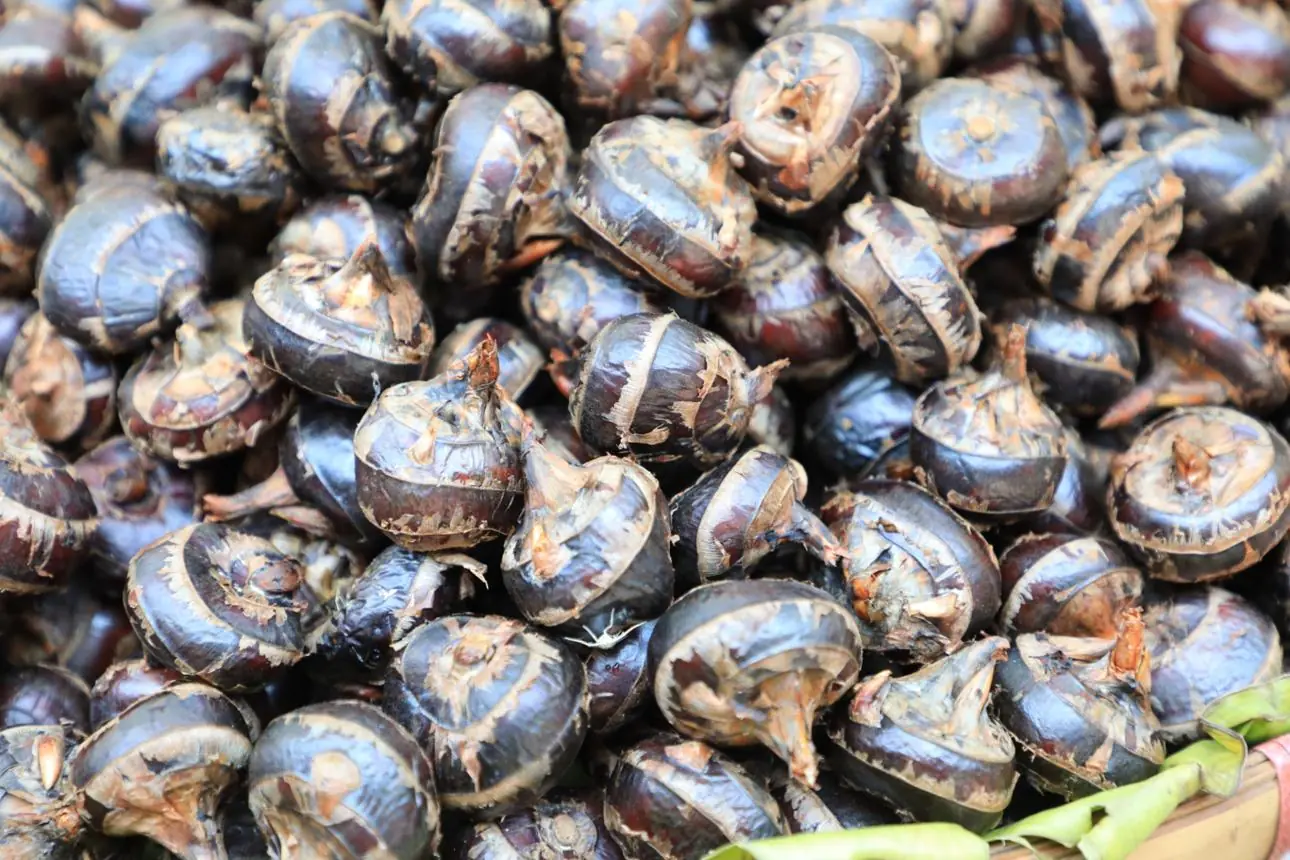
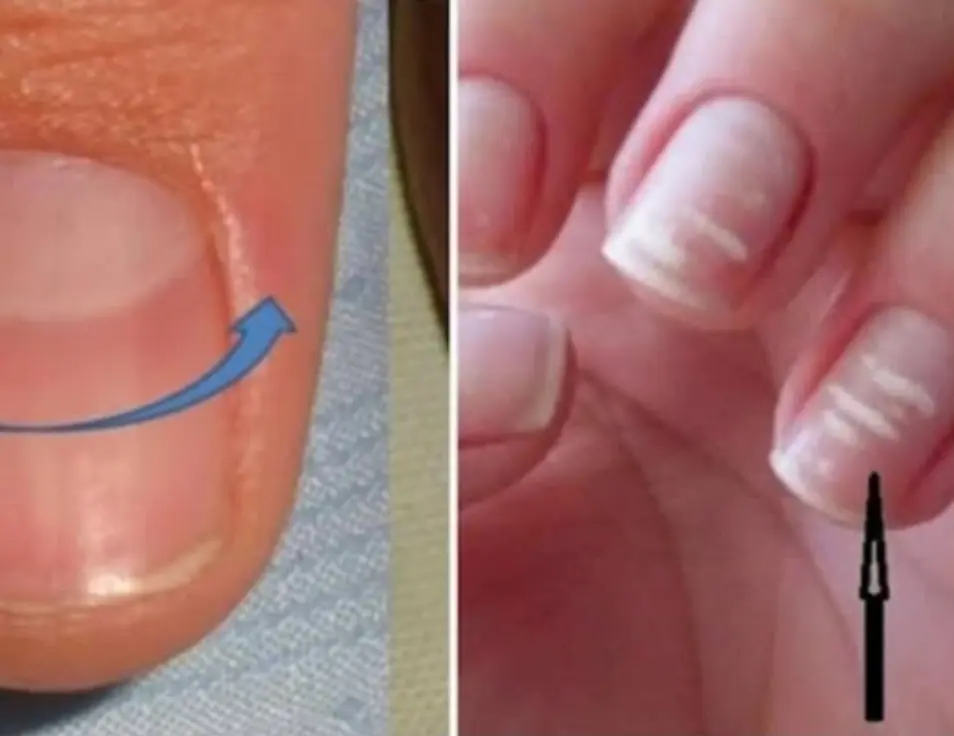
Eating raw water chestnuts may pose hidden hygiene risks.

Frequent early waking could signal hidden health or stress issues.

A simple yet tricky puzzle that reveals your mindset
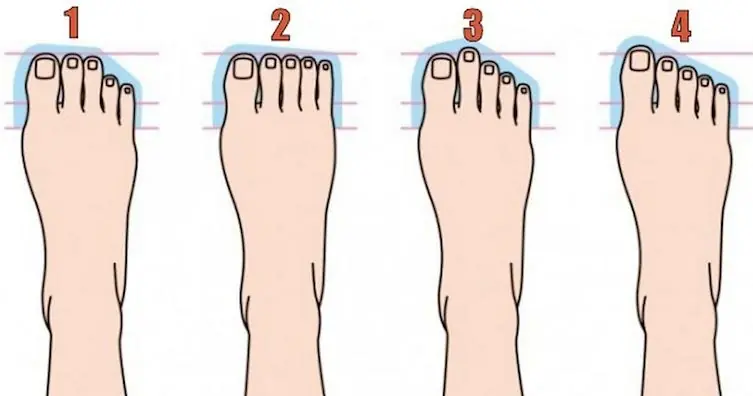
Your foot shape may reflect aspects of your true personality
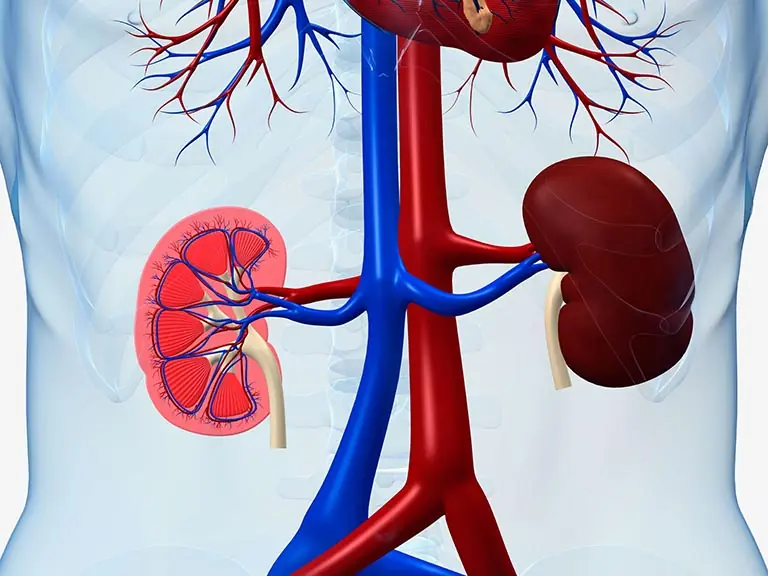
Your body may reveal these 10 signs if your kidneys are at risk
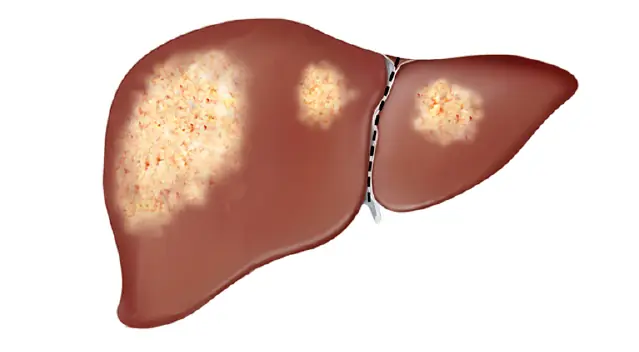
7 symptoms that may indicate fatty liver disease

When your liver may be in trouble, see if you notice these signs

The essential benefits of proper hydration: why water is your ultimate ally

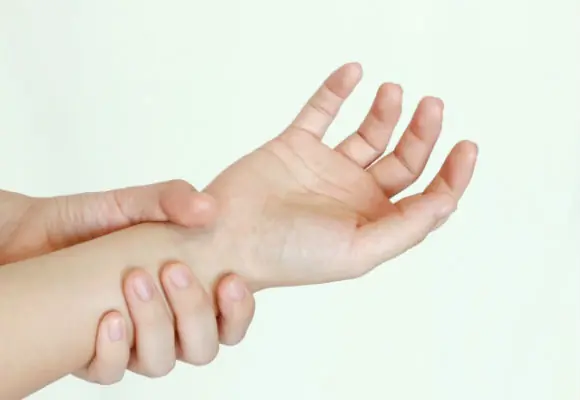
A man scratching a woman’s palm could signal something more than it seems
Try these 3 simple tricks to stop mice from invading your home

6 reasons you may feel pain on the right side of your body

9 warning signs of lung can.cer to watch for early