
You can store ginger for up to 6 months using these quick and easy tips - no fridge required
Keep your ginger fresh for months with simple methods that don’t require refrigeration or extra effort
Tips 04/04/2026 16:00
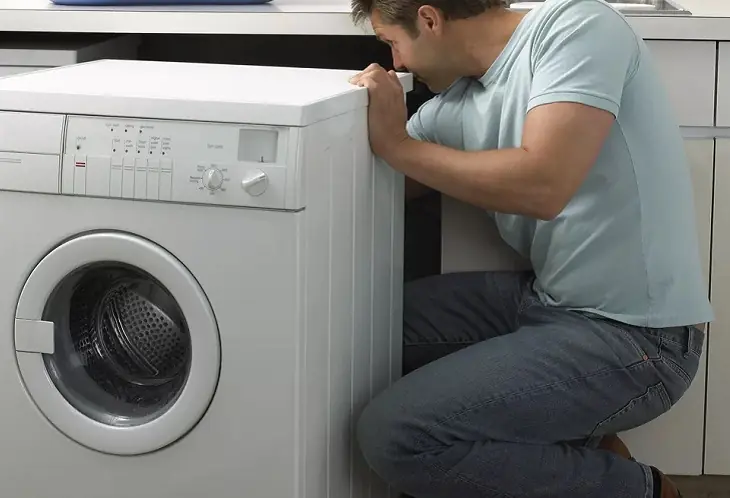
Walls that begin to show signs of mold, blistering paint, or peeling surfaces are a common problem in many homes. These issues can appear suddenly and often make rooms look old, damaged, or poorly maintained. Many homeowners immediately think they need to hire a technician or repaint the entire wall, but in reality, the problem can sometimes be solved with a simple do-it-yourself method.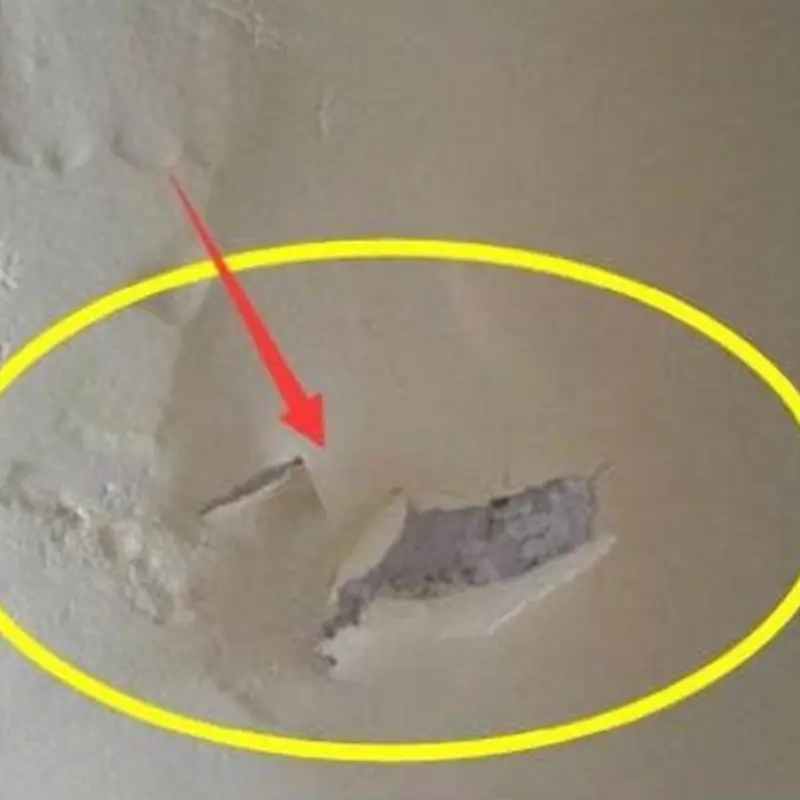
Home improvement experts say that early signs of wall damage are often caused by moisture buildup, poor ventilation, or aging paint layers. When moisture gets trapped inside the wall surface, it can cause paint to bubble, crack, or peel away. In humid environments, mold may also begin to develop in these damaged areas.
Fortunately, with a few simple steps and basic household tools, you may be able to fix the problem without expensive repairs.
One of the most common causes of wall damage is excess humidity. Bathrooms, kitchens, and poorly ventilated rooms tend to accumulate moisture over time. When moisture penetrates the paint layer, it weakens the bond between the paint and the wall surface.
As a result, the paint may begin to blister or bubble. Eventually, sections of the paint can peel away, exposing the plaster or concrete underneath. If moisture continues to build up, mold spores may develop in these damaged areas.
Another common reason for peeling paint is poor preparation before painting. If the wall surface was not properly cleaned or primed, the paint may fail to adhere correctly, leading to peeling over time.
Before calling a technician, you can try a straightforward repair process that many home maintenance experts recommend.
First, carefully remove the damaged paint using a scraper or sandpaper. It is important to eliminate all loose or peeling sections so that the wall surface becomes smooth and stable. Be gentle during this step to avoid damaging the underlying wall.
Next, clean the area thoroughly. If mold is present, wiping the surface with a mild cleaning solution can help eliminate spores and prevent further growth. Allow the wall to dry completely before moving on to the next step.
Once the wall is dry, apply a thin layer of wall filler or patching compound to cover cracks or uneven areas. This helps restore a smooth surface for repainting.
After the filler dries, lightly sand the area again to ensure the surface is even. Finally, apply a primer and a fresh coat of paint to seal and protect the wall.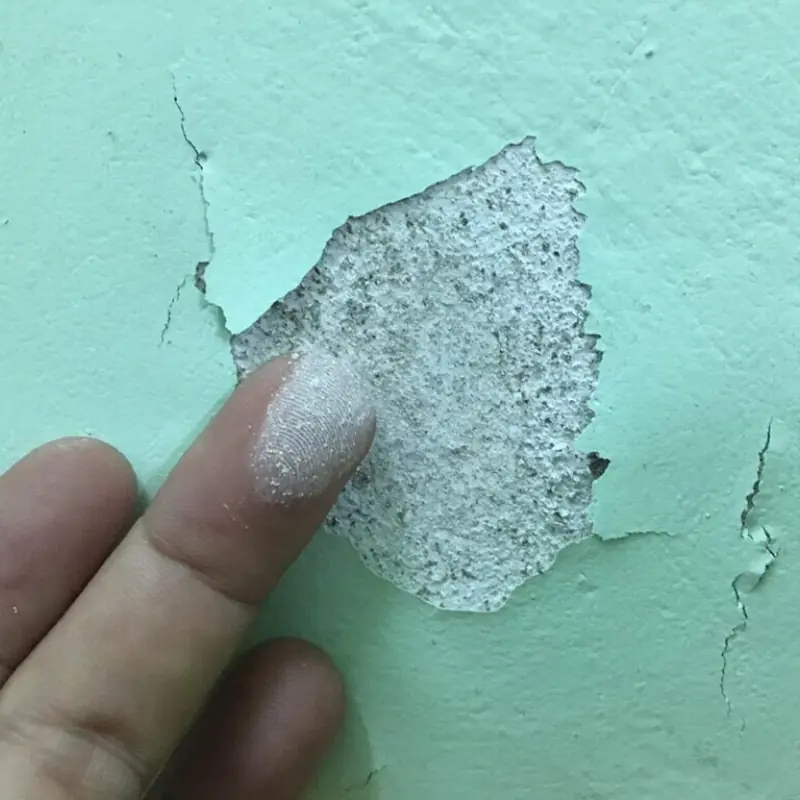
While repairing the wall can restore its appearance, preventing the issue from returning is equally important.
Proper ventilation is essential in rooms that produce a lot of moisture. Opening windows, using exhaust fans, or installing dehumidifiers can help reduce humidity levels and protect wall surfaces.
Additionally, using high-quality paint designed for humid environments can improve durability and reduce the likelihood of peeling.
Regularly inspecting walls for early signs of damage can also help homeowners address small problems before they become larger and more expensive to repair.
The image of peeling paint highlighted by a circle reminds homeowners how small wall problems can quickly become noticeable. However, many of these issues do not require professional repair services.
By understanding the cause of mold, blistering, or peeling paint, and by applying simple repair techniques, homeowners can often restore their walls quickly and affordably.
Sometimes, a little knowledge and a few basic tools are all it takes to bring damaged walls back to life and keep a home looking clean, fresh, and well maintained.
Keep your ginger fresh for months with simple methods that don’t require refrigeration or extra effort
Do You Really Need to Flush Every Time? Here’s Why It Might Not Be Ideal
For perfectly pickled garlic, don’t skip this step - it keeps the cloves white, crisp, and long-lasting
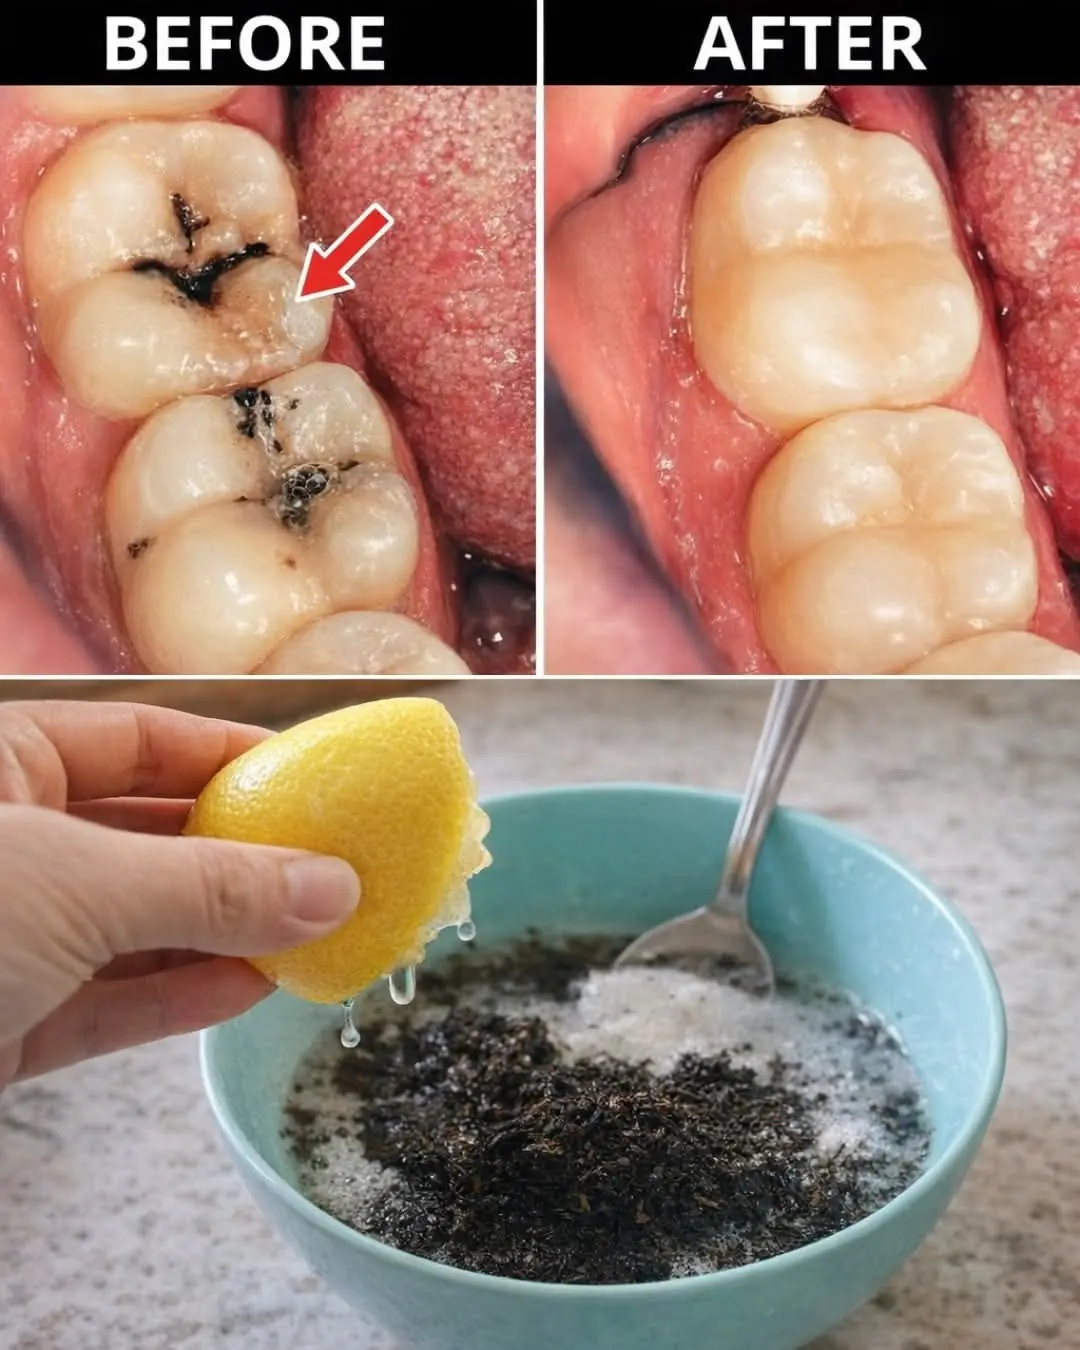
Tooth Decay Might Not Be Permanent

If a snake crawls into your home, these simple items can help drive it out fast
This Hidden Feature Changes Everything
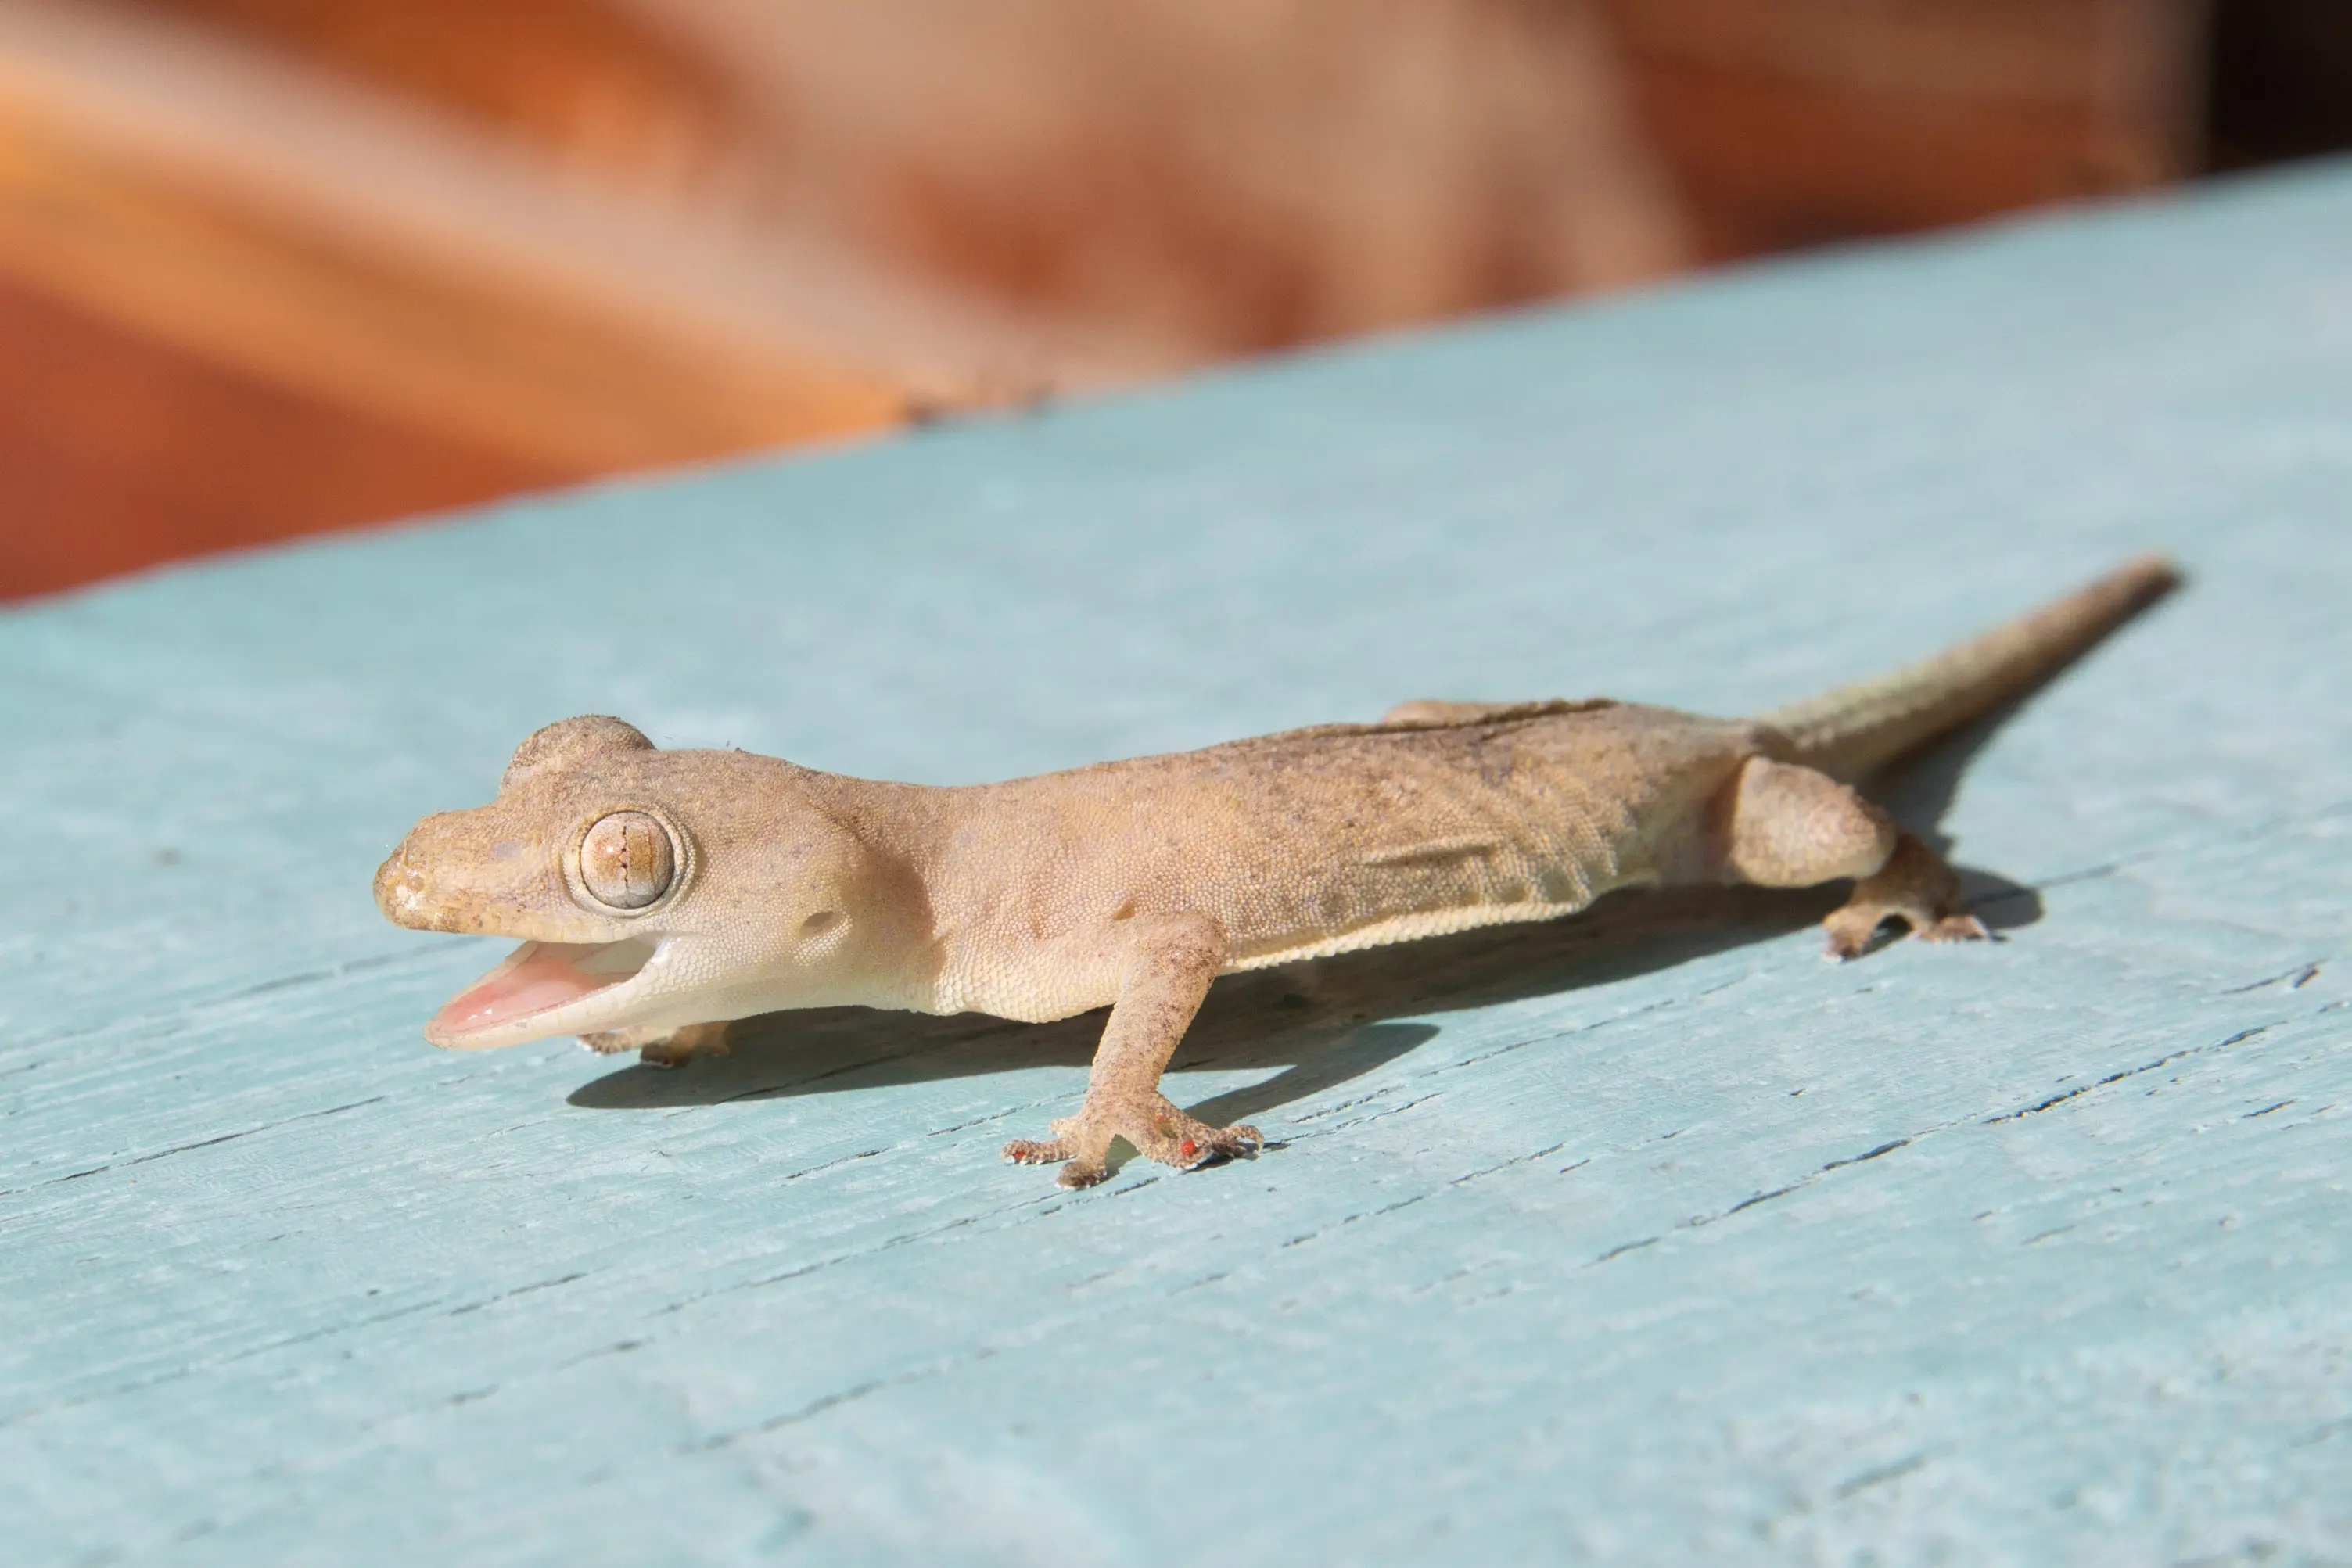
Tired of geckos coming back? Try these easy methods to prevent their return
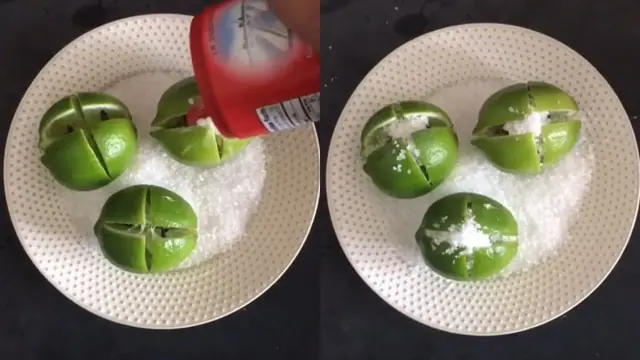
5 Unexpected Benefits of Using Lemon and Salt in Your Living Space
Check Your Garden Now—Snakes Might Be Hiding Here
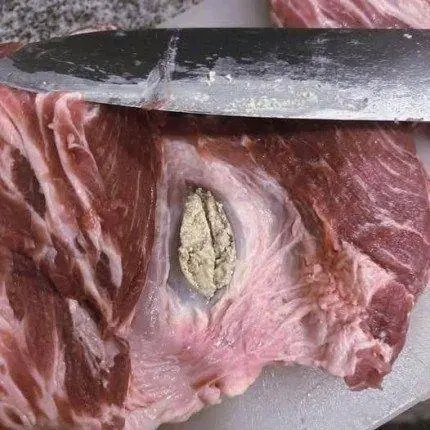
I Bought This Meat… Then Started Thinking Twice

These Tiny Flies Are Invading Your Kitchen — Here’s Why
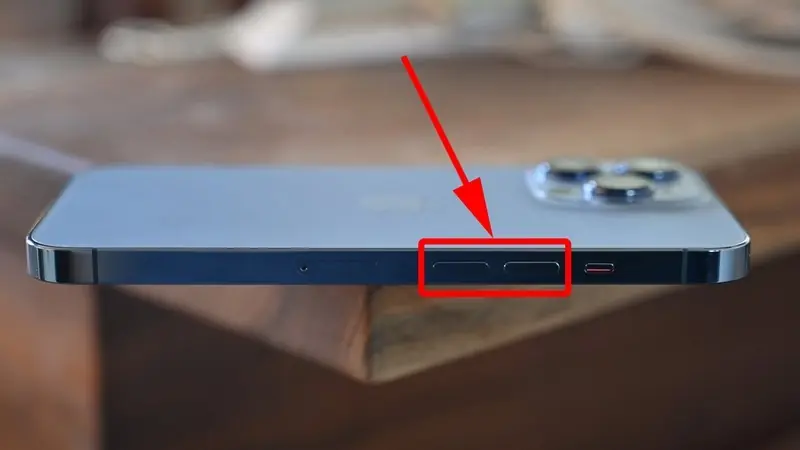
6 hidden tricks your phone’s volume buttons can do that most people don’t realize

The Secret to Super Crispy Fries at Home 🍟

Snake bi.te? These are the first steps you need to take

10 essential tips to use cloves effectively
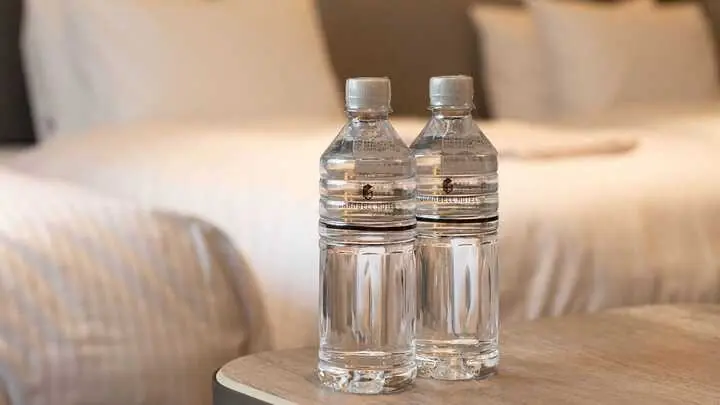
Smart travel hack: Why should you roll a water bottle under your hotel bed?
Stop putting lemons straight in the fridge - this trick can keep them fresh much longer
How to Get Rid of Bathroom Odors Without Air Fresheners

Putting eggs on the refrigerator door is a typical error that leads to faster spoilage and nutrient loss

Save Electricity with This Little-Known Button Inside Your Fridge

The hidden health benefits of eating 3 dates every day
Why women shouldn’t pee in the shower, according to medical experts

When should you bathe to stay healthy and minimize the risk of str.oke?

What all women should know about the risks of cer.vical can.cer

5 Everyday Foods to Be Mindful Of - Healthier Choices Ahead
Feel Tired All the Time? It Might Be Your Circulation

How to Defrost Fish Safely: 3 Fast and Trusted Methods

She Ate Steamed Sweet Potatoes Every Day — But Her Liver Test Results Left Her in Sh.o.ck
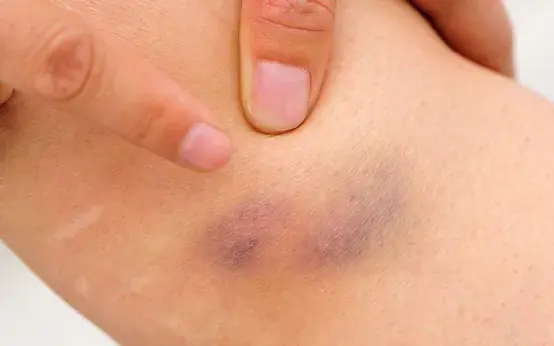
Be Alert: Bruises in These Spots May Signal a Health Issue

Doctors Reveal Why Night Showers Beat Morning Showers Every Time
9 Everyday Items in Your Home That Could Affect Your Health

7 Surprising Signs You May Be Low on Vitamin B12 - Pay Attention
Keep your ginger fresh for months with simple methods that don’t require refrigeration or extra effort

While Cucumbers Are Nutritious, Certain People Should Be Cautious

Why Chicken Feet Are a Healthy Choice You Shouldn’t Ignore?

Leftovers can be deadly—if they remain, throw them away immediately!

Tiny Red Dots on Your Skin: Possible Causes and Their Meanings
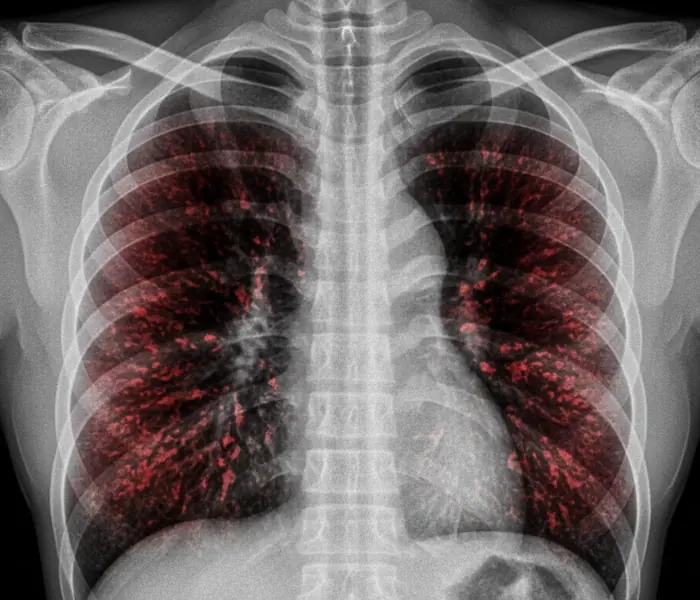
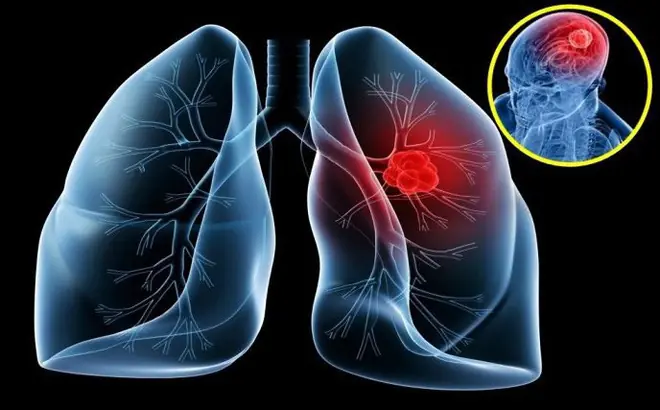
The Surprising Rise of Lung Can.cer in Non-Smokers and Its Possible Causes

5 Health Conditions That May Require You to Avoid Ginger

Banana Blossom Power: The Secret Superfood That Can Revitalize Your Body