4 Types of Fish That Are Prone to Heavy Metal Contamination — Even Sellers Rarely Eat Them
Tips 18/12/2025 07:35
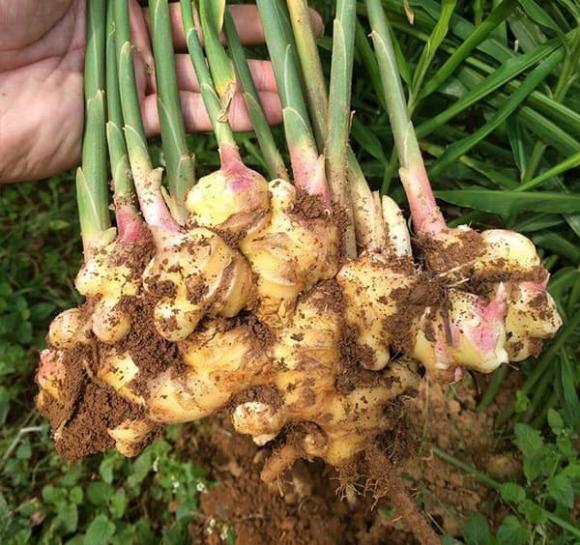
Growing ginger at home is much easier than most people expect, and it can be incredibly rewarding. With the right preparation and a bit of patience, you can harvest fresh, fragrant ginger whenever you need it - without relying on store-bought rhizomes that may be old or treated with chemicals.
Ginger is a hardy plant that adapts well to container growing, making it ideal for balconies, patios, or even indoor spaces with enough light. By following the steps below, you can successfully grow healthy ginger plants and enjoy thick, flavorful rhizomes straight from your home garden.
When selecting ginger to grow, smaller varieties such as young ginger types commonly known as “gừng sẻ” or “gừng dé” are highly recommended. These varieties tend to have:
A stronger aroma and richer flavor
Better adaptability to container growth
Compact plants with sturdy stems and healthy leaves
Larger ginger varieties may grow aggressively but are often less aromatic and harder to manage in pots.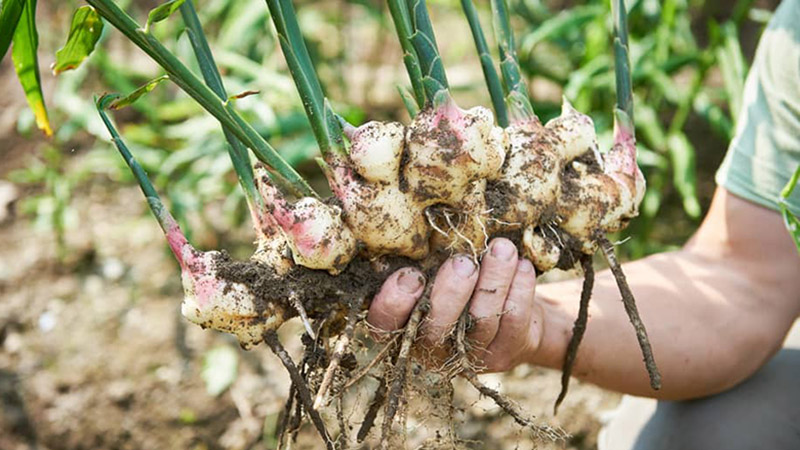
Always choose ginger rhizomes that are:
Firm, plump, and smooth
Free from cracks, mold, or soft spots
Not shriveled or dried out
Pay special attention to the presence of growth buds, often called “eyes.” These small protrusions are essential for sprouting. Ginger pieces without visible buds will not grow and should be discarded.
Ginger needs space to spread horizontally, so pot size is important. A suitable container should be:
Approximately 35–40 cm tall
About 30–35 cm wide
Plastic or ceramic pots both work well, as long as they have proper drainage holes to prevent water from pooling at the bottom.
Ginger thrives in loose, airy soil that drains well but still retains enough moisture. The soil should be rich in organic matter to support long-term growth.
Recommended soil options include:
A mix of two parts clean garden soil and one part nutrient-rich compost
Or a blend of paddy straw, rice husk ash, and worm castings in a 1:2:1 ratio
This combination provides excellent drainage, aeration, and nutrients, all of which are essential for healthy rhizome development.
If pots are not available, burlap or fabric grow bags are an excellent alternative. These allow excess moisture to escape easily and promote better root aeration, often resulting in stronger plants and healthier rhizomes.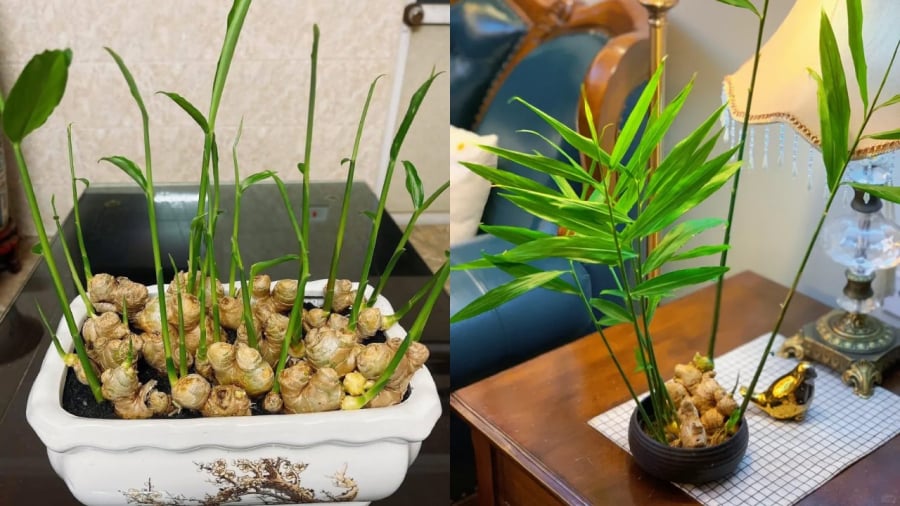
Before planting, soak the ginger pieces in clean water overnight. This helps rehydrate the rhizomes and encourages faster sprouting.
Cut the ginger into smaller pieces weighing approximately 40–60 grams each. Make sure every piece has at least one visible bud. Use a clean knife and allow the cut surfaces to dry slightly before planting to reduce the risk of rot.
Fill the pot halfway with prepared soil and gently press it down to remove large air pockets. Place two ginger pieces on the soil surface, spacing them apart. Cover them with soil so they sit about 2.5–3 cm below the surface.
Avoid planting too deeply, as this can trap excess moisture and lead to rot.
Water lightly but consistently, about two to three times per day in small amounts. The goal is to keep the soil moist, not soggy. Proper drainage is essential during this stage.
Ginger typically begins to sprout within 15 to 20 days. Once multiple leaves appear, reduce watering to once per day. At this stage, the plant becomes more resilient but still requires steady moisture.
Place the pot in an area with indirect sunlight, such as a balcony, near a window, or under partial shade outdoors. Ginger prefers bright light but does not tolerate harsh, direct sun for long periods.
For best results, provide:
5–6 hours of sunlight daily
Protection from intense midday heat
Adequate light helps promote lush foliage and larger rhizomes.
As the ginger grows and begins to push upward, add a 3–4 cm layer of nutrient-rich soil or compost to the pot. This supports expanding rhizomes and prevents exposure.
Organic fertilizers such as worm castings, compost tea, or store-bought organic blends can be applied periodically to encourage healthy growth without harming the plant.
After about 7–8 months, the ginger plant will begin to yellow and shed its leaves. This is a natural sign that the rhizomes have matured and are ready for harvest.
Carefully loosen the soil and gently lift the ginger to avoid bruising or cutting the rhizomes. Damaged ginger is more susceptible to pests and disease, so handle it with care.
You can harvest the entire plant at once or remove a portion of the rhizomes and allow the rest to continue growing for future harvests.
Growing ginger at home is a simple, cost-effective way to enjoy fresh, high-quality ginger year-round. With proper soil, careful watering, and patience, even beginners can succeed.
Beyond convenience, homegrown ginger offers superior flavor, aroma, and peace of mind - knowing exactly how your food was grown. Once you try it, you may never want to go back to store-bought ginger again.